In Movable Type, you can add almost any type of content you want. You can upload Images through the Admin Dashboard and place them in your pages. This article will explain how to upload and insert an image in Movable Type.
Steps to insert an Image in Movable Type
- Log into your Moveable Type Dashboard.

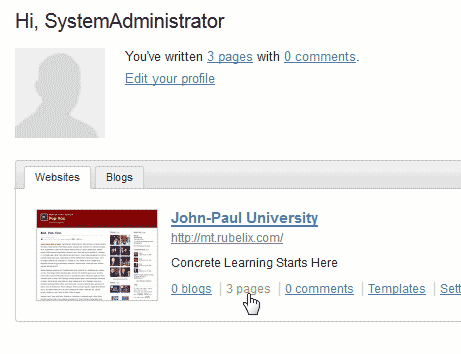
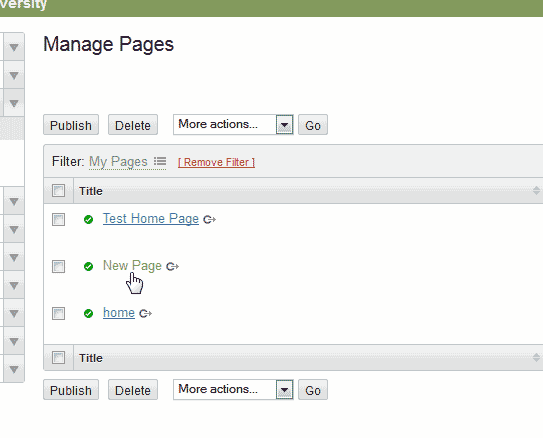
Click the pages link at the bottom of the Admin page.

Edit the page you want to insert an image into.

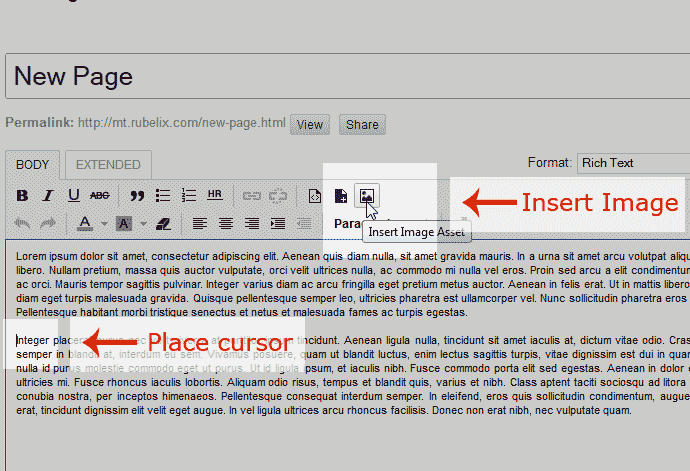
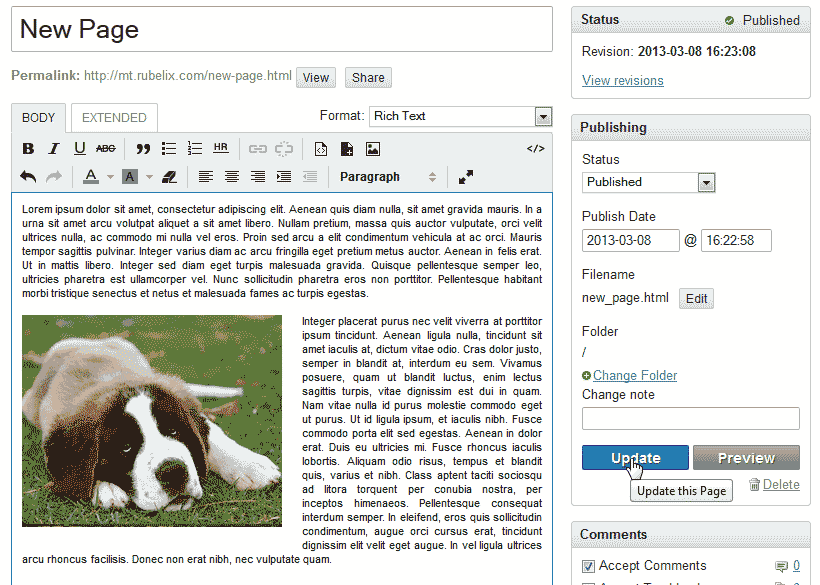
Place your cursor where you want the image to show. Click the Insert Image Asset icon in the WYSIWYG editor.

The Insert Image page will load. Click Upload New Image.

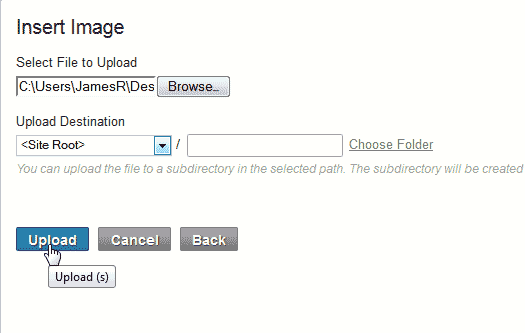
Browse your local computer for the mage you want to upload. Select it.
Click Upload.

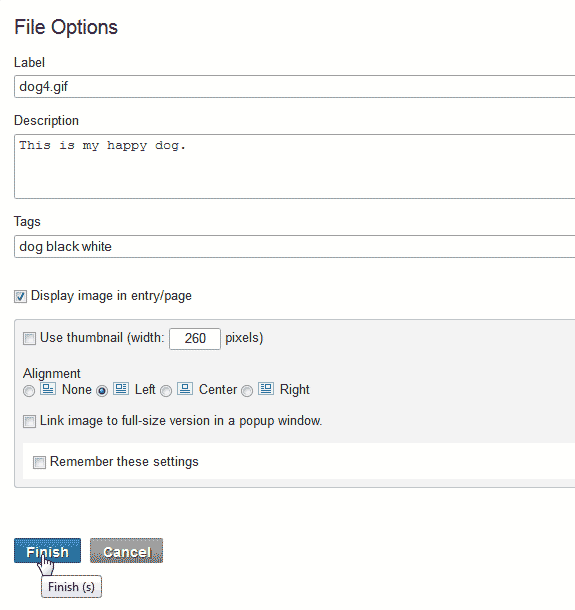
Set the File Options. The following table explains what each option does.
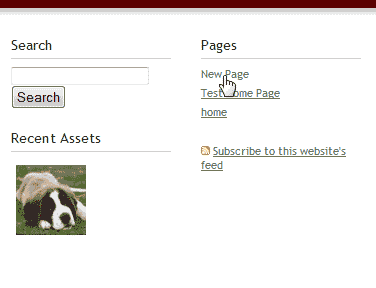
File Options Label This is what the file will be described as. By default, Movable Type will put the file name there. Description The Description is a brief explanation of what the image is. Tags Tags allow you to categorize the image in your Movable Type set up. Display image in Entry page If this is checked, the image will show in the sidebar of the site under the recent Recent Assets of the home page. Uncheck this to have the image only load in the page. Image properties This allows you to determine the thumbnail width, Alignment (None, Float right or left, and center), and a link to a Full size version of the image. Click Finish.

You will see the image in the page where you placed your cursor. When done, click Update.

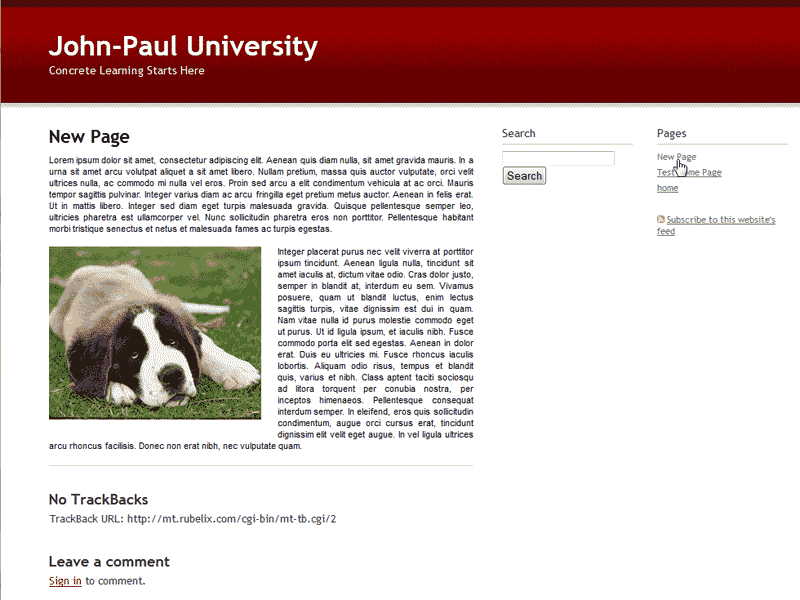
You can preview the change or go to your website and view it live. Visit your site and click the page in the navigation to the right.
You should see the image in the page now in your live site. Changes are effective immediately in Movable type so when you make a change, people will see it when they visit your site.
