Table of Contents
When setting up TikiWiki pages, there may be an occasion when you need to add an iframe to a page. TikiWiki has a built in capability to use iframes in pages. The following steps will explain how to enable and insert an iframe in TikiWiki.
Steps to add an iFrame in TikiWiki
- Log into TikiWiki.
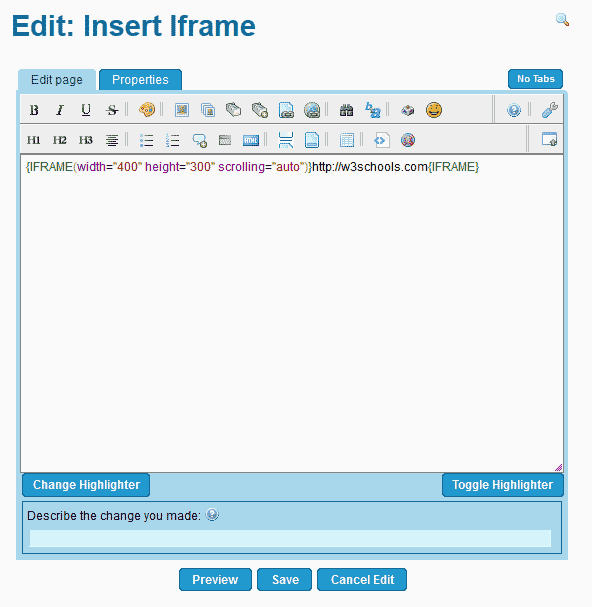
Edit the page you want to insert the iframe into.
- Insert the following code into your page.
You will need to supplement the https://website.com with the url you want your iframe to load.
Click Save.

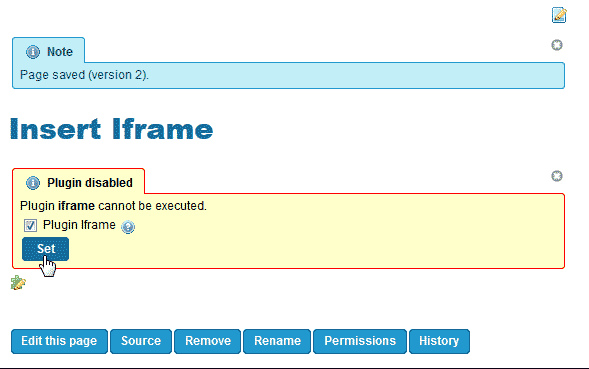
Initially, the iframe plugin is not enabled. You will need to enable it. You should see a “Plugin Disabled” warning. See image to the right.
Check the Plugin iframe check box and click Set.
You should have a confirmation saying “Preference wikiplugin iframe enabled“.

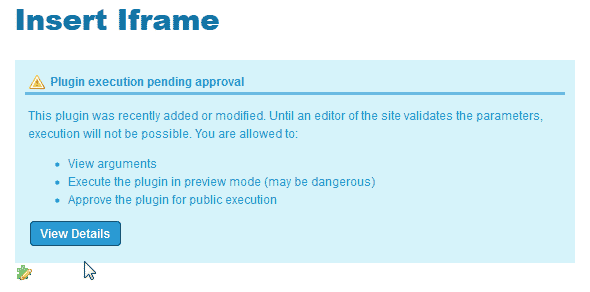
Go back to the page you inserted the iframe into and edit it. When visiting the page, you will get a notification that says, “Plugin execution pending approval“.
Click View details.

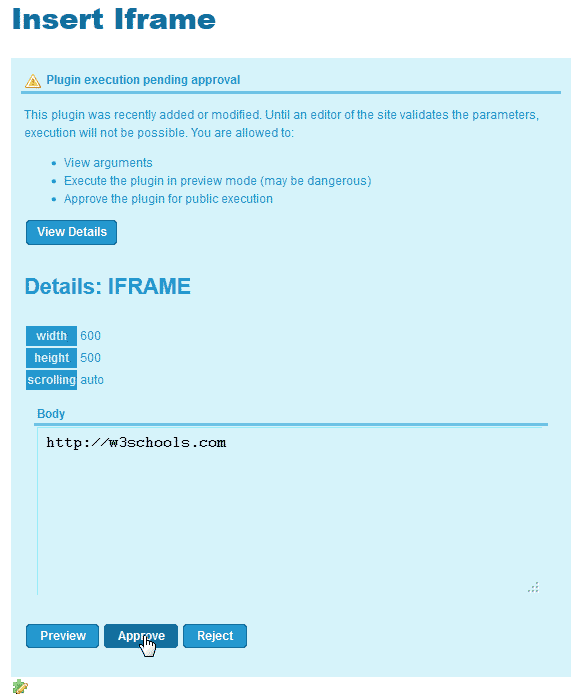
The details of what is being inserted into the page will display. Click Approve.
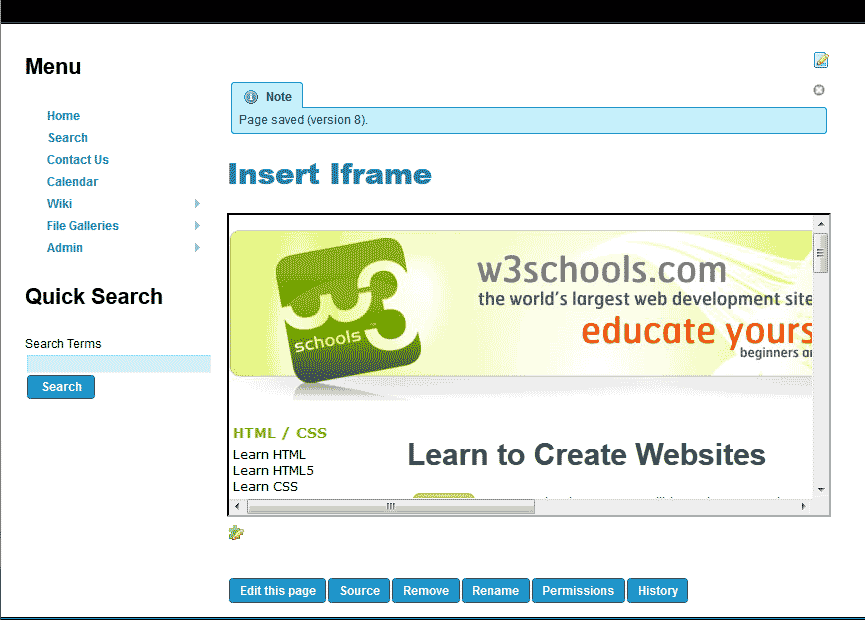
Now you will see the iframe display on your TikiWiki page.
