Table of Contents
Now that you have been introduced to responsive templates, we can start building the template. The first step in creating a Responsive template is to add the code for the header, body, and footer.
Adding the Responsive Template HTML code
You will need to create an HTML file that you will use to create the HTML for the webpage.
1. Create an HTML page called index.php.
Once you create the HTML file, you can paste the below in to the page.
Note! The HTML code has filler Lorem Ipsum text in it. You can put whatever text you want.
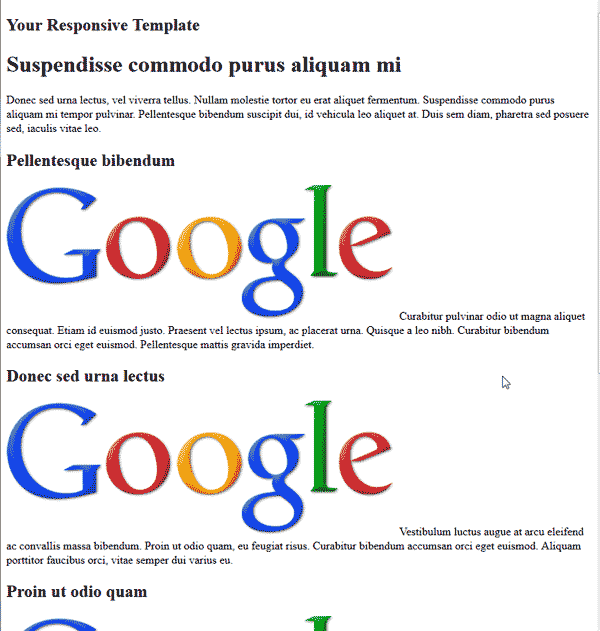
<div id=”main-content”> <div id=”inner-content”> <h1>Suspendisse commodo purus aliquam mi</h1> <p>Donec sed urna lectus, vel viverra tellus. Nullam molestie tortor eu erat aliquet fermentum. Suspendisse commodo purus aliquam mi tempor pulvinar. Pellentesque bibendum suscipit dui, id vehicula leo aliquet at. Duis sem diam, pharetra sed posuere sed, iaculis vitae leo.</p> <div class=”box”> <h2>Pellentesque bibendum</h2> <img class=”image-box” src=”https://www.google.com/images/srpr/logo4w.png” /> Curabitur pulvinar odio ut magna aliquet consequat. Etiam id euismod justo. Praesent vel lectus ipsum, ac placerat urna. Quisque a leo nibh. Curabitur bibendum accumsan orci eget euismod. Pellentesque mattis gravida imperdiet. </div> <div class=”box”> <h2>Donec sed urna lectus</h2> <img class=”image-box” src=”https://www.google.com/images/srpr/logo4w.png” /> Vestibulum luctus augue at arcu eleifend ac convallis massa bibendum. Proin ut quam, eu feugiat risus. Curabitur bibendum accumsan orci eget euismod. Aliquam porttitor faucibus orci, vitae semper dui varius eu. </div> <div class=”box”> <h2>Proin ut odio quam</h2> <img class=”image-box” src=”https://www.google.com/images/srpr/logo4w.png” /> Vivamus ut enim eu leo euismod semper. Cras sagittis auctor ante, sagittis scelerisque diam iaculis at. Pellentesque mattis gravida imperdiet. Praesent vestibulum volutpat vestibulum. </div> <div class=”box”> <h2>Vestibulum luctus elementum</h2> <img class=”image-box” src=”https://www.google.com/images/srpr/logo4w.png” /> Quisque eget leo eget magna ultrices tincidunt. Vestibulum luctus elementum sollicitudin. Sed at mi sit amet nisl semper tincidunt non in lorem. Donec semper commodo interdum. </div> <br style=”clear:both” /> </div> </div> <div id=”footer-content”>Copyright © 2013 | My Responsive Web Template</div> </div> </body>
2. Save the page.
You will now have a page with no styles just content. Now we need to create the CSS files for the Template to change between different layouts.
The Next tutorial will explain how to add the styles to the stylesheets for your Responsive webpage.
