Table of Contents

Laravel, a powerful MVC (Model-View-Controller) PHP framework, is designed for developers who need a simple and elegant toolkit to create full-featured web applications. Laravel is known for its expressive routing and views which are fundamental components of any Laravel application. This article guides you through the basics of creating a route and a view in Laravel, ensuring a solid foundation for your application’s user interface and access points.
- Getting Started with Laravel
- Creating a Basic Route
- Creating Views in Laravel
- Best Practices
- Debugging Routes and Views
- Conclusion
Getting Started with Laravel
Before diving into Laravel’s routing and views, ensure your development environment meets the following requirements:
- PHP (version as specified by your Laravel version’s requirements)
- Composer, PHP’s dependency manager
- A Laravel installation
Understanding the Project Structure
- Laravel’s route definitions are located in the
routesdirectory. - Views are located in the
resources/viewsdirectory.
Understanding Routes in Laravel
Routes in Laravel define URLs for your application and direct traffic to appropriate controllers or closures. They are the map of your application’s endpoints.
Creating a Basic Route
- Open the
routes/web.phpfile. Here you can define all your web routes.
The default routes/web.php file contains a route that returns the welcome view.
- Add a simple GET route that returns a string response:
Now if you visit your application’s URL + /welcome, your browser will return a simple page with the string “Welcome to our Laravel application”.

Route Parameters
You can capture user input through URL segments by defining route parameters in /routes/web.php
With this route, if you visit your application’s URL + /user/ + any string of characters, that string will be passed to the $name variable.

Creating Views in Laravel
Views in Laravel are built with the Blade templating engine, providing a convenient way to generate HTML markup with PHP.
Creating Your First View
- Create a new file named
hello.blade.phpin theresources/viewsdirectory. - Add some HTML content
Passing Data from Routes to Views
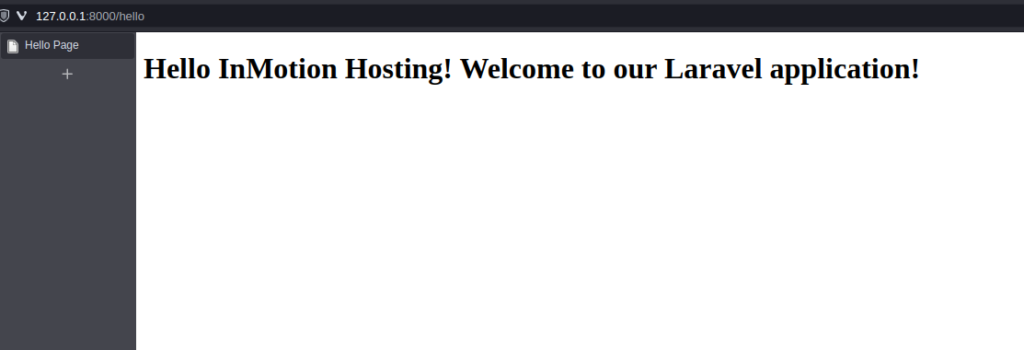
Add a /hello route in /routes/web.php and have it return the hello view with some data
In your hello.blade.php, display the passed data

Defining a route that returns a view simplifies sending data and displaying it within an HTML template. The example above illustrates passing the name variable from the route to the view, where it’s displayed dynamically.
Best Practices
- Naming Routes: For ease of reference in your application, name your routes:phpCopy code
Route::get('/welcome', function () { // ... })->name('welcome'); - Organizing Routes: Group related routes together to maintain cleaner code, using the
Route::group()method. - Keeping Views Clean: Utilize Blade components and inheritance to organize your views and reuse HTML segments.
Debugging Routes and Views
Common issues such as “route not found” or “view not found” can often be resolved by:
- Checking the route definition for typos.
- Ensuring the view file exists in the correct directory.
- Running
php artisan route:listin the terminal to list all registered routes.
Conclusion
Understanding routes and views is essential for Laravel development. This article has covered the basics to get you started. Experiment with different types of routes, pass various data types to your views, and explore Blade’s powerful features to build a robust Laravel application.
Boost your Laravel apps with our specialized Laravel Hosting. Experience faster speeds for your Laravel applications and websites thanks to NVMe storage, server protection, dedicated resources, and optimization tools.
99.99% Uptime
Free SSL
Dedicated IP Address
Developer Tools

