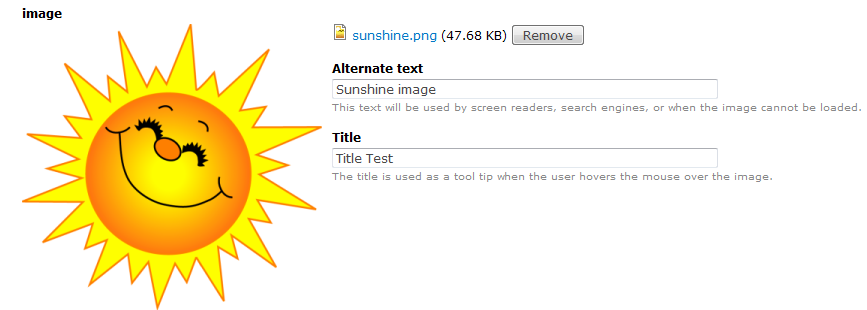
When working with content types in Drupal 7 and you decide to add an image, a preview of that image will show in the editor area after you link it to your page. This preview can be sized differently, depending on your content type. This means you have the ability to set the preview for a specific size and it will appear that way in all pages for that specific content type. For example, all Articles will display the preview the same way, all Basic pages the same, etc.
This is a setting that is only for the user creating the page and will not display anything any differently for site visitors. Setting the Image Preview Style in Drupal 7 can be done by following the steps below.
Setting the Image Preview Style in Drupal 7
- Log into the Drupal 7 admin dashboard.
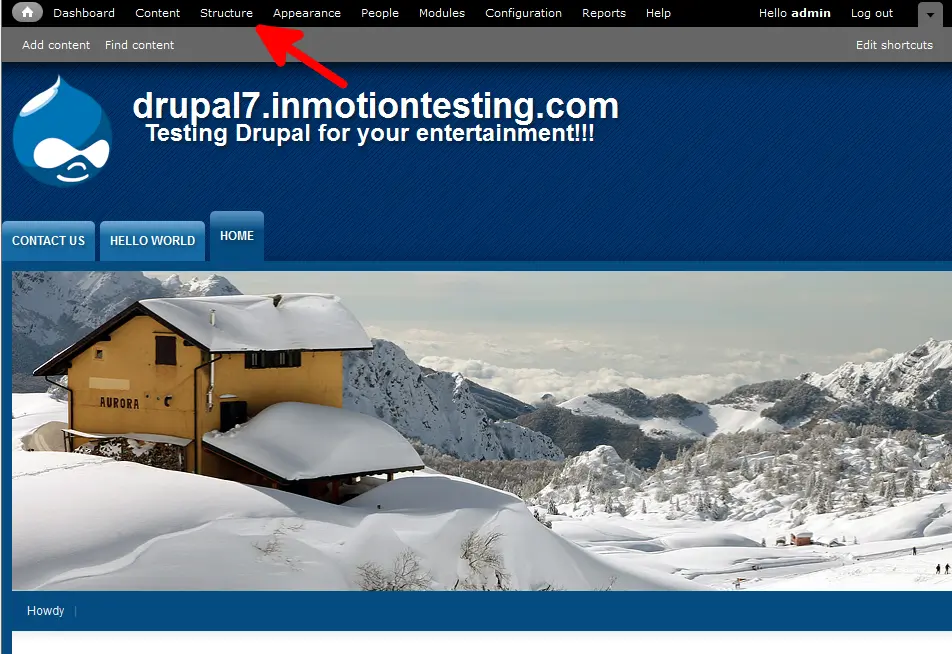
- Using the top menu bar, locate and click on the Structure option.

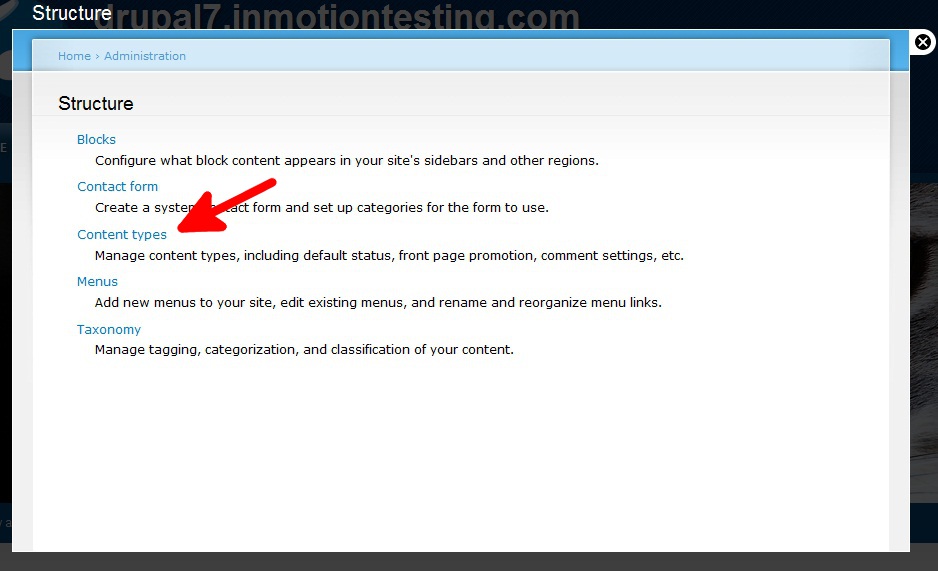
- From this next page, click on the Content Types link.

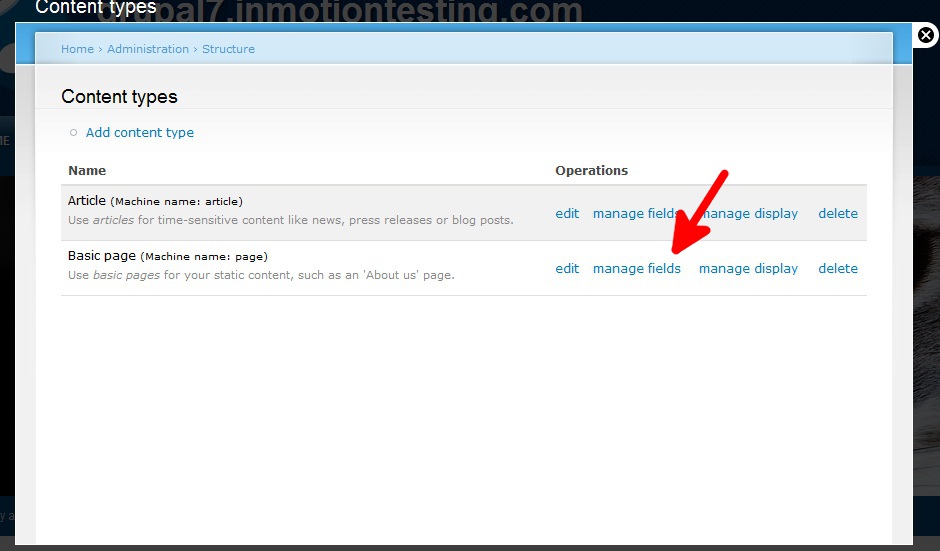
- On the Content Types page, find the type of content you want to work with. For example, I have been working with Basic Pages so I will choose that for this tutorial as well. After locating your desired content type, click on the appropriate Manage Fields link.

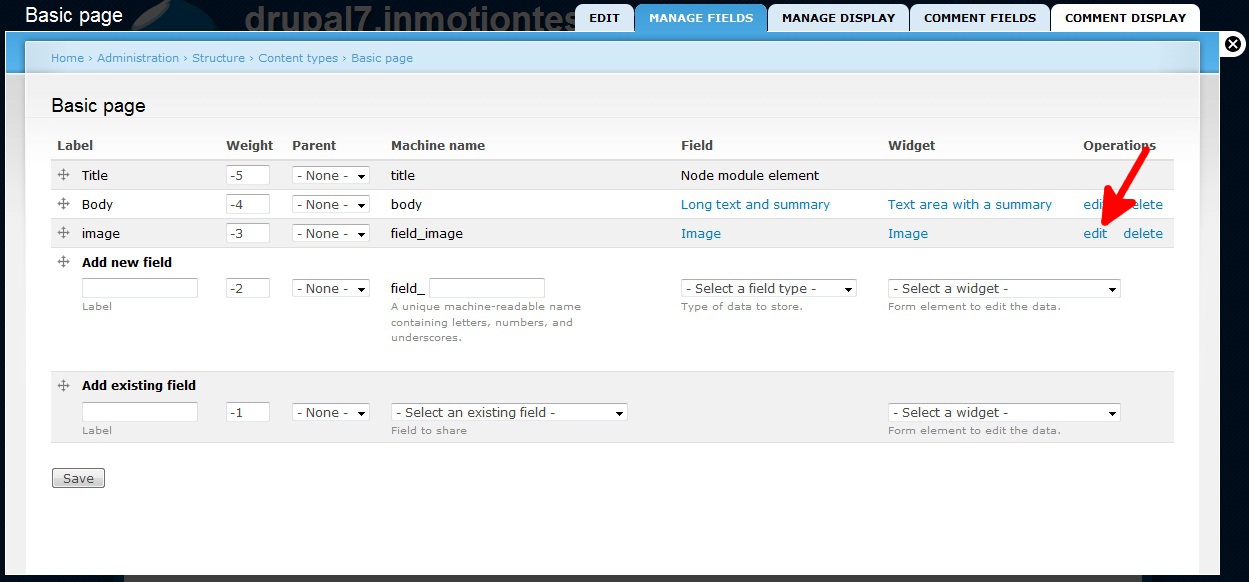
- Next, find the Image row and then click on the Edit link to take you to the settings page.

- You are now on the settings page for the image field. From here, scroll down and find the Preview Image Style setting. This setting is a dropdown with the following default options (<no preview>, thumbnail, medium, large). Click on the selection of your choice.|

- Once you have selected your Preview Image Style, click on the Save Settings button at the bottom of the page to save it. Whenever you add an image for this content type, that image will preview according to this selected size in the admin area. Below are samples of the each of the default settings.
thumbnail medium large 


