As we continue our tutorial series on working with banners in Joomla 3.0, we will now discuss banner categories.
Why should I create banner categories?
Organization
Creating categories helps to organize your banners. If you’re only going to have 1 or 2 banners, you may not need to create banner categories.
Showing Banners
Besides helping to organize your banners, banner categories can also be used to decide which banners to show on which pages. For example, if you have a website all about the most common content management systems (such as Joomla and WordPress), you can decide to only show Joomla banners on pages about Joomla, and only show WordPress Ads on articles about WordPress.
When creating a banner module to show a banner, under the Basic Options tab you will find a setting labeled Category. You can use this setting to show only banners from a specific category or a set of categories.
How to create a new banner category
- Log into your Joomla 3.0 admin dashboard
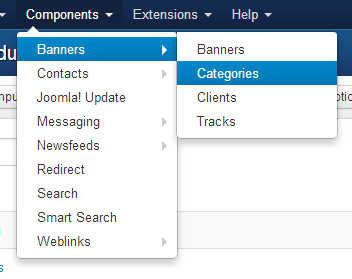
- In the top menu, click Components and then click Banners
- In the left menu, click Categories
- In the top left of the page, click New
- There are quite a few settings available. Fill in the appropriate settings on this page and then click the Save button in the top left of the page. In our testing, we entered the following information:
Title Enter a title for the new banner category In our testing, we plan to create a website describing how to use various content management systems, such as Joomla, Drupal, and WordPress. Therefor, we will create a banner category for each of these programs. In this first test, we entered Joomla as the Title.
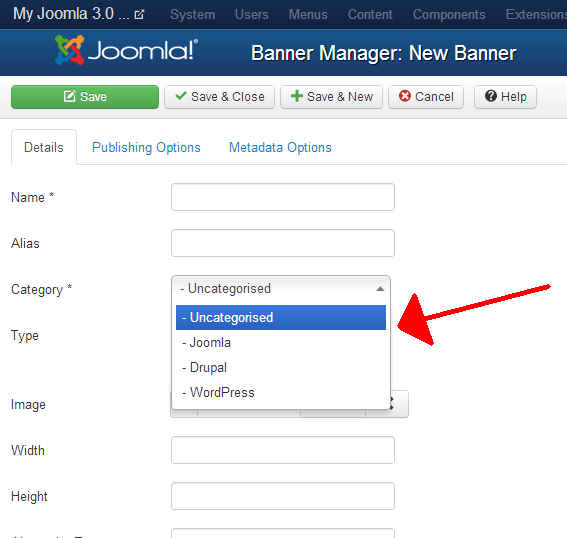
Congratulations, you have just created a new banner category! When creating a new banner, you will now see this new category appear. We’ve created the Joomla category, and we also created Drupal and WordPress banner categories as well. As you can see in the screenshot to the right, these new categories now show when we create a new banner:

