When customizing your site to best represent you or your company, you will want to change some areas from the default displays. One of these is the footer. The default footer displays the text ‘Powered by Drupal’. While this may be fine, perhaps you want to add a copyright for your business, or contact information such as an address and phone number. This article will explain how to create your custom footer to replace the default one in your Drupal website.
Creating a custom footer in Drupal:
- Log into your Drupal admin dashboard.
- From the top menu bar, locate the Structure option and click it.
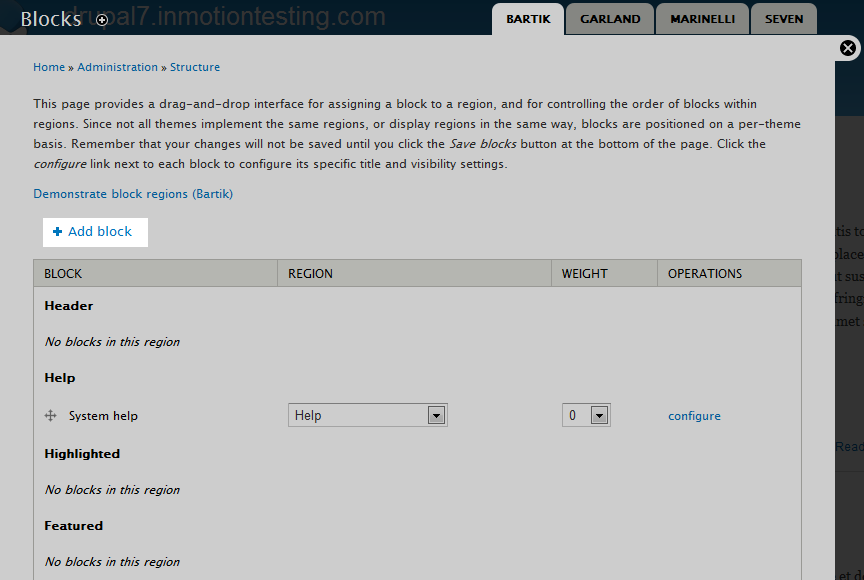
- This leads you to the Structure menu. From here, find and click on the Blocks option.
- From the main block list, select the Add Block option.

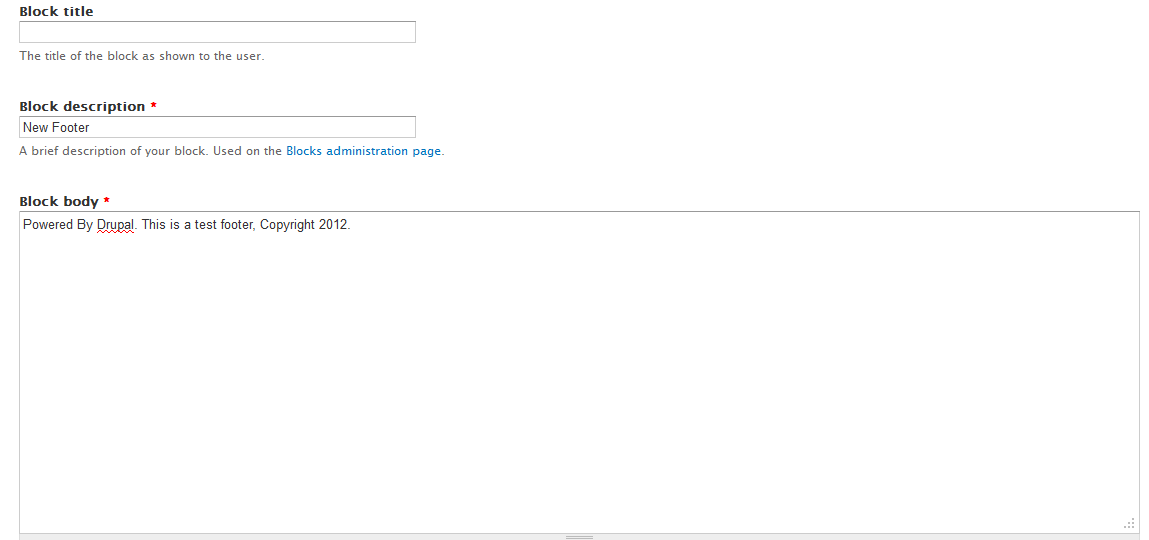
- This brings you to the New block creation screen. From here fill out the appropriate fields on the page.

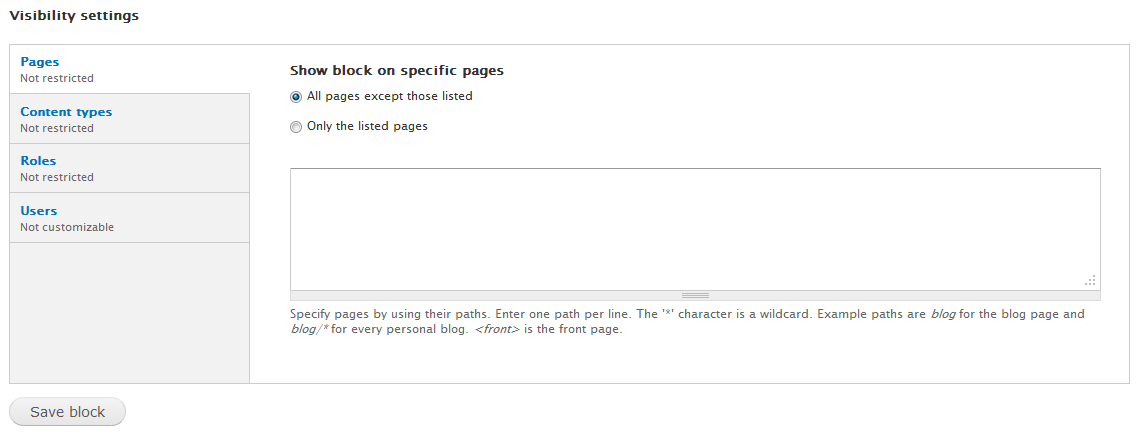
Block Title Optional title for the block. The text entered here will display on the page. Block Description The title that will appear in the back end. This is the name displayed in the Block list. Block Body The content you want to display on the webpage footer. Region Settings A set of dropdowns for each theme. Select which area you want the new block to appear. In this case, the Footer area of the Bartik theme. Visibility Settings Various restriction options. By default, it will display on all pages and for all users. - Once you have the settings inserted, click the Save Block button at the bottom of the page.
- You now want to confirm that the new block is showing in the Footer are of the theme.

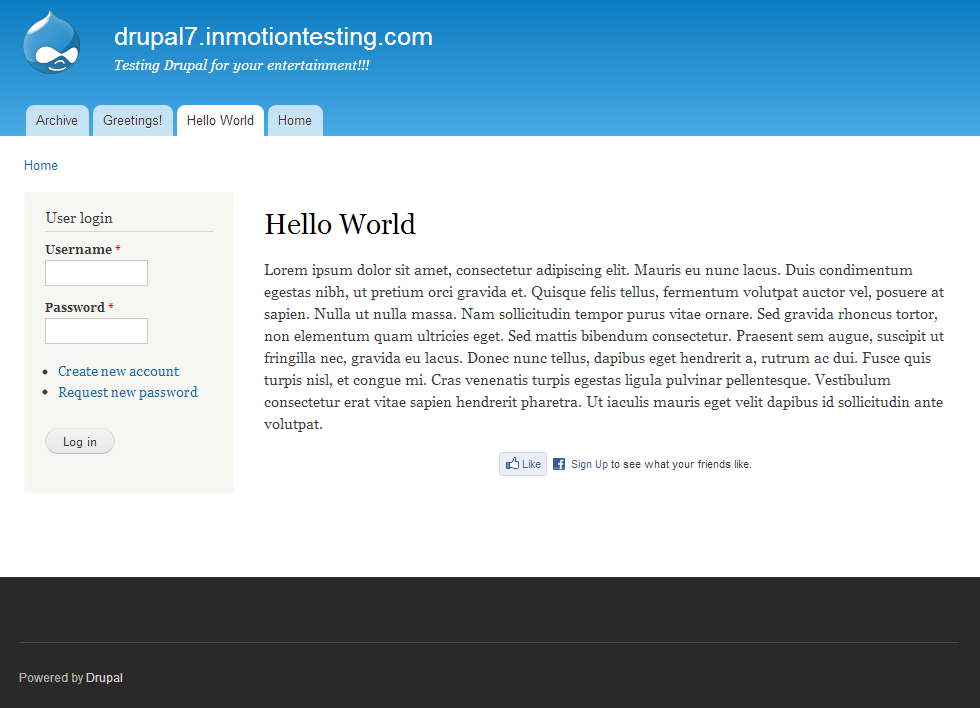
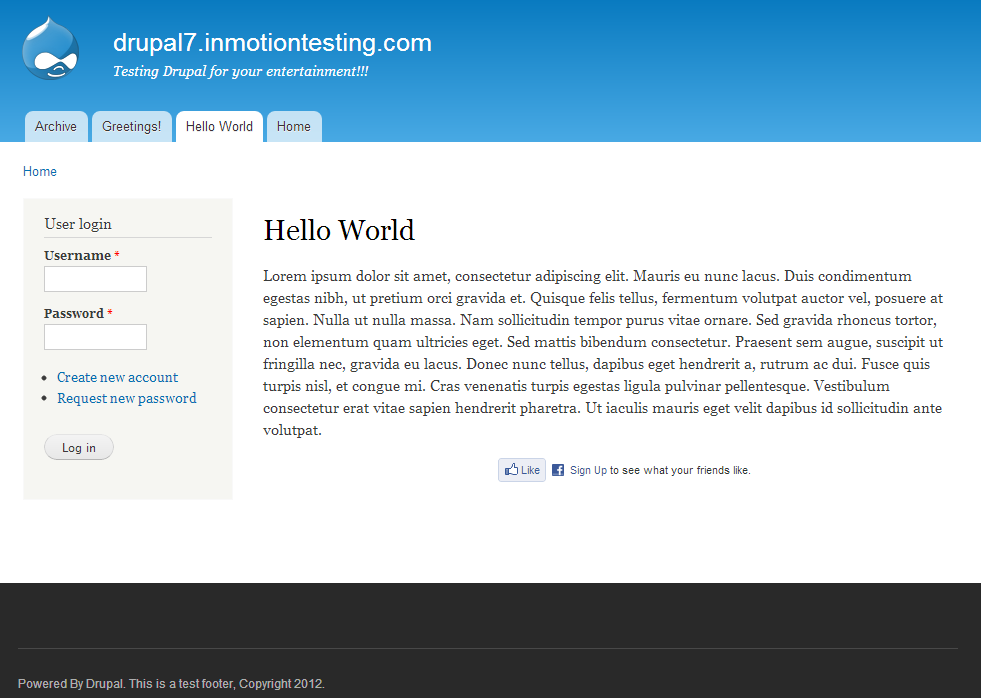
Your new footer should now display on your website. Below is a before and after screenshot of the changes made in this tutorial.
Before After 



Thank you so much, wonderful information!
Glad it helped you Kristi!
thank you so much
Step 1. Go to your theme folder and look for “.info” file. I am using theme “corporate” so info <a href=”https://essayservices.org/”>file</a> will be located “themes\corporate\corporate.info”. You will see different location/blocks in your theme. like below:
Step 2. Add your block into the file like below:
Step 3. Update your template file with this new block. Open “page.tpl.php” located in “themes\corporate\templates” and add your block like below:
Step 4. Release the cache from admin -> Configuration -> Performance. And click “Clear Cache” button to release the cache. Now if you go the block in structure, you can see “welcome Header” section is getting listed in region drop down. Now you can select “Welcome Header” region for your block.
– Source from sforsuresh.in
Excellent article helped me a lot!