When using a theme that does not have theme editing options, you can edit the theme code and change Moodle logos within the theme itself. Please note that this article is somewhat advanced, so if you are not comfortable editing code, please contact a web developer for assistance. Before you can add the logo to your Moodle site, you will need to upload a logo file to your server. In this article we will explain how to change Moodle logos by adding code to the header (top) and footer (bottom) of the “Fusion” theme. While this article will explain how to edit the code in the “Fusion” theme for tutorial purposes, other themes can be edited in this way as well.
Topics Include:
Changing Logos in Moodle
Uploading Your Logo File
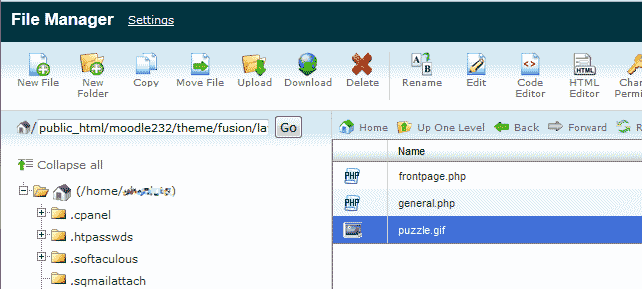
Upload the logo file into your “Fusion” theme directory at the following location path:
theme/fusion/layout
For information on how to upload your files to your server, see our article on how to upload a file via cPanel. Once you upload your logo to your Fusion theme directory, you can link to your image using a link like the following:
https://your-moodle-site.com/theme/fusion/layout/logo.gif
How to Change Moodle Logo in Header via CSS
Logos on most sites are placed next to the website title. The following steps will show you how to place your logo in the header of the “Fusion” theme.

- First, use a text editor or the cPanel file manager to edit the theme/fusion/layout/frontpage.php page in the “Fusion” theme.
- Within the frontpage.php file, find the line of code that reads <!– START OF CONTENT –>
To add the logo to the theme file, you will need to link to it with the following code structure:<img src="https://your-moodle-site.com/theme/fusion/layout/logo.gif" style="float:left;padding: 0px 20px 0px 0px;" />Place this image link in the
id="region-header" <div>section. You will also need to use<br style="clear:both;" />within theid="region-header"section before the</div>tag in order for the logo to display properly.The code should look like the following when done:
<div class="region-content"> <div id="region-header"> <img src="https://your-moodle-site.com/theme/fusion/layout/logo.gif" style="float:left;padding: 0px 20px 0px 0px;" /> <h1 class="headermain"><?php echo $PAGE->heading ?></h1>
<p class="tagline"><?php echo $tagline ?></p> <br style="clear:both;" /> </div> - Repeat the same steps for the general.php page by navigating to the
theme/fusion/layout/general.phpfile. - Once done, visit your Moodle site. If successful, you should see the logo show in the header of your web page.
How to Change Moodle logo in Footer
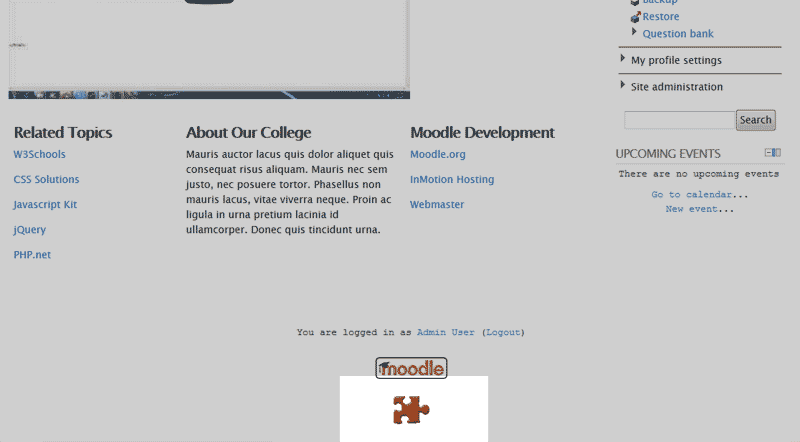
Adding a logo to the footer of the “Fusion” theme is similar to adding the logo to the header. In this section, we will add the logo so that it is centered at the bottom of your Moodle footer.
- To change the Moodle logo in the footer you must edit the theme/fusion/layout/frontpage.php file. Find the line of code towards the bottom that says <!– START OF FOOTER –>. Add the following image code right before the ending tag:
<img src="https://your-moodle-site.com/theme/fusion/layout/puzzle.gif" align="center" />
The entire code section should look as follows:<!-- START OF FOOTER -->
<div id="page-footer" class="wrapper clearfix"> <?php echo $footnote ?>
<p class="helplink"><?php echo page_doc_link(get_string('moodledocslink')) ?></p> <?php
echo $OUTPUT->login_info();
echo $OUTPUT->home_link();
echo $OUTPUT->standard_footer_html();
?> <img src="https://your-moodle-site.com/theme/fusion/layout/puzzle.gif" align="center"/>
</div> - Repeat step 1 for adding the logo code to the
theme/fusion/layout/general.phppage.If successful, the logo will now show within the footer.


