Movable Type does not have any logo in the template by default. In order to place your logo in the header section of your site, you will need to upload your image to the Assets, then add the HTML code in the template Header Banner linking your logo in the code. Below are the steps to insert a logo into your Movable Type websites Default theme.
Steps to upload a Logo
- Log into your Movable Type Dashboard.

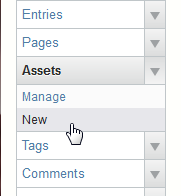
On the left side where it shows “Assets“, click New.

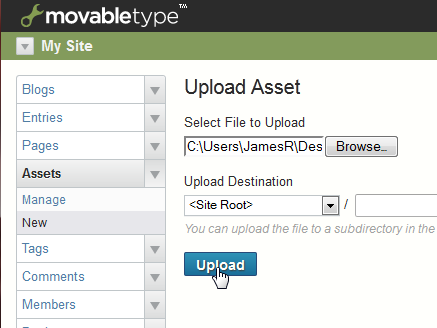
Upload your Logo to the server.

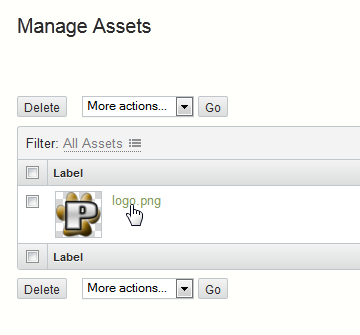
Click your logo on the Manage Assets page.

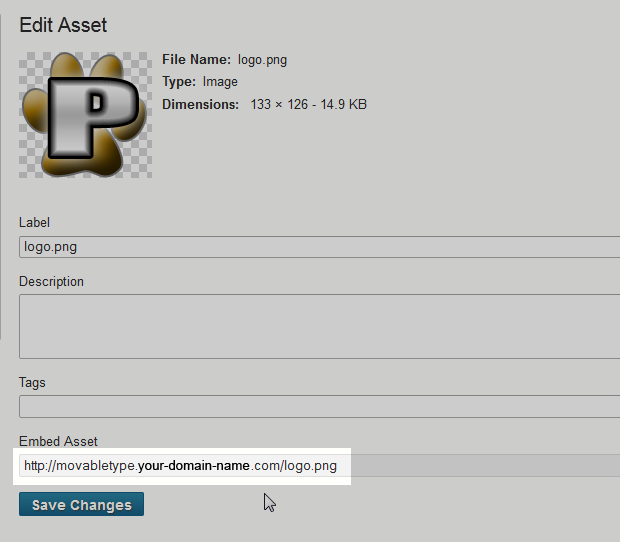
Find the path to your logo image. In this case, the logo was uploaded to the main folder of the Movable Type install directory.
In this case, the logo was uploaded to the main install directory. You can use the url in the image tag on step 8.

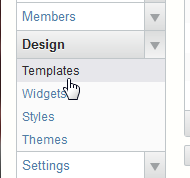
Go to “Design” on the left and click Templates.

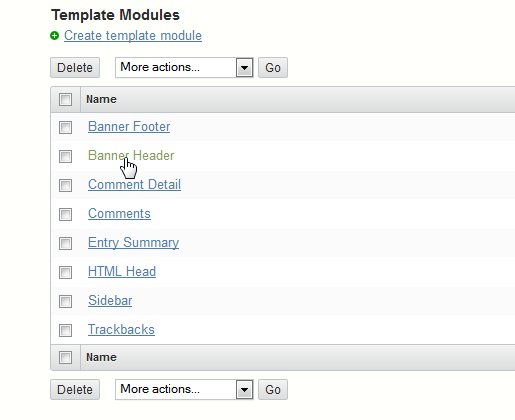
Under the “Template Modules“, click the Banner Header.
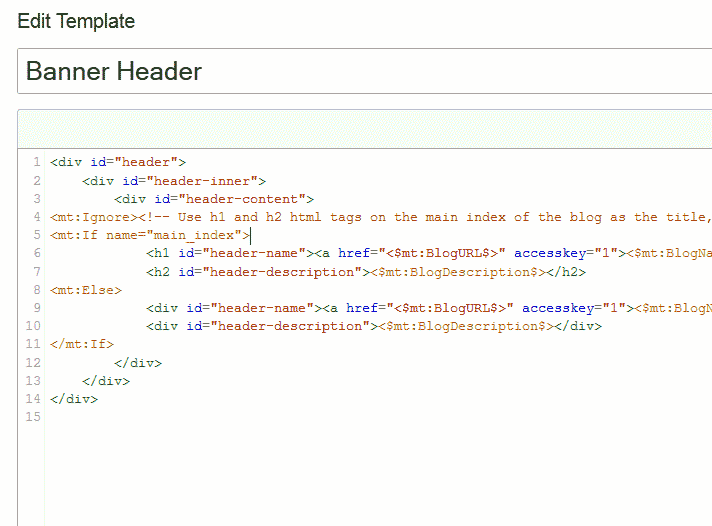
You should see the code for the header name and description.

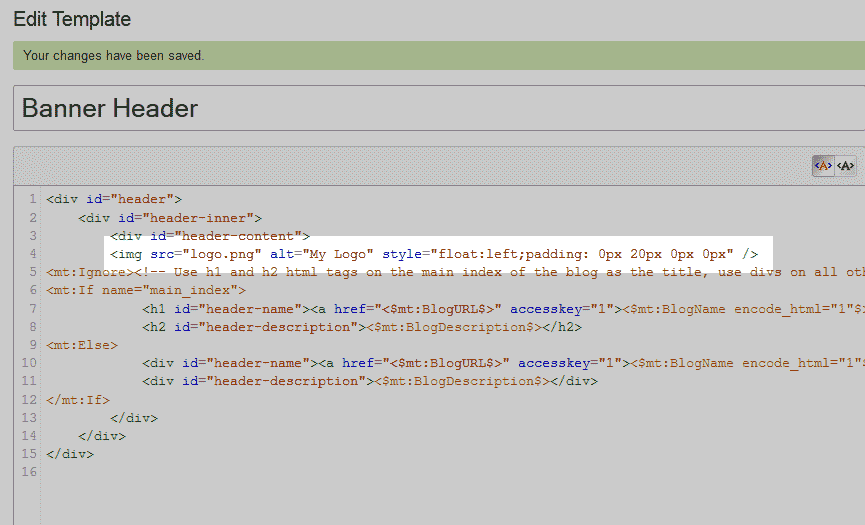
Add the following code after the <div id=”header-content”>.
<img src="https://example.com/logo.png" alt="My Logo" style="float:left;padding: 0px 20px 0px 0px" />
Save the Changes.
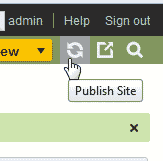
 Publish the site by clicking the Publish button at the top right.
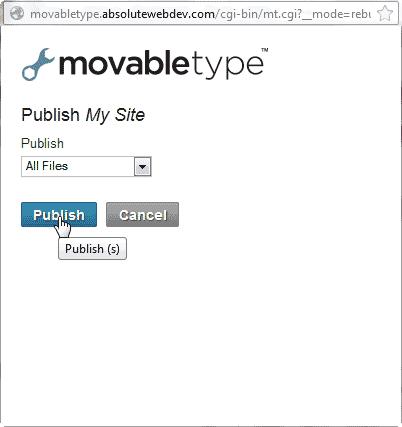
Click Publish.
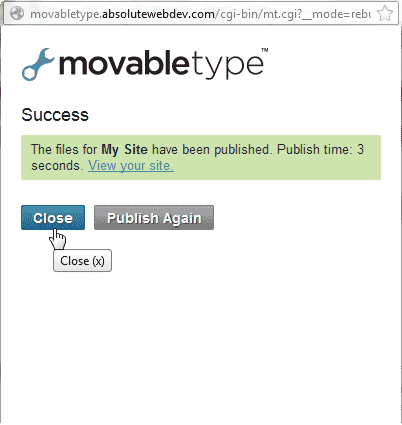
You should see a successful published notice. Close the publishing box.
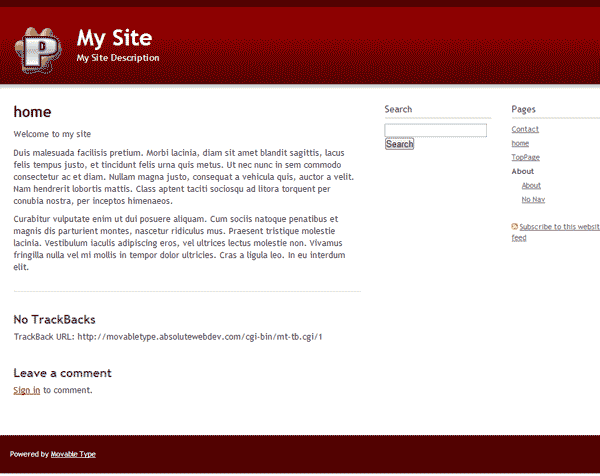
Now when you go to your website you will see you logo at the top left like the snapshot to the right.
Great work appreciated