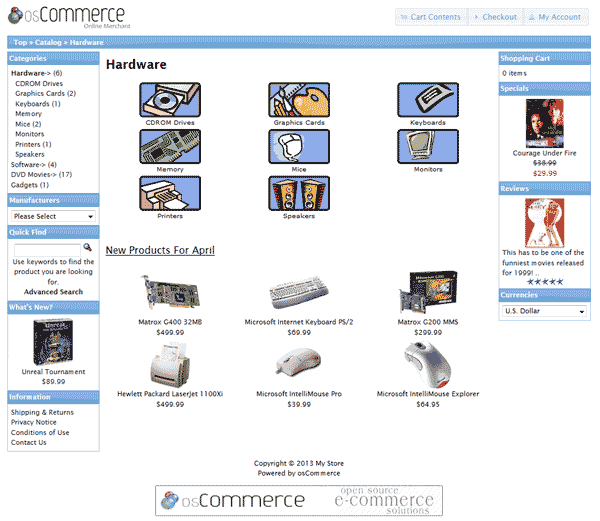
Once you have the osCommerce Theme Switcher configured and you have the jQuery version updated, you can proceed with installing themes to your osCommerce site. The default theme is shown in the snapshot to the right. OsCommerce is different from other ecommerce software in that you use the jQuery Theme Roller theme builder from jQuery. Below is the instructions on how to install a theme in osCommerce.
The jQuery Theme Roller
To get a theme for your osCommerce, you will need to go to The jQuery Theme Roller site and either create your own theme or download one form the gallery. In this tutorial we will download the “Sunny” theme from the Theme Roller site.
- Go to the following url:
https://jqueryui.com/themeroller/.

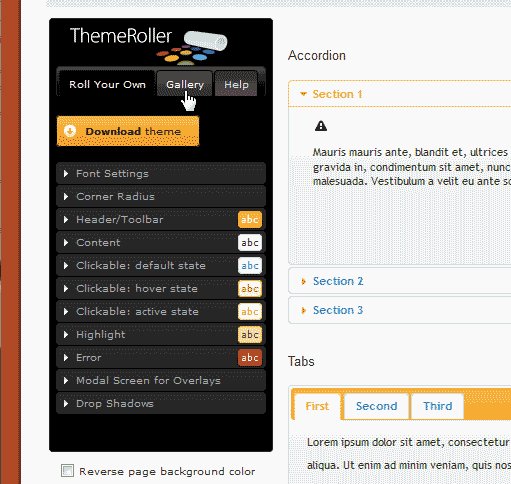
In the Theme Roller control box, click the Gallery tab.

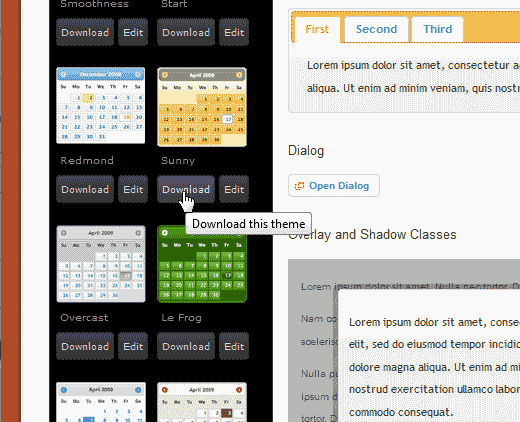
Find the “Sunny” theme and click the “Download” link.

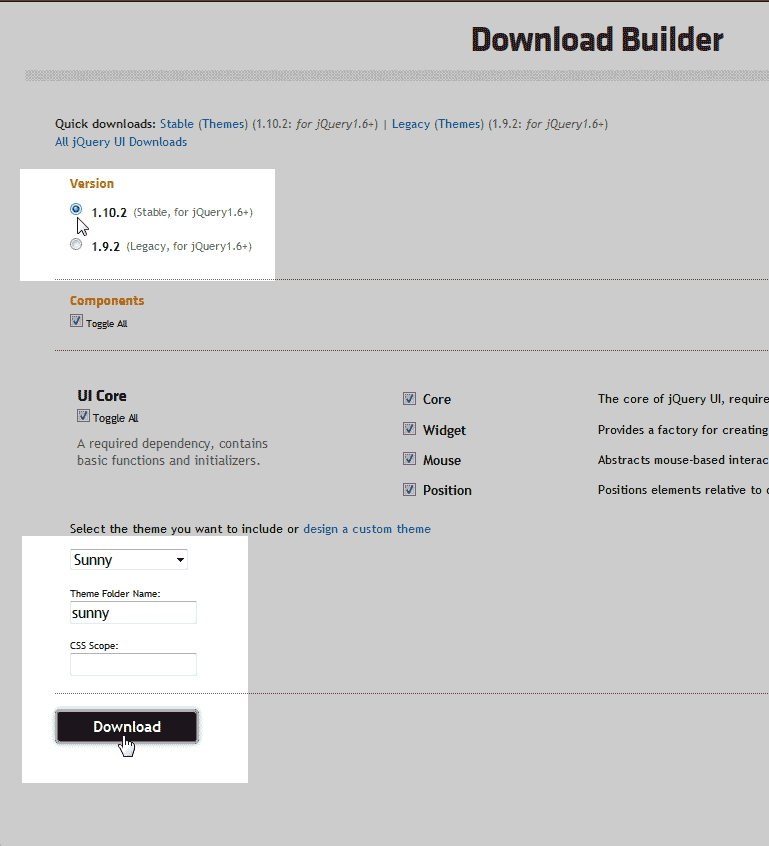
On the “Download Builder” page, Select 1.10.2 and click the Download link at the bottom of the page.
You should have a .zip file named jquery-ui-1.10.2.custom.zip saved on your computer.
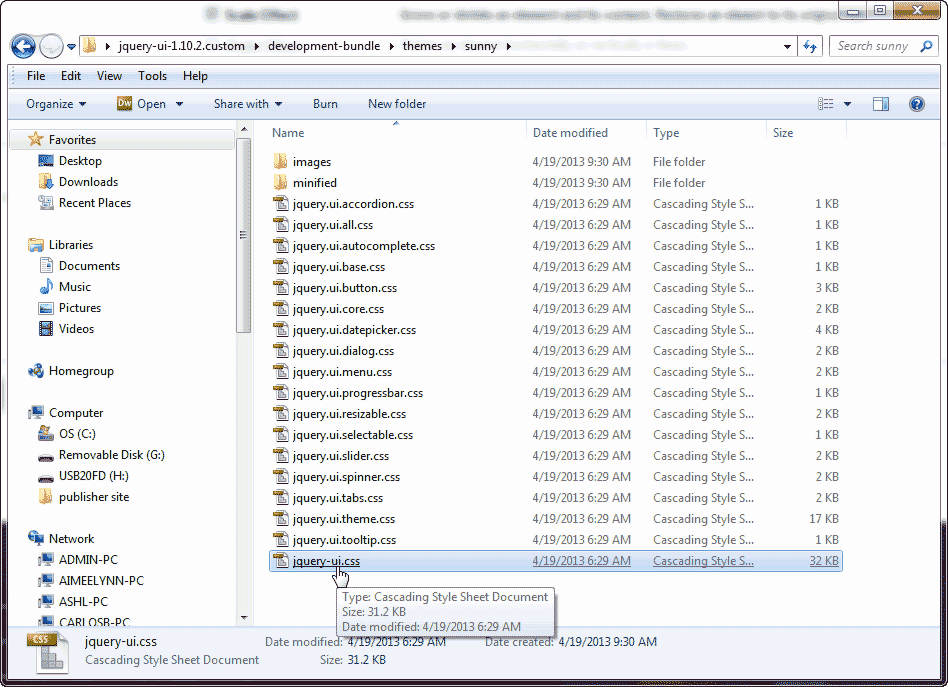
Extract the .zip file on your computer. Navigate to the development-bundle/themes/sunny/ directory in the extracted jquery-ui-1.10.2.custom folder.
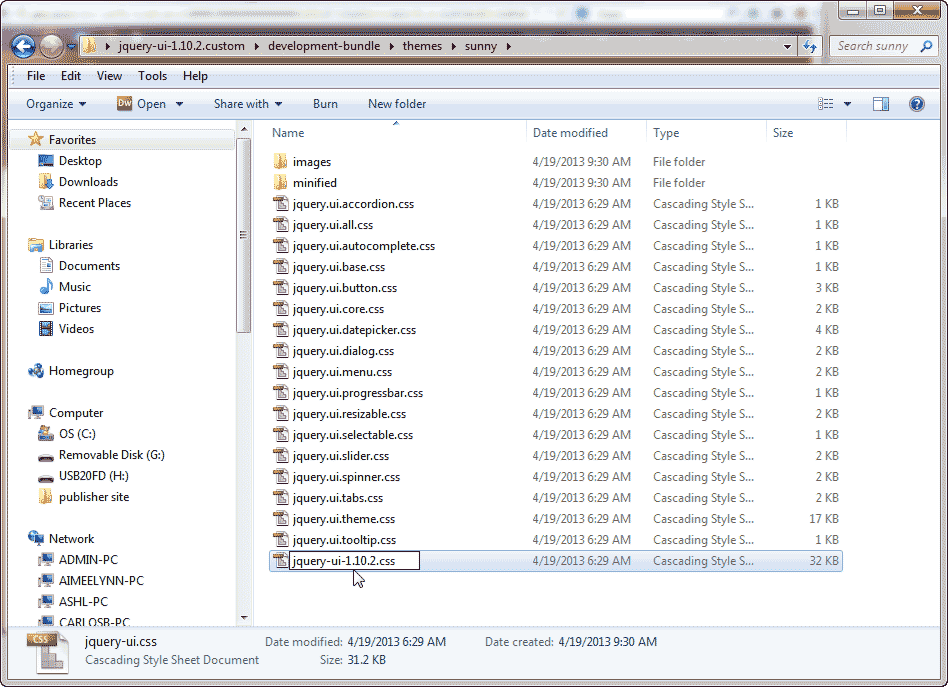
Rename the following file:
jquery-ui.css.
Rename to:
jquery-ui-1.10.2.css.
Upload the theme to your server
The next step in getting the theme on your server is to upload the theme to your server. Find the “sunny” folder in the following location in the extracted file on your computer.
development-bundle/themes/sunny
Upload the theme to the following directory on your server in your osCommerce install directory:
/ext/jquery/ui
Changing the osCommerce theme
- Log into your osCommerce Admin dashboard.

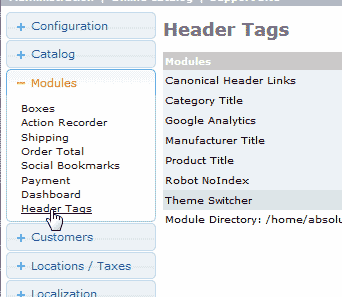
Go to Modules > Header Tags.

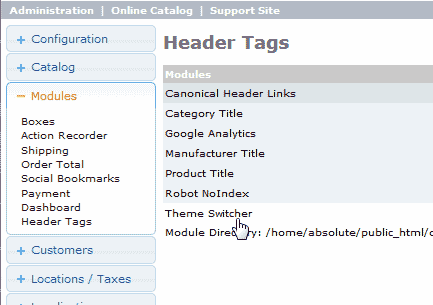
Select the Theme Switcher Module.

Click Edit.

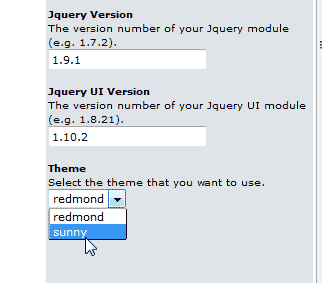
In the Theme box, you will see the “Sunny” theme in the list. Select the Theme.

Click Save.
Now when you visit your osCommerce site you will see the Sunny theme load.
