WordPress allows you to add media of different types to your pages and posts. Media types include graphics, audio, video and text files. The following article explains how to insert media using the Add Media option built into the Administrator Dashboard.
Inserting Media in WordPress 3.5.1
- Logging into your WordPress Dashboard.
- In the left hand menus, scroll down to where it says MEDIA, hover over MEDIA then click on ADD NEW when it appears.

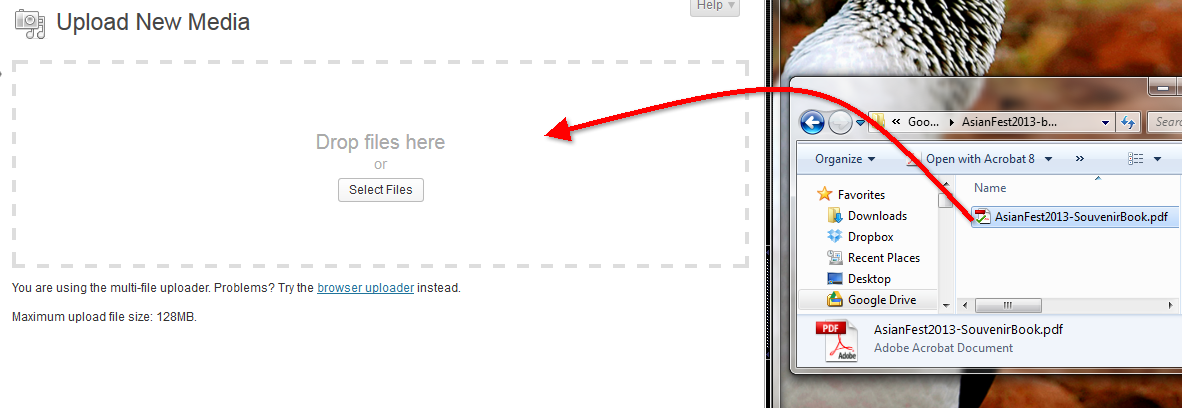
You will see a big rectangle with “DROP FILES HERE” or you can click on the SELECT FILES button. This will allow you to browse your files.

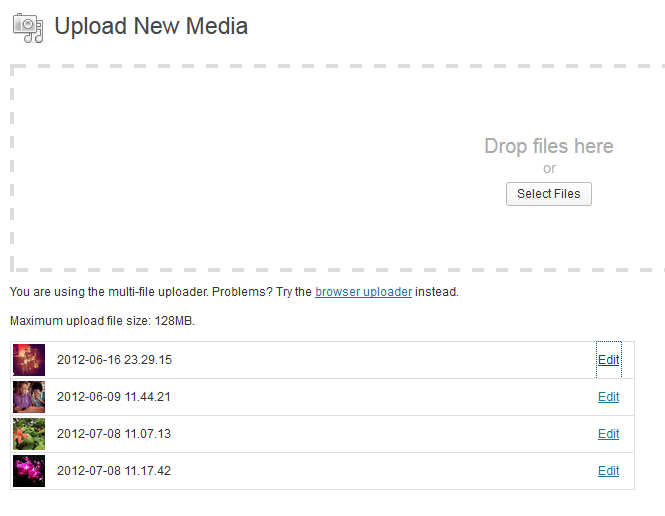
When you finish adding the file, it will be listed under the area. Note that the maximum upload size is noted on the page. You can also edit each file and add a alternative text, description and caption. Click on EDIT in order to see the available screens for the editing of an uploaded file.
- When you have completed editing the caption, alternate text or description of the file, click on UPDATE in order to save your entries.
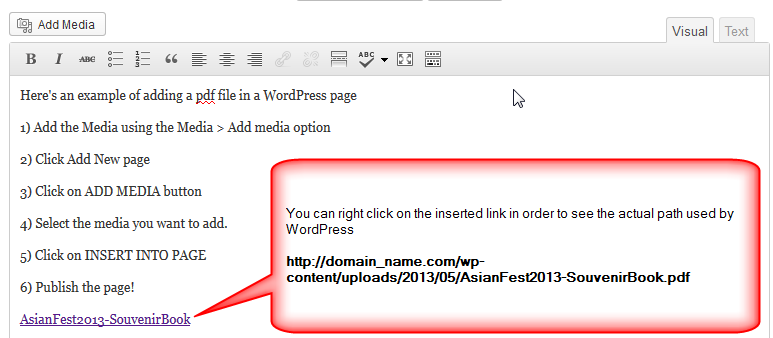
The following screenshot shows the link that is used when the media is inserted into the page
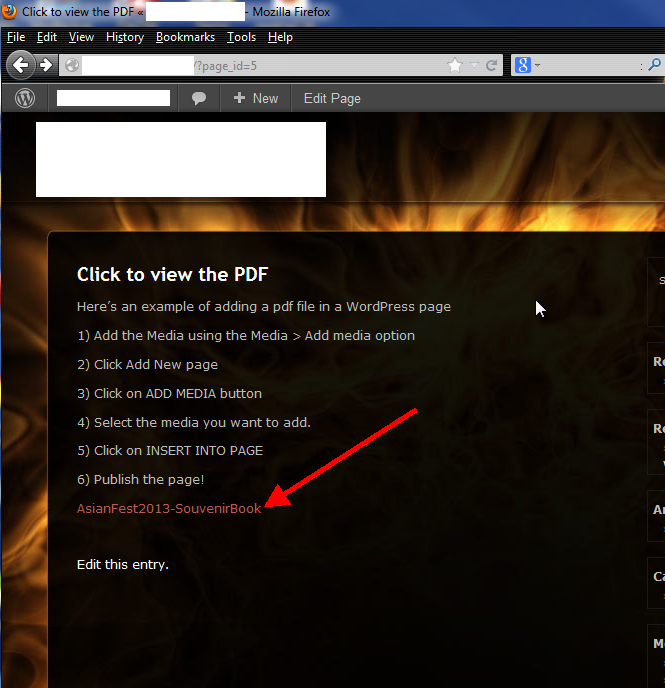
This screenshot (with the URL removed) shows how the link appears in the page:
The ADD MEDIA option can also be found in the pages and posts, but the stand-alone option is available directly in the menu. You can also add video from different sources such as YouTube or Vimeo. For more information go to the follow article to learn how to embed a YouTube video into WordPress.


