When working with content types such as Articles and Basic Pages, etc you will have the ability to configure whether they show in the navigation menus. Below is a quick guide that shows how to configure which menu the link to the content page (also called a node) will display.
Adding a node to a menu
- Log into your Drupal 8 interface.

Using the toolbar across the top of the screen, click on the Menu link.

Another menu bar will appear directly under the first one. From here, select the Content option.

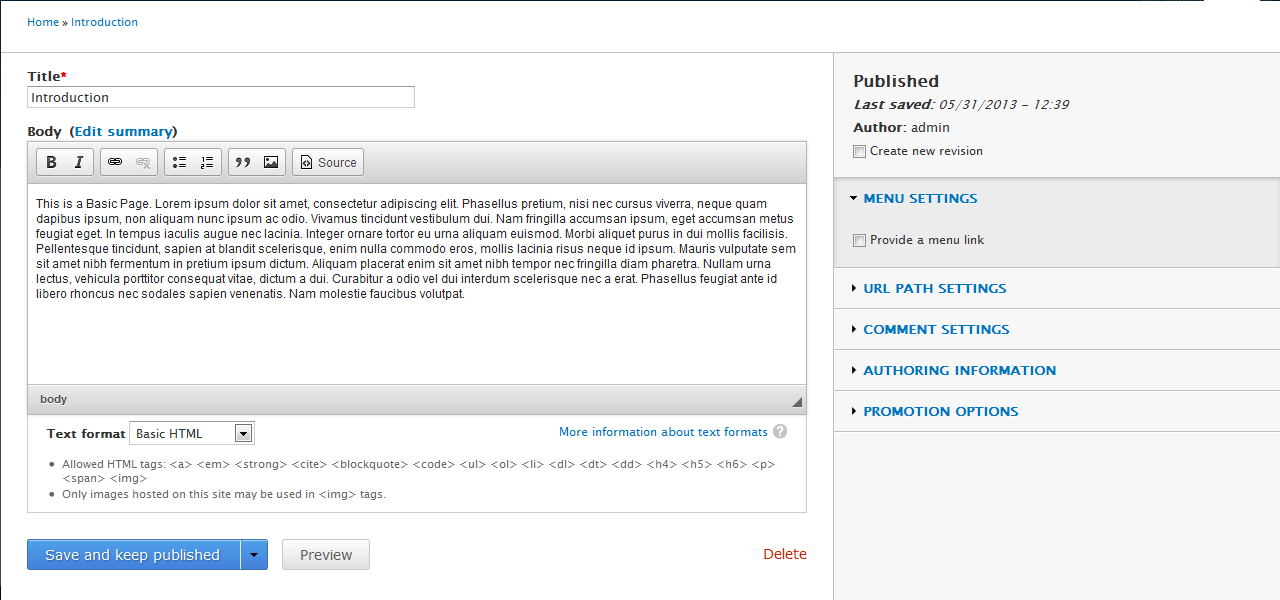
This leads you to the main content page displaying a list of all current nodes (basic pages, articles,etc) that exist on your site. Locate the node you wish to work with and click on the Edit link at the end of its respective row under the Operations column. We will work on the Introduction page.

You are taken to the content editor page for the selected node. Look over to the right hand sidebar and click on the checkbox entitled Provide a menu link which is found by clicking on Menu Settings.

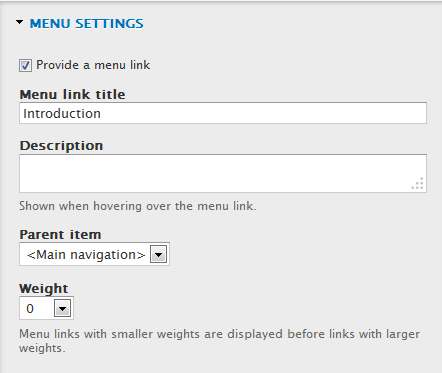
After clicking on the checkbox, the menu settings area expands underneath. From here you can set the different settings detailed below.
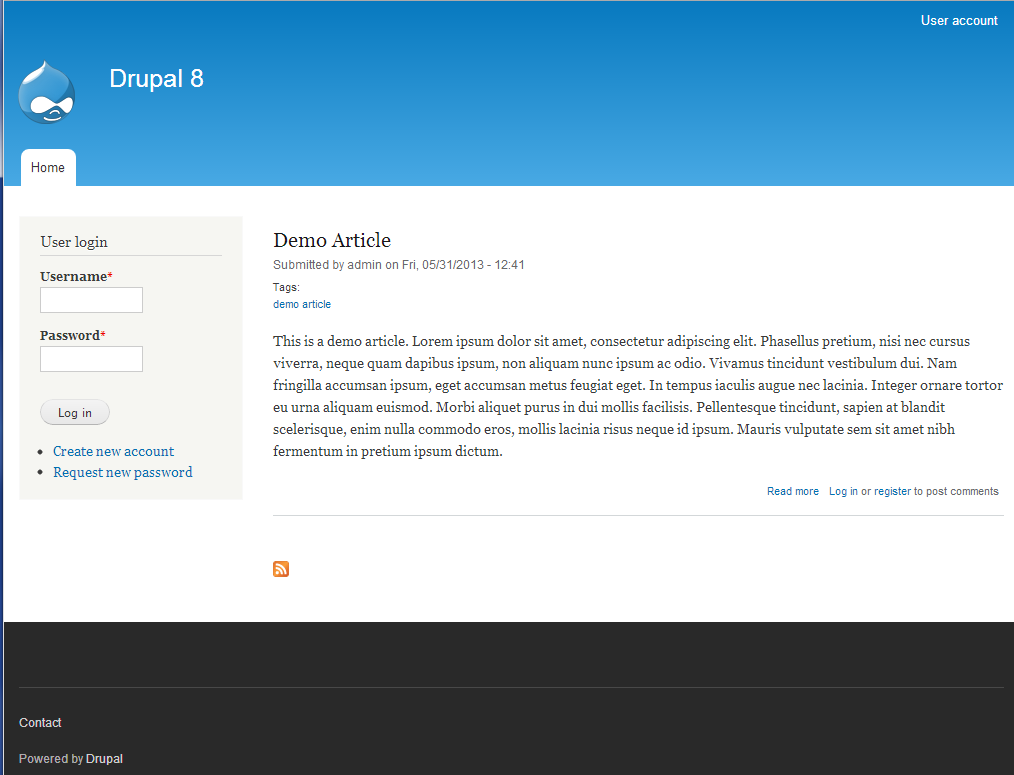
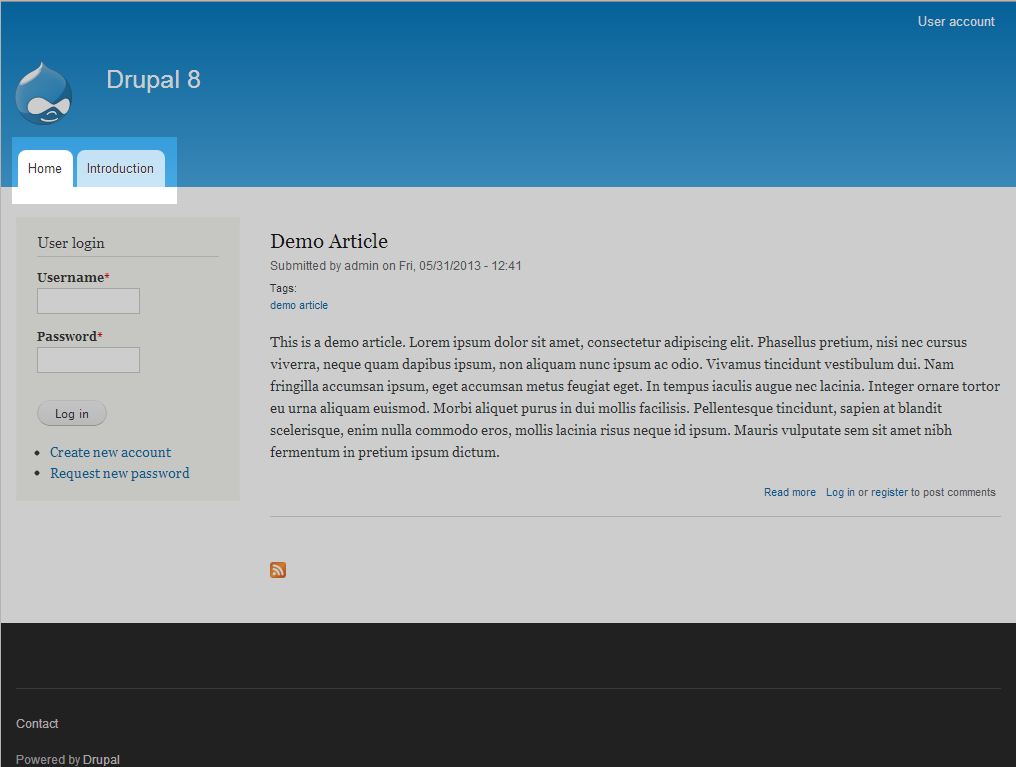
Menu link title This is the text that will display in the menu. Description A text description that displays when hovering over the menu link. Parent Item This is the menu in which you wish the link to appear. Weight This number helps determine the order the menu items appear. The lower the number the more to the left (in horizontal menus) or the higher (in vertical menus) the item will appear. Multible nodes with the same weight will be sorted alphabetically. - After configuring your menu settings for the node, click on the Save and keep published button to activate the changes. Below is a quick before and after showing how the menu link appears as set up by our examples.
Before After 


