Resetting a database the hard way
When working with programs such as WordPress, PrestaShop or even custom coded ones you sometimes need to do manual work within the databases. This may mean having to perform testing with existing data and altering the content or even clearing the database altogether. One of the more common things to do during testing and development is a manual reset of the entire database. This can be performed by deleting the database completely and then re-creating it via cPanel. It then involves re-attaching the users and ensuring their passwords and permissions are correct.
An easier way
A shorter way to handle this is to use the phpMyAdmin tool to remove all the tables at once. This leaves the database and all users in place. The passwords and permissions remain and do not need to be reset in the process. Below we demonstrate how to use the phpMyAdmin tool to quickly reset a database.
How to reset a database in phpMyAdmin
- Log into your cPanel interface.

From the main cPanel screen, look for the Databases category and then click on the phpMyAdmin tool.

This opens the phpMyAdmin tool. Click on the Databases tab at the top of the page. This lists all the databases on the account. Find the database you want to work with and click on it.

The next screen lists all the tables in the database. Scroll to the bottom and click on the Check all checkbox.

Next to the Check All checkbox isa dropdown list for commands. Find and click on the Drop option.

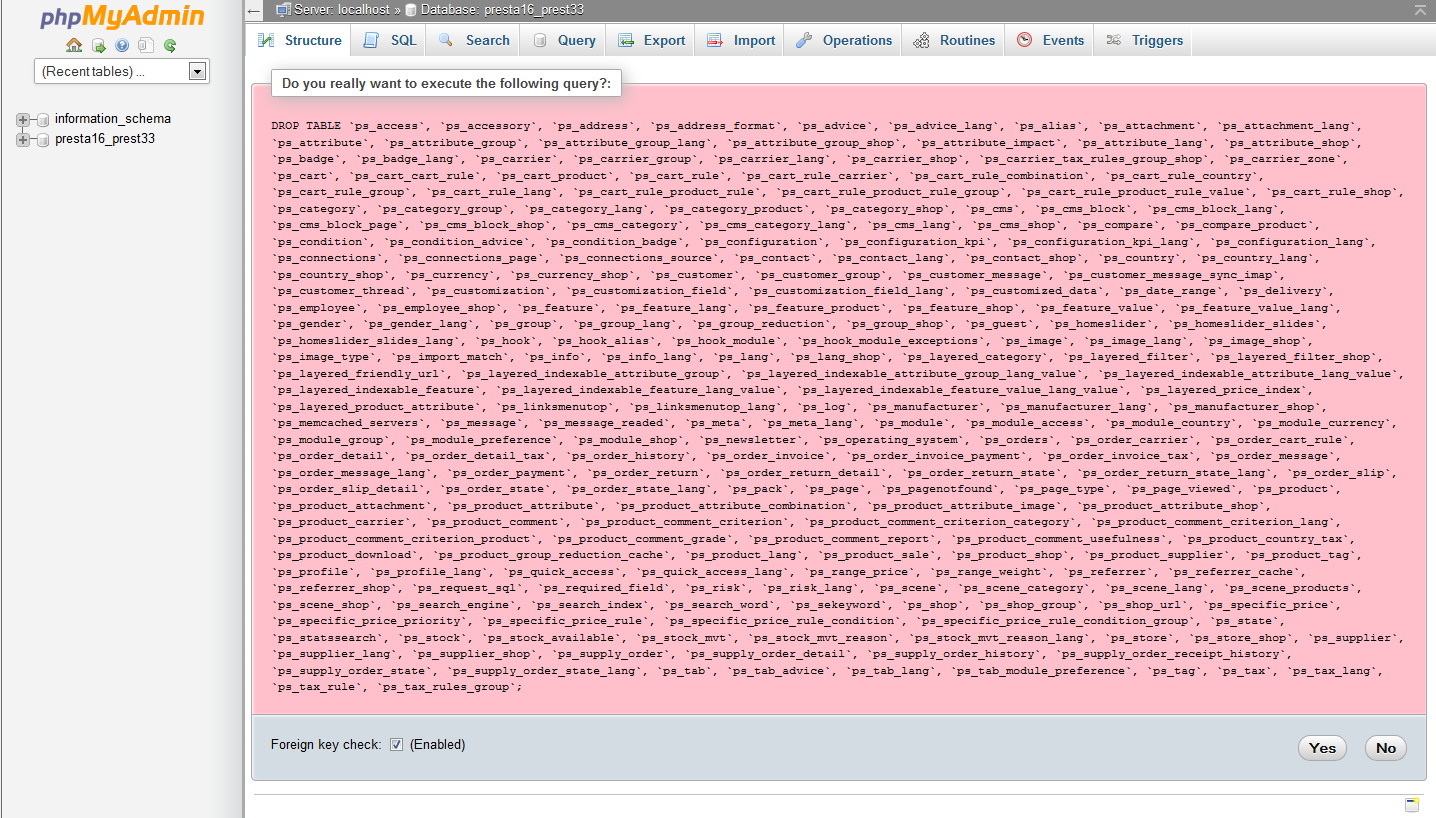
You will then be presented with a confirmation screen that displays the SQL Query phpMyAdmin will run. Click on the Yes button to confirm and run the query.

After the query runs, the tables will be removed from the list. You should see a message at the top that says “No tables found in database“. This means the database is empty.
Now that your database is empty you can continue with your testing, whether it is running a .sql file within phpMyAdmin or performing a manual installation where you need an empty database.


