In This Tutorial:
Dynamic Shared Object (DSO) is an Apache module that is used to handle PHP scripts. It is one of a few PHP Handlers available to choose from. Its major benefits are speed and the ability to use OpCode caching. When implemented with the Apache module, Mod_Ruid2, DSO can be utilized more securely. In this guide, you will learn how to install DSO with Mod_Ruid2 using EasyApache 4.
Installing DSO with ModRuid2
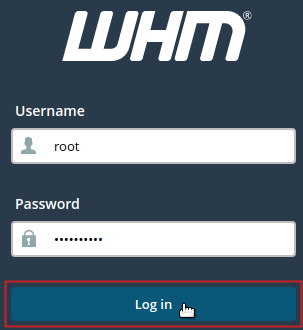
 Log into WHM as root.
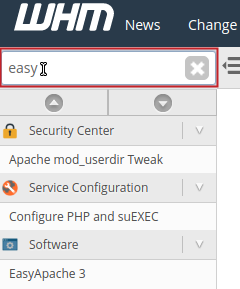
 Type ‘easy‘ into the search field in the top left of WHM.
 Under the Software category, click on EasyApache
 In the Currently Installed Packages section, click on the Customize button.
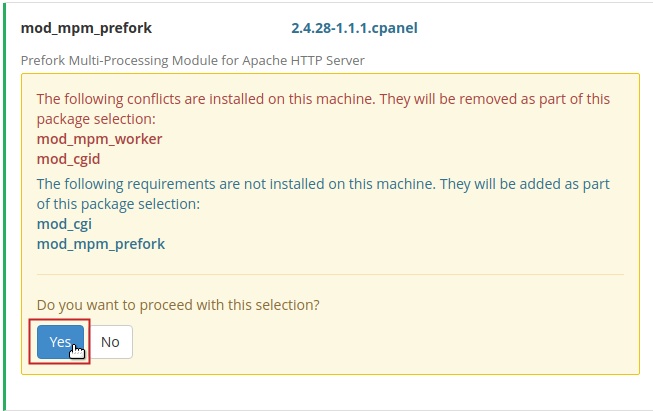
 For Apache MPM click on the toggle button next to mod_mpm_prefork.
If prompted, click the Yes button to proceed with this selection and then click the Next button.
 From the Apache Modules section, use the search box to locate mod_ruid2 and click the toggle button to select it for installation. Click the Next button.
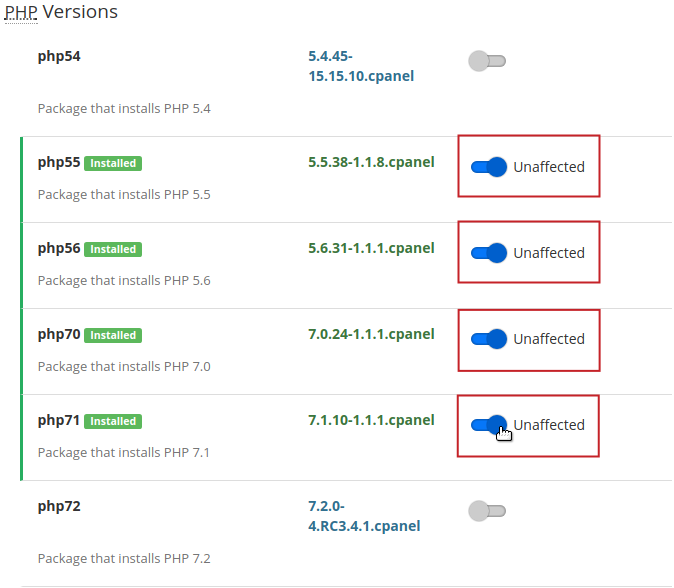
 Select the PHP version(s) you would like to install by clicking on the toggle button(s). Click the Next button to continue.
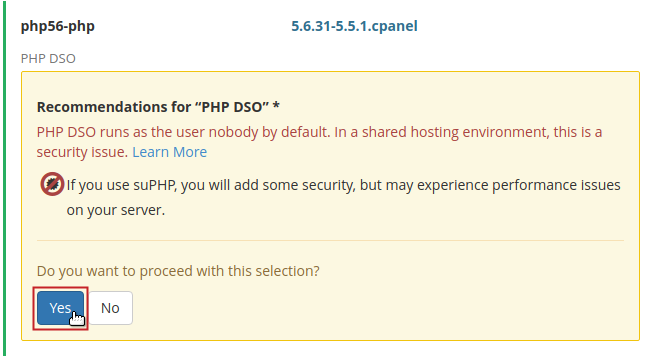
 Use the search box to locate php##-php, where ‘##’ is replaced by the PHP version number that you want to use DSO as the handler for (e.g. for PHP 5.6 ‘php56-php’). Click on the toggle button to select it for installation.
If prompted, click the Yes button to proceed with this selection and then click the Next button to proceed.
NOTE: You can only use DSO as the handler for one (1) version of PHP on your system.- OPTIONAL: Select any desired Ruby modules. Click the Next button.
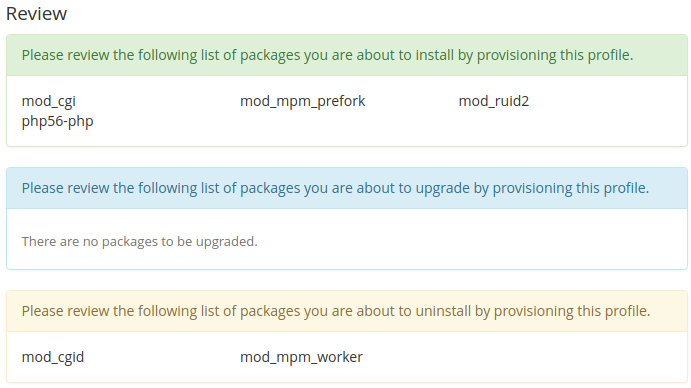
 Review the changes to be made and then click on the Provision button to begin installing and configuring DSO components.
Once complete, you will receive a successful message:
Confirm DSO Available
Once you have provisioned the EasyApache profile as described in the section above, follow the steps below to confirm that DSO is now available for the PHP version you selected.
- Connect to your server as root via an SSH connection.
- Run the following command:
/usr/local/cpanel/bin/rebuild_phpconf –available
You should see the following output after running that command:
root@localhost ~ $ /usr/local/cpanel/bin/rebuild_phpconf --available
ea-php56: cgi dso none
Set DSO as PHP Handler
Once you have confirmed that the DSO handler is installed and available on your server, you can proceed to enable it from the Command Line Interface (CLI) or Web Host Manager (WHM).
Via CLI
- Connect to your server as root via an SSH connection.
- Run the following command, replacing ‘##’ with PHP version number DSO was installed for (e.g. for PHP 5.6 ‘–ea-php56=dso’):
/usr/local/cpanel/bin/rebuild_phpconf –ea-php##=dso
Via WHM
 Log into WHM as root.
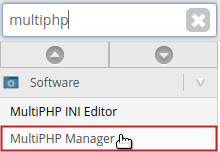
 Type ‘multiphp‘ into the search field in the top left of WHM.
 Under the Software category, click on MultiPHP Manager.
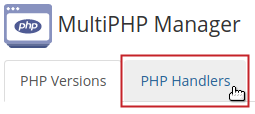
 Click on the PHP Handlers tab.
 Next to the PHP version you want DSO for, select Edit under the Actions column.
 Select DSO from the drop-down menu under the PHP Handler column.
 Finally, click the Apply button.
Congratulations! You are now running the PHP handler DSO. If you want to learn more about how to use EA4, be sure to check out our guide on installing PHP extensions using EasyApache4.
