Using EasyApache 4 (EA4), you can easily manipulate the configuration for PHP and Apache by installing various modules and extensions that may be required for your website. EA4 comes with a few default configurations called Profiles. These profiles are custom configuration templates that include specific PHP and Apache modules intended for integrating certain applications within the server. Profiles are used to quickly configure Apache and PHP without having to select each component for installation. They can also be used to provide a restore point of a known working configuration, in the event of a disasterous server failure. In this guide, you will learn how to save a profile in EasyApache 4.
Convert to Profile
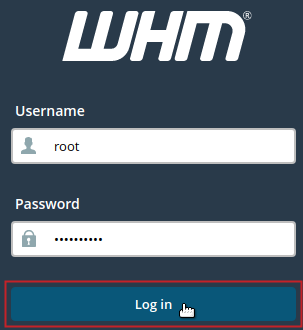
If you have already provisioned a profile with your preferred Apache and PHP modules installed, then you can simply convert the currently installed package into a profile, using the WHM/EA4 interface. The following instructions will guide you through this process.
-

-

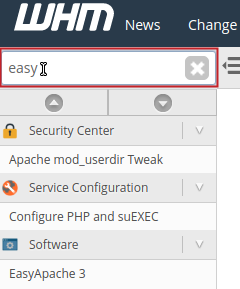
Type ‘easy‘ into the search field in the top left of WHM.
-

Under the Software category, click on EasyApache 4.
-

In the Currently Installed Packages section, click on the Convert to profile button.
-

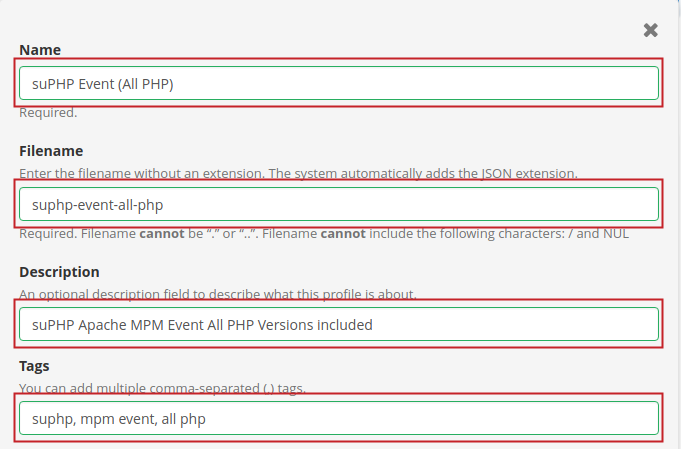
Enter the details of the profile into the fields as described in the table below. Example values are provided, however, you will want to enter your own custom values as they relate to your configuration.
Field Description Example Value Name Required: Type the name of the Profile. This will be the name displayed in the WHM Available Profiles list. suPHP Event (All PHP) Filename Required: Type the name of the file. This will be the filename saved in the directory: /etc/cpanel/ea4/profiles/custom/. suphp-event-all-php Description Optional: Type a brief description of the profile. This will be displayed in the WHM Available Profiles list and can help to easily identify the packages installed in the profile. suPHP Apache MPM Event All PHP Versions included Tags Optional: Type a few tags separated by commas. This can help to easily find the package based on the tags you enter here. suphp, mpm event, all php -

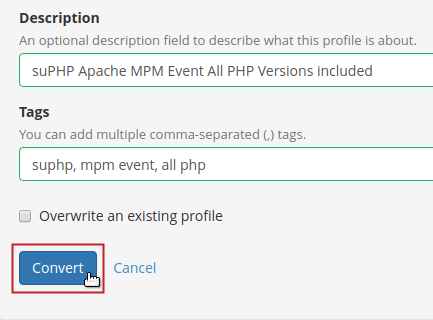
Once you have typed all the details into each field, click the Convert button.
Save a Profile
At any point during the process of selecting Apache and PHP modules to be provisioned, you can save the configuration as a profile. The following steps will guide you through the process of saving a profile prior to provisioning it.
-

-

Type ‘easy‘ into the search field in the top left of WHM.
-

Under the Software category, click on EasyApache 4.
-

Under the Currently Installed Packages section, click on the Customize button.
Make your selections for the Apache MPM and Modules, PHP Versions and Extensions, and Ruby via Passenger Modules.
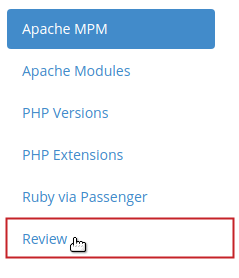
Once you have made your selections click on Review.
-

In the upper right, click on the Save as profile button.
-

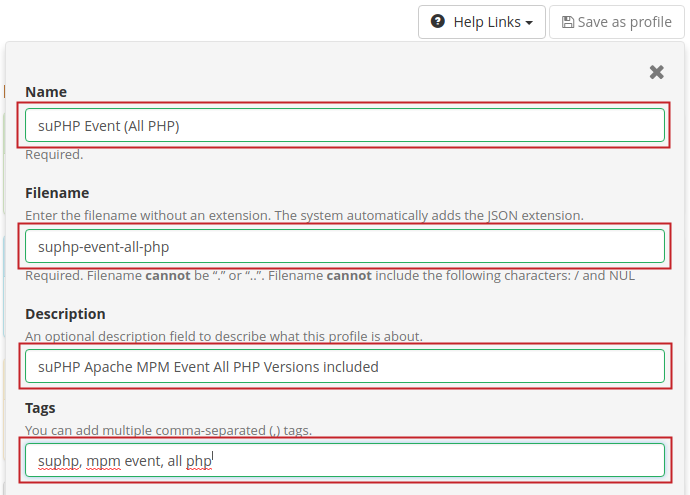
Enter the details of the profile into the fields as described in the table below. Example values are provided, however, you will want to enter your own custom values as they relate to your configuration.
Field Description Example Value Name Required: Type the name of the Profile. This will be the name displayed in the WHM Available Profiles list. suPHP Event (All PHP) Filename Required: Type the name of the file. This will be the filename saved in the directory: /etc/cpanel/ea4/profiles/custom/. suphp-event-all-php Description Optional: Type a brief description of the profile. This will be displayed in the WHM Available Profiles list and can help to easily identify the packages installed in the profile. suPHP Apache MPM Event All PHP Versions included Tags Optional: Type a few tags separated by commas. This can help to easily find the package based on the tags you enter here. suphp, mpm event, all php -

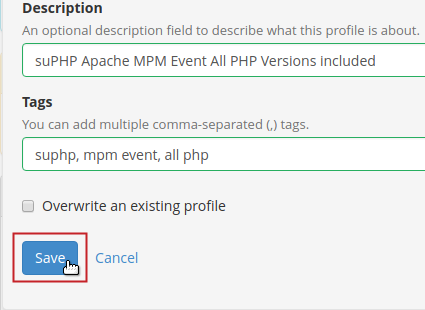
Once you have typed all the details into each field, click the Save button.
Upload Profile
If you have previously downloaded an existing profile in the .json file format, you can simply upload the profile through the WHM/EA4 interface. Follow the steps below to upload an EA4 profile using your .json file.
-

-

Type ‘easy‘ into the search field in the top left of WHM.
-

Under the Software category, click on EasyApache 4.
-

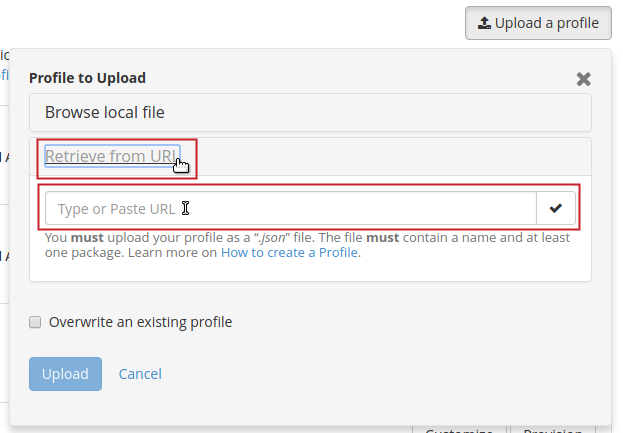
In the Available Profiles section, click on the Upload a profile button.
-

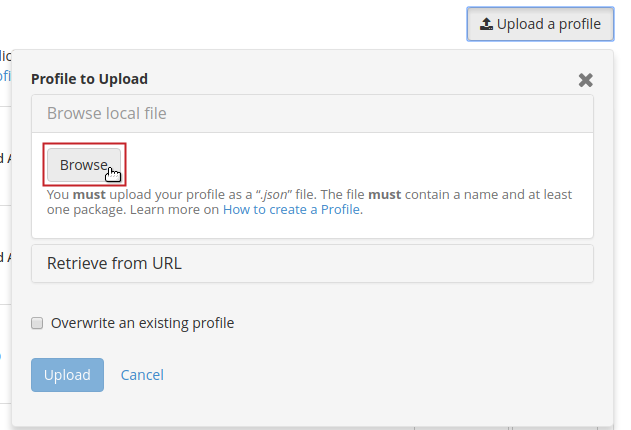
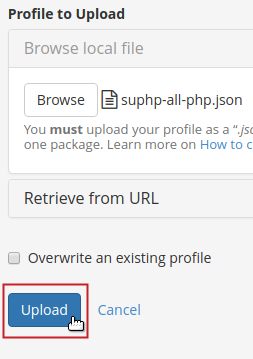
Click on the Browse button and locate the file in your local files/directories to select it to upload.
If you want to retrieve the profile over HTTP, simply click on Retrieve from URL and type/paste the URL into the field.
-

Click the Upload button.
Once the upload completes the Available Packages list will refresh and now include the profile you just uploaded.
Congratulations! You now know how to save a custom profile through the WHM/EA4 interface. If you would like to learn more about EasyApache 4, be sure to browse through our WHM Education Channel.
