In This Tutorial:
suPHP is one of a few PHP Handlers availble to choose from. suPHP runs as a CGI module and its major benefits are stronger security and easy permissions management. In this guide, you will learn how to install suPHP with mod_suphp using EasyApache 4.
NOTE: A VPS or Dedicated Server with root access is required to follow the steps in this guide.
Installing suPHP
-

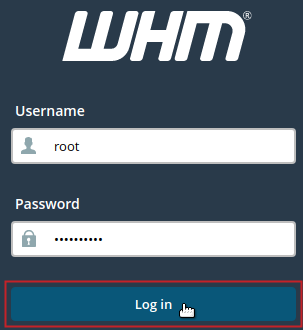
Log into WHM as root.
-

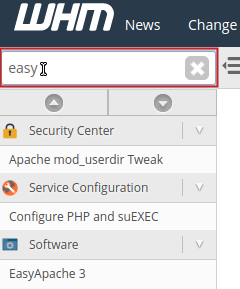
Type ‘easy‘ into the search field in the top left of WHM.
-

Under the Software category, click on EasyApache 4.
-

In the Currently Installed Packages section, click on the Customize button.
-

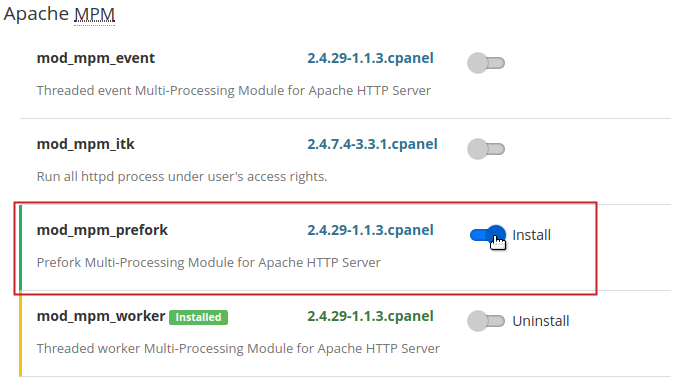
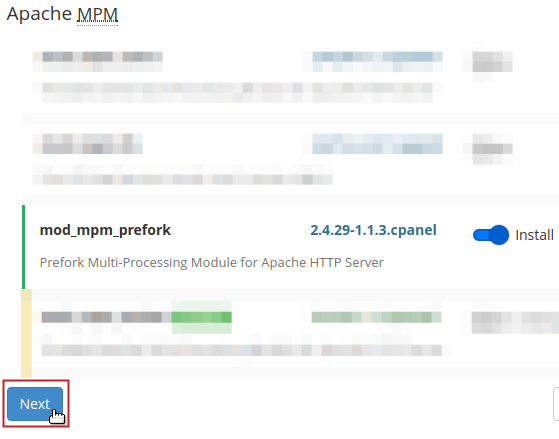
Click on the toggle button next to mod_mpm_prefork.
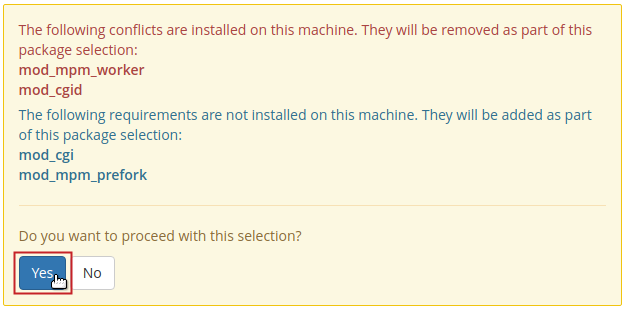
If prompted with a warning message, review the conflicts and click the Yes button to proceed.
NOTE: If mod_mpm_prefork is already selected, a green icon labeled Installed will appear next to the option. If it is already installed, there is no need to click the toggle button to enable it. Simply proceed to the next step. -

Click the Next button to proceed.
-

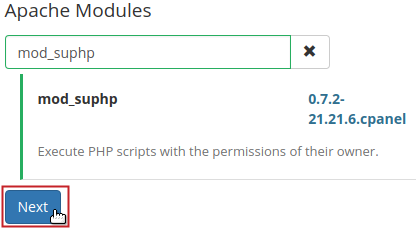
Under the Apache Modules section, in the Search field, type mod_suphp.
-

Click on the toggle button next to mod_suphp to select it to be installed.
-

Click the Next button to proceed.
-

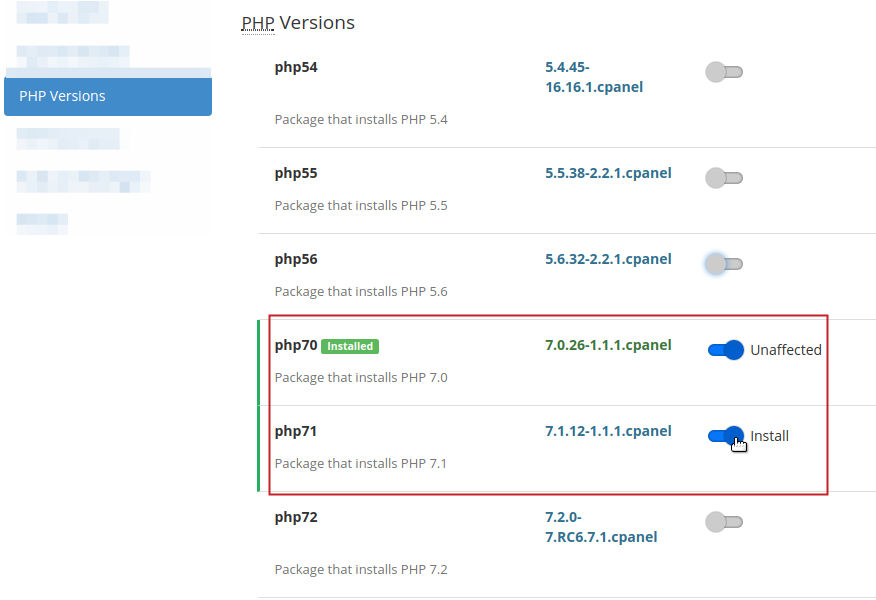
Select the version(s) of PHP you want to install by clicking on the toggle button next to it.
-

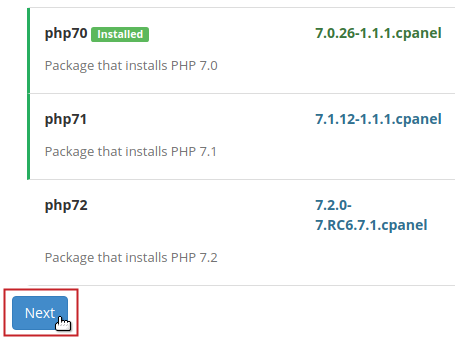
Click the Next button to proceed.
-

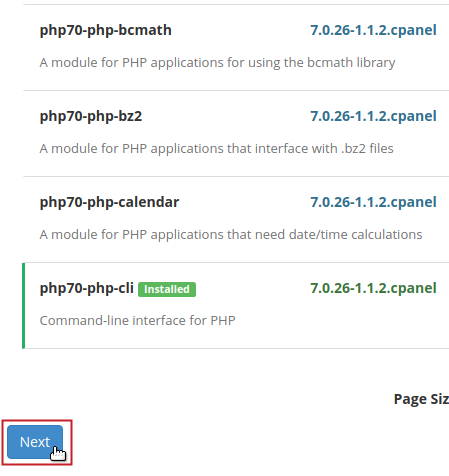
OPTIONAL: Select the PHP Extensions you would like installed. Note that you will need to select the extension for each PHP version you would like it installed for. Once you have completed your selection, click the Next button to proceed.
-

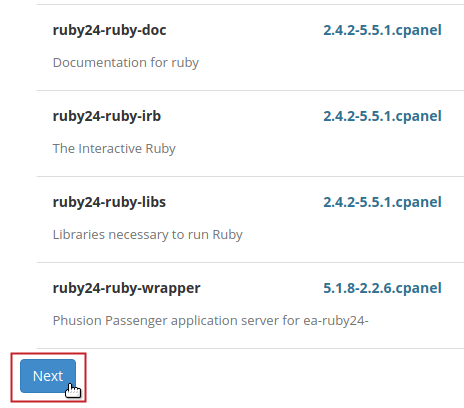
OPTIONAL: Select the Ruby via Passenger modules you would like installed. Once you have completed your selection, click the Next button to proceed.
-

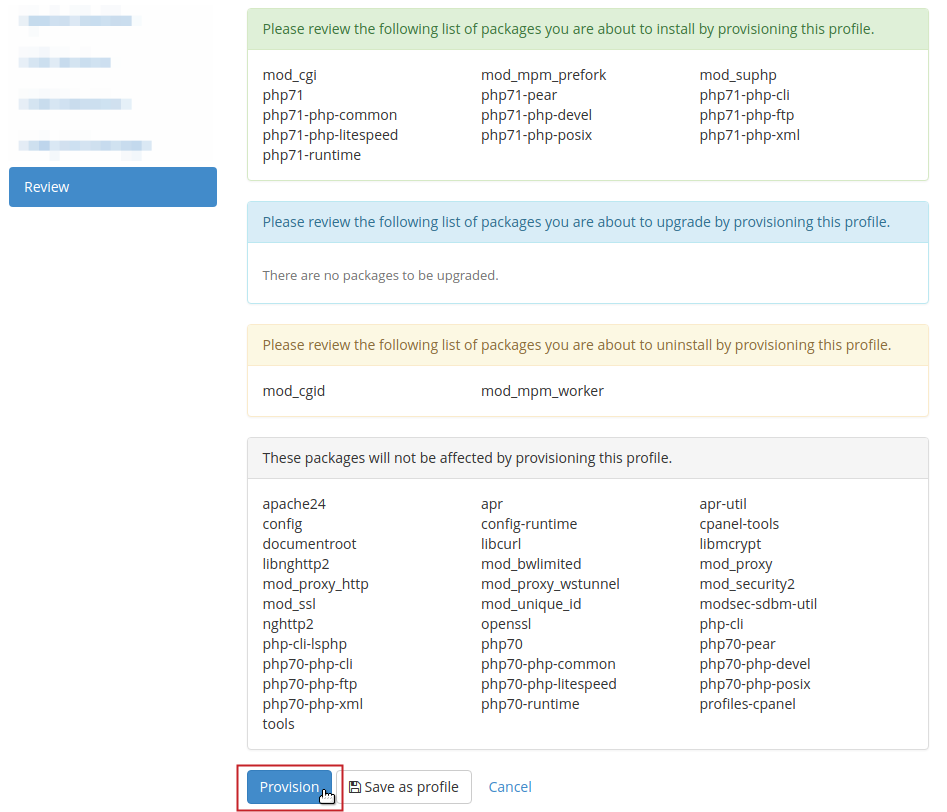
Your selected packages will be reviewed to ensure conflicts do not exist. After the results display, review them yourself and then click on the Provision button at the bottom of the page to save your selections and provision the package as configured.
- Once provisioning completes, you will see a green status message. Click on the Done button to close your EasyApache 4 session.
Change PHP Handler
If you provisioned multiple versions of PHP, additional configuration may be necessary to run suPHP for those PHP versions. Follow the steps below to ensure that all your PHP versions are configured to suPHP handlers.
-

Log into WHM as root.
-

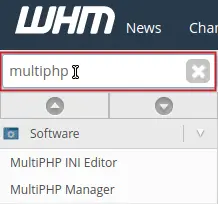
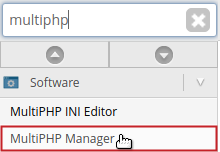
Type ‘multiphp‘ into the search field in the top left of WHM.
-

Under the Software category, click on MultiPHP Manager.
-

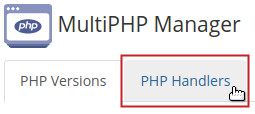
Click on the PHP Handlers tab.
-

Next to the PHP version, select Edit under the Actions column.
-

Select suphp from the drop-down menu under the PHP Handler column.
-

Finally, click the Apply button.
A green status message should appear to confirm the changes were saved.
Confirm PHP Handler
Once you have finished provisioning and setting the PHP handlers for each PHP version, you can confirm the handler(s) set. The instructions below will guide you through the process of confirming the current PHP versions/handlers.
- Connect to your server as root via an SSH connection.
- Run the following command:
/usr/local/cpanel/bin/rebuild_phpconf –current
You should see the following output after running that command:
root@localhost ~ $ /usr/local/cpanel/bin/rebuild_phpconf --current
DEFAULT PHP: ea-php70
ea-php70 SAPI:suphp
ea-php71 SAPI:suphp
Congratulations! You have completed setting your PHP Handlers to suPHP.
