When you install the All in One SEO Pack it will work with Posts and Pages by default. If you want to utilize this SEO plugin for other post types you can select them in your WordPress Dashboard. In this tutorial we will show you how to enable the All in One SEO Pack for Custom Post types in WordPress. The available post types will differ based on your specific WordPress setup. If you are running a WordPress site you may be interested in InMotion’s managed WordPress Hosting platform.
Enable All in One SEO for Post Types
- Log into your WordPress Dashboard.

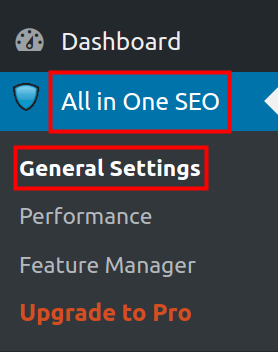
Click All in One SEO, then General Settings in the navigation menu.

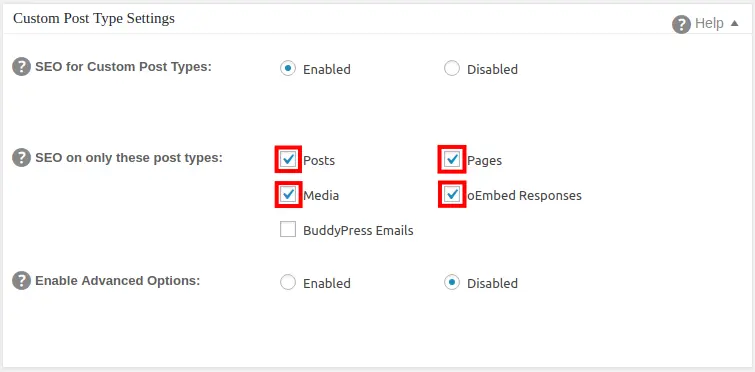
Scroll down to the Custom Post Type Settings section, and click Enabled next to SEO for Custom Post Types if it is not already enabled.

The menu will then drop down and give you additional options. Next to SEO on only these post types select the post types you want to use the SEO feautures on. The options will differ based on your specific WordPress setup.

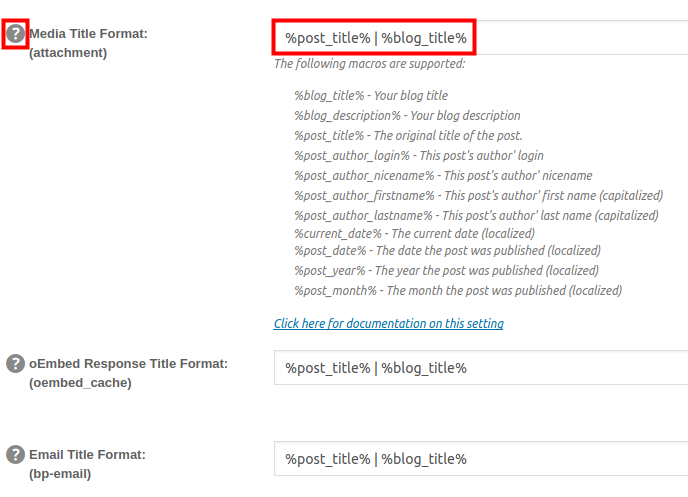
If you want to set the title tags for your custom post type, click Enabled next to Enable Advanced Options. Then, check the box for Custom titles.

The menu will then drop down and allow you to modify the titles for your custom post types. You can click the question mark to see examples of the supported options.

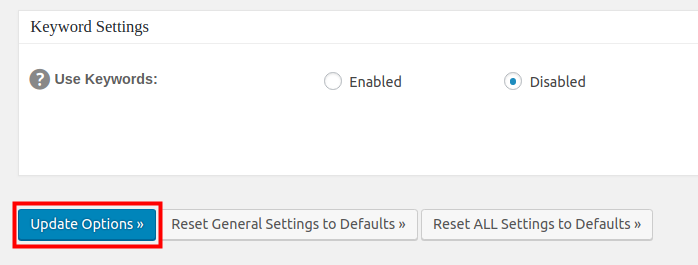
After choosing your Custom Post Type settings click the Update Options button on the bottom.
Congratulations, now you know how to enable the All in One SEO Pack for Post types in WordPress! In the next guide, we will show you how to Set up Google Analytics in All in One SEO Pack.


