In this article
Do you need to interact with website visitors in real-time? Chat is a great way to reach out and offer help or close a sale. For example, you could have a chat pop up and ask if they “need any help”, or “have any questions”. This personalized touch can increase the visitor’s confidence in your service or company. It’s also a good way to clear up any confusion a potential customer may have about your product or service. Once their question has been answered, hopefully, they will continue with the purchase.
A couple of benefits of being an InMotion WordPress Hosting customer is that we can migrate over your existing website or easily get you set up with a site that has WordPress already installed.
Note: You will need to sign up for a free tawk.to account to complete this guide. This is where you will monitor and manage the chats. It also includes powerful tools for tracking reporting visitors.
Install Live Chat Plugin
Since WordPress does not include chat abilities, you will have to add them to your site with a 3rd party plugin. Of the many plugins available, Tawk.To Live Chat is the most popular with over 100,000 active installations.
- Log into your WordPress Dashboard.
- Click Plugins then Add New.
- Type ‘tawk’ in the search box.
- You will see Tawk.To Live Chat listed. Click the Install Now button.
- Once the installation completes, click the Activate button to enable it.
Add Live Chat to your Site
Now that you have the Tawk.To Live Chat plugin installed, we’ll show you how to add the chat to your WordPress site.
- In your WordPress Dashboard, click Settings then tawk.to.
- On the Account Settings page enter the Email address and Password for your tawk.to account.
- Click the Sign in button.
- Choose your property from the drop-down menu.
- Click the Use selected widget button.
- Click the Visibility Options link.
- The Tawk.to widget will display on all pages by default. To change the settings, toggle the button to “Always show Tawk.To widget on every page”. You can then choose which pages the chat widget will display on.
- Alternately, you can enable the option to “Exclude on specific url” then enter the URL’s you don’t want the chat widget to display on.
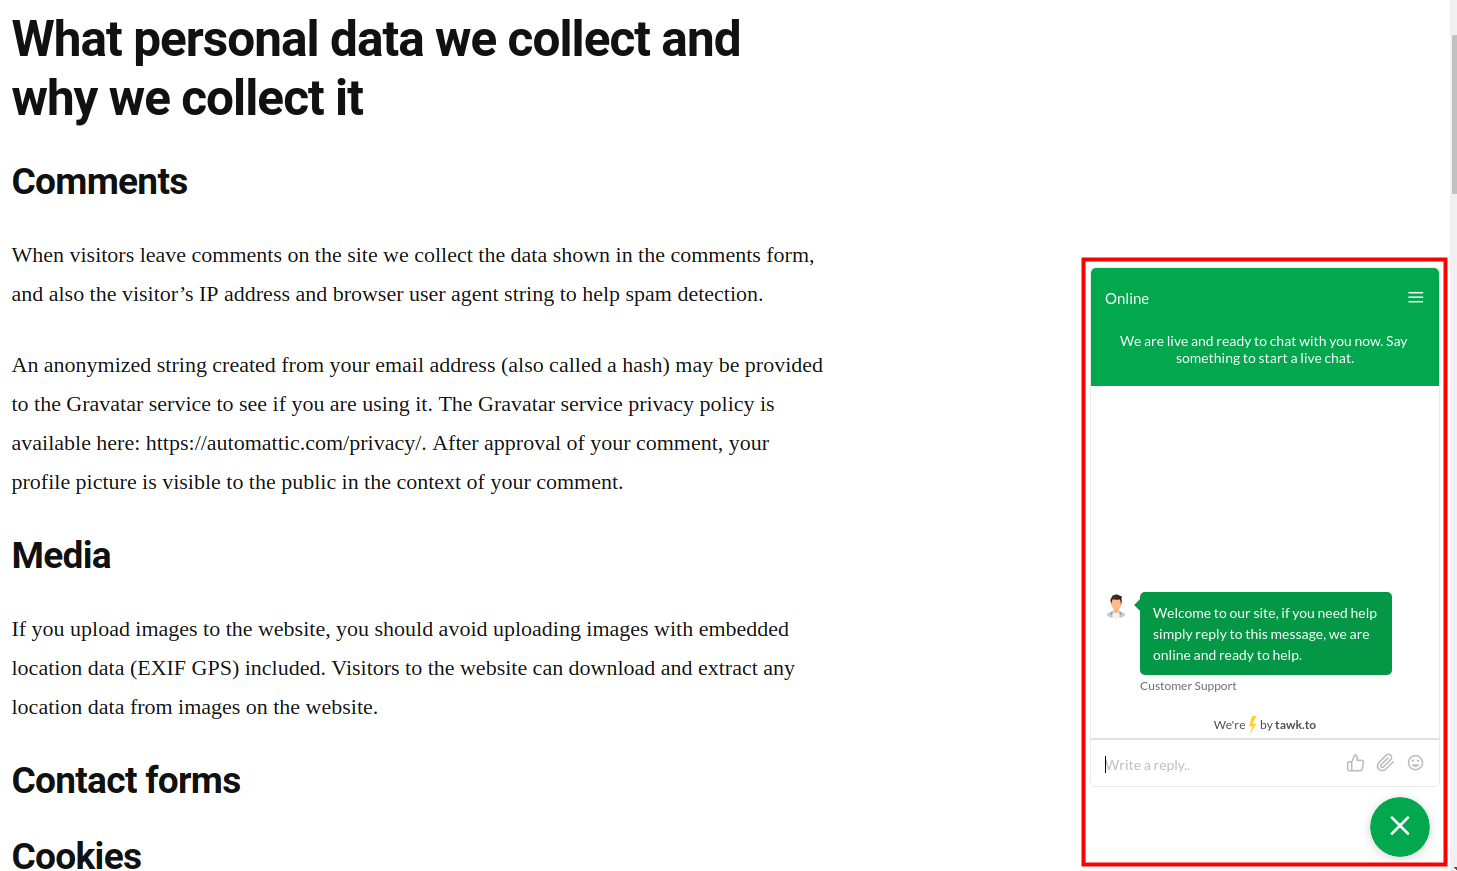
- Once you have chosen your settings, click the Save Changes button. You will now have a chat icon on the pages you selected. Clicking it will cause it to pop-up with a chat window. It will look like this:

Congratulations, now you know how to add live chat to your WordPress website. You can begin interacting with visitors and tracking them in real-time.

