A favicon is the 16×16 icon beside the website title in your browser tab. Although many content management systems (CMS) require you install a plugin or upload the favicon file manually, PrestaShop allows you to do so from your admin dashboard by default. You can use our free favicon generator tool or an online service such as favicon-generator.org to create one. Below we cover how to upload a favicon to PrestaShop 1.7 in your admin dashboard.
Change your Favicon
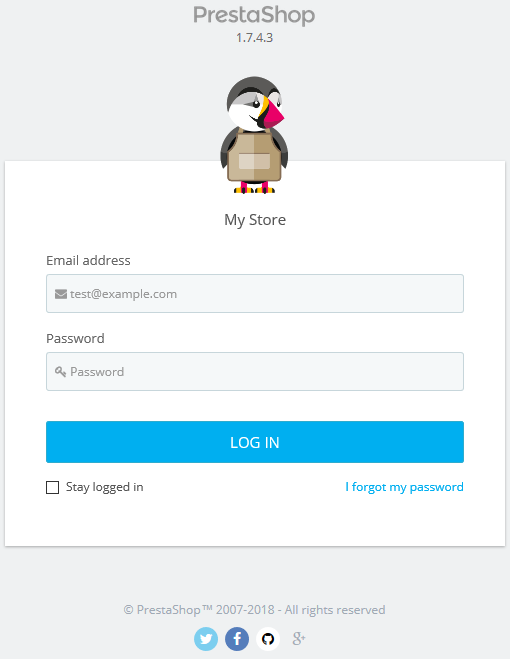
- Login PrestaShop.

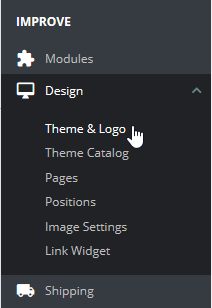
- Select Design, then Theme & Logo.

- Select the Favicons tab.

- Select Add Files to upload your preferred favicon.

- Select Save.

You’ll see a notification stating the settings have been updated.

You may need to clear your browser cache to see the change.
To learn more about improving your PrestaShop website, check our PrestaShop Education channel and our list of free PrestaShop templates.


Hi, do you know how to change back office favicon on PS1.7.7?
I edited line:
Of the file:
MYADMIN/themes/default/template/header.tpl
Adding my custon favicon for back office, and it’s showed correctly on most of the back office page, despite from product list and product edit pages.
Hello! I looked around, and it looks like the back office favicon is stored in a different file than the one used for customer facing pages. Try editing /img/admin/favicon.ico. Hope that helps!
i did it but it says …you donot have the permission to edit this
You have the privilege to edit permissions with the cPanel file manager. If that does not work, feel free to contact live support for further assistance.