While registering a Clicky Analytics account, the best way for WordPress users to implement it with WordPress is a plugin. Below we cover how to install the Clicky Analytics plugin to track web traffic within Clicky.com and your WordPress dashboard.
Install Clicky Analytics Plugin
- Log into WordPress.
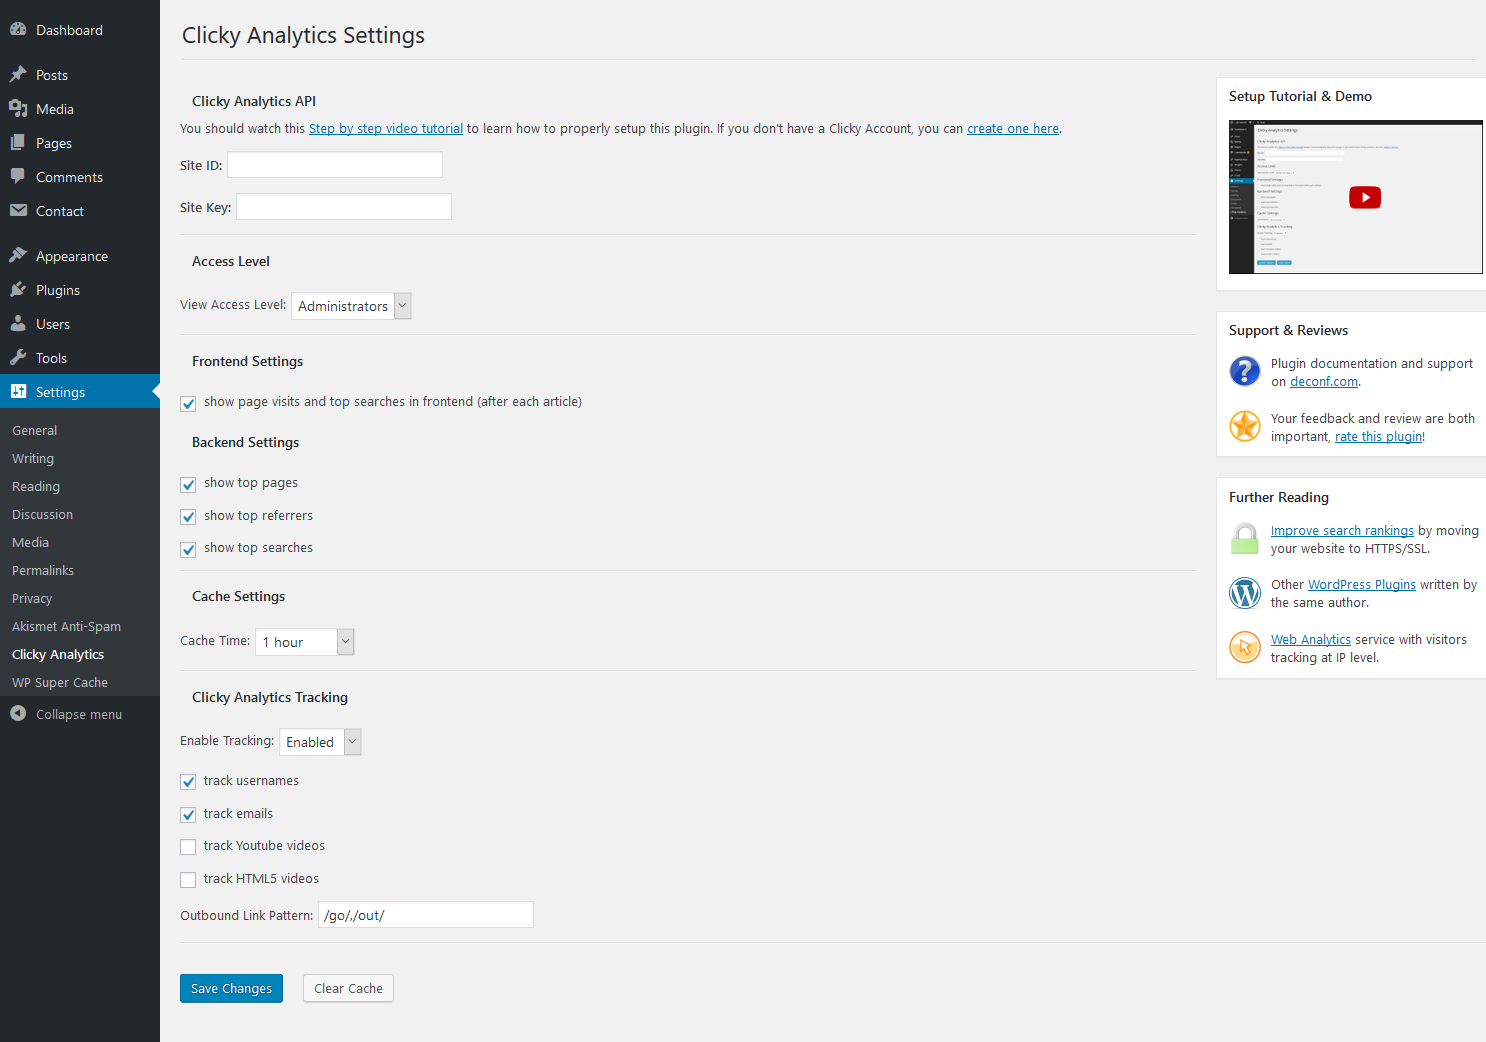
- Install the Clicky Analytics plugin. Activate the plugin.

- On the left, select Clicky Analytics under Settings.
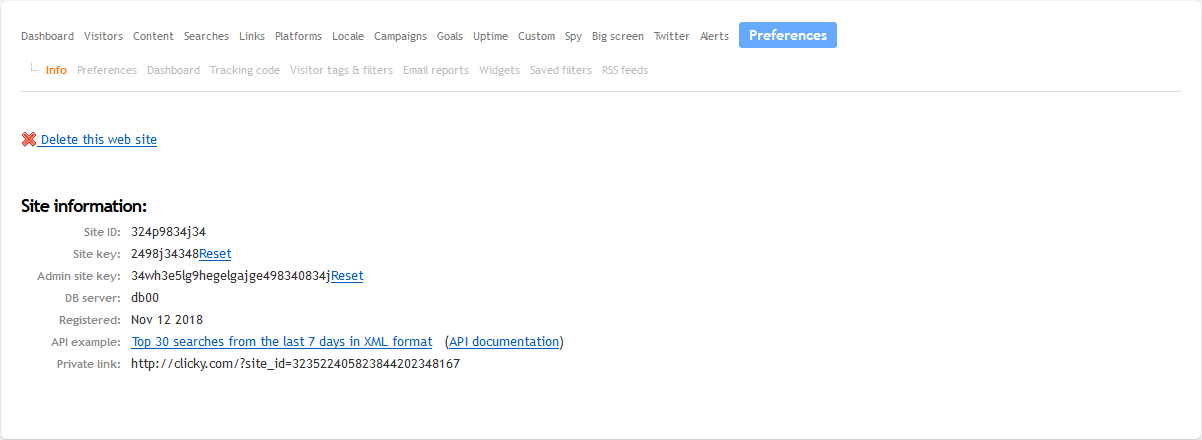
- Login Clicky.com for the Site ID and Site Key.
- Select Preferences.

- Copy the Site ID and Site key from Clicky.com to the plugin text fields. Save the changes.

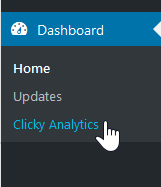
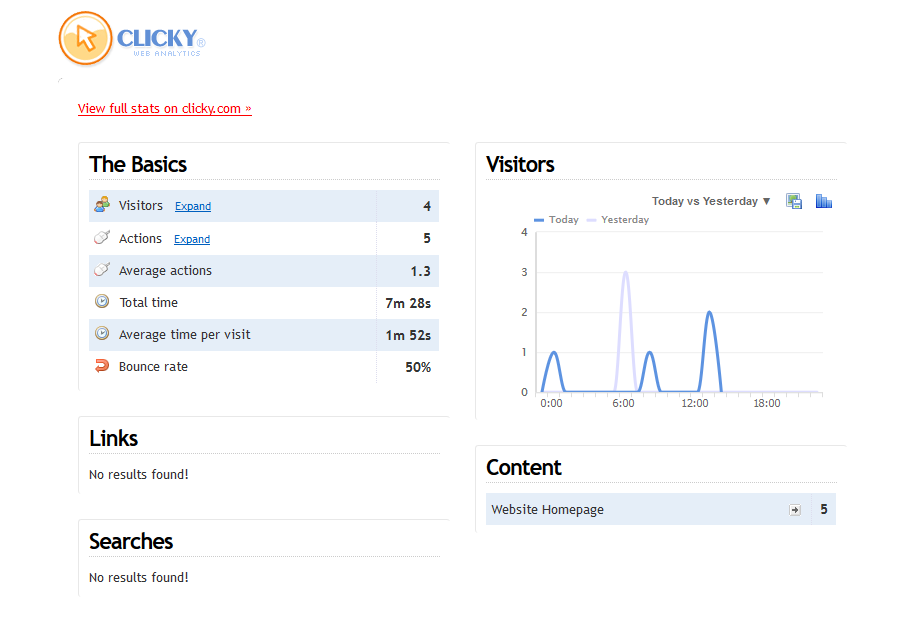
- Select Clicky Analytics under Dashboard to view basic analytics.

- Select View full stats on clicky.com to be redirected to Clicky.com.

Learn more about analytics from our Clicky Analytics section.


