
Once you’ve successfully built your WordPress website, it’s important to then create engaging, branded content to hook your audience. Content that draws in your users and solidifies your brand will help you attract and build your website traffic.
Luckily, Canva, a free graphic design platform, can help even the most unimaginative among us create modern, beautiful designs within minutes. With hundreds of templates, you can easily create a logo, hero image graphics, sale images, and more.
Continue reading to learn more about:
Canva for WordPress Website Branding
Creating a recognizable brand for your small business or website is an important step towards longevity and success. When you think about Nike, your first thought is probably the “swoosh”. Or when you see a blue bird icon, you know it represents Twitter. This is no mistake.
Branding helps us remember a business even if we cannot remember the name or website. If you’re looking for sneakers but can only remember the swoosh, searching for ‘shoe brand with swoosh’ will allow you to easily find the Nike website.
In addition to recognition, branding also helps build trust around your business, which will help create loyal customers and retain current customers. Let’s examine ways you can use Canva to brand your WordPress website.
Logos
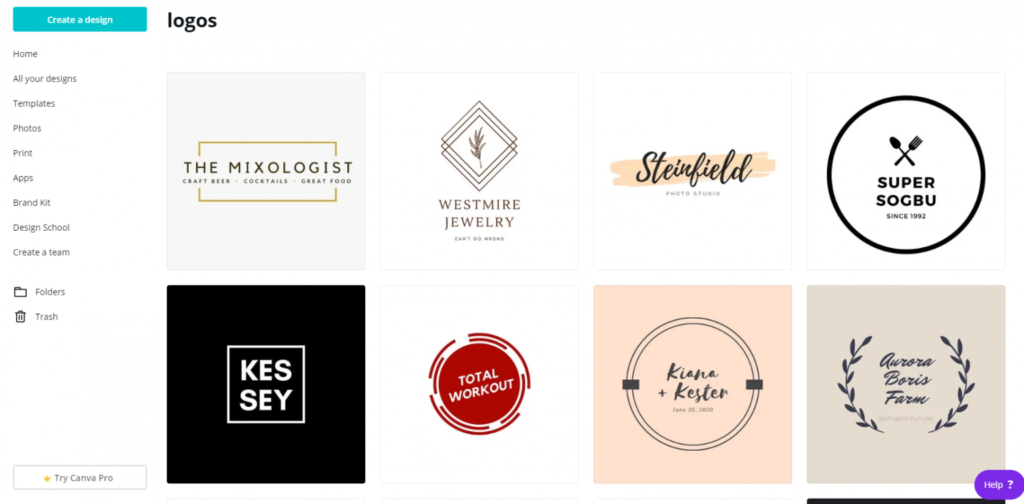
All branding efforts should start with the creation of the logo. Other branding materials, like your business cards and newsletter, will build off of the logo you create. If you’re on a budget, creating your own logo for free is easy with Canva.
When building a recognizable brand, your logo does not, and should not, be complicated. Simplicity is key. Because of this, and the easy-to-use editing feature within Canva, you’ll be able to bring your vision to life with ease. Also, even if you don’t have an idea in mind, Canva’s logo templates will give you a great place to start.
To find the logo templates, navigate to Templates > Logos within Canva. Once you complete your logo, you can download it as a png or jpg. If you want to download the logo on a transparent background, you will need to upgrade to a Pro membership or pay for it separately.
Business Cards
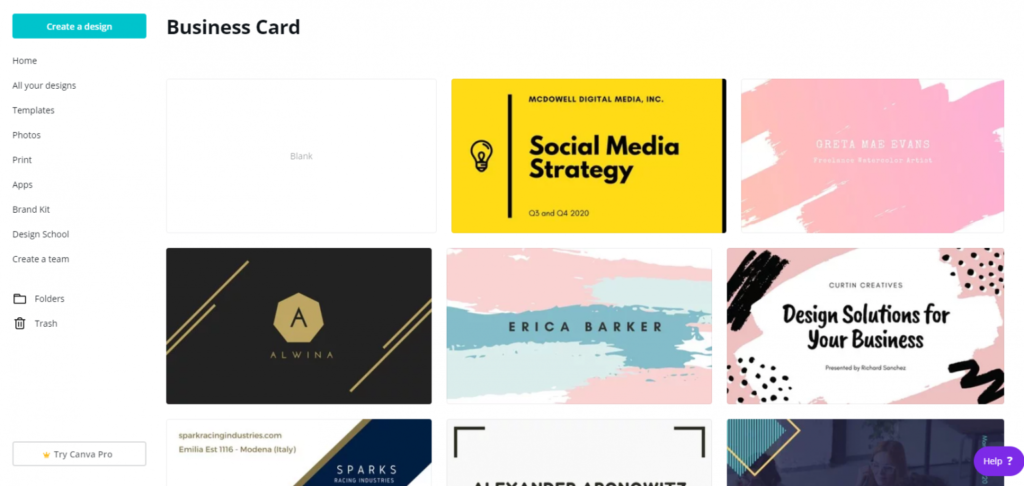
Once your logo is finalized you’re ready to create additional branding material. With the logo as your blueprint, your biggest challenge now is deciding what to create next. Especially if you’re just starting out, your next creation should be your business card. Though we’re fully in the digital age, a business card designed with the same elements as your logo and WordPress website will help build your brand.
Use the colors, fonts, and shapes from your logo to create a branded business card. Also, to keep up with recent trends, repurpose that same design to share a digital business card on Instagram, Facebook, Twitter or LinkedIn.
Similar to creating a logo, to get started, navigate to Templates > Business Cards to begin creating your business card. Of note, certain templates are only available with a Pro membership or will need to be purchased individually.
Newsletters
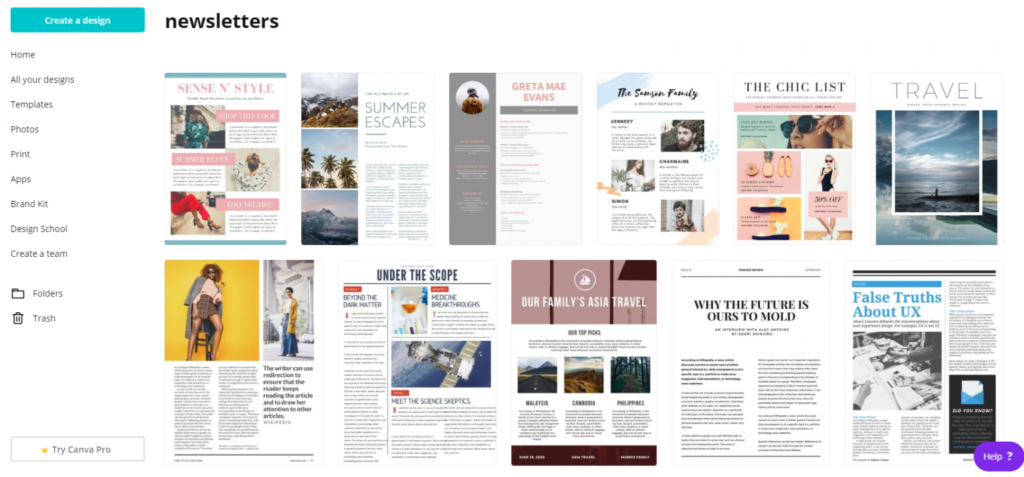
Another strong branding element to consider is a newsletter. Once your website and social media accounts are created, you can use those platforms to promote or release branded newsletters. The newsletters, which will be designed using your logo colors and fonts, can highlight your products and services, upcoming events, or give insight on industry trends.
With branded design and quality content, a newsletter can become a powerful tool in building traffic and loyalty around your business. Happy subscribers can forward the newsletter to a friend or repost it to their own social media network.
In addition to posting the newsletter to your social media platforms or website, you can also sign up for a free email marketing tool like Mailchimp and start capturing email addresses for branded e-newsletter campaigns. Start designing your newsletter by navigating to Templates > Newsletters in Canva.
Canva for WordPress Content Creation
Yes, your website content should be relevant and useful, but it should also be engaging and easily digestible. Even if you put a lot of time and effort into the content you’re publishing, if it isn’t easy for users to scan, your bounce rate may increase and your traffic may flatline.
In addition to great, original written content, you must also elevate your content with relevant graphics and images. The info below will give you ideas for enriching your WordPress website content with the easy-to-use templates on Canva.
Hero Image
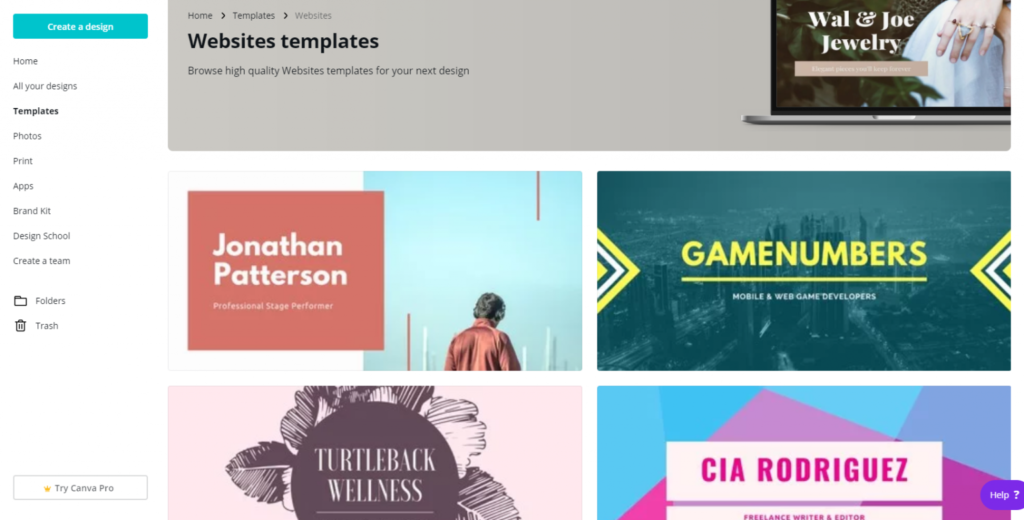
The hero image, which is the large image at the top of your webpage, sets the tone for your website and gives end users a quick visual representation of what to expect. In addition to being a visually interesting image, you may also want to add text to the image to help frame your brand. You can use Canva to create a stunning, engaging graphic or add text and graphics to one of your own images.
You can get started by navigating to Templates > Websites in Canva. Browse their templates and when you find one that you like, select it and make it your own with their intuitive editing feature.
Once you’re editing is complete, you can download the graphic and upload it to the hero section of your WordPress website. Of note, some templates are only available with Canva Pro or must be purchased individually.
Looking for high-quality, free stock images? Check out Unsplash!
Webpage Graphics
If you have a lot of content on your webpages or blog posts, try breaking up the text with images and graphics to help the end user digest your content. Adding relevant graphics and images to your webpages and blog posts helps the end user scan the page quickly with ease. Doing this improves the user experience (UX) of your website and helps retain traffic. Images can also assist with your SEO efforts.
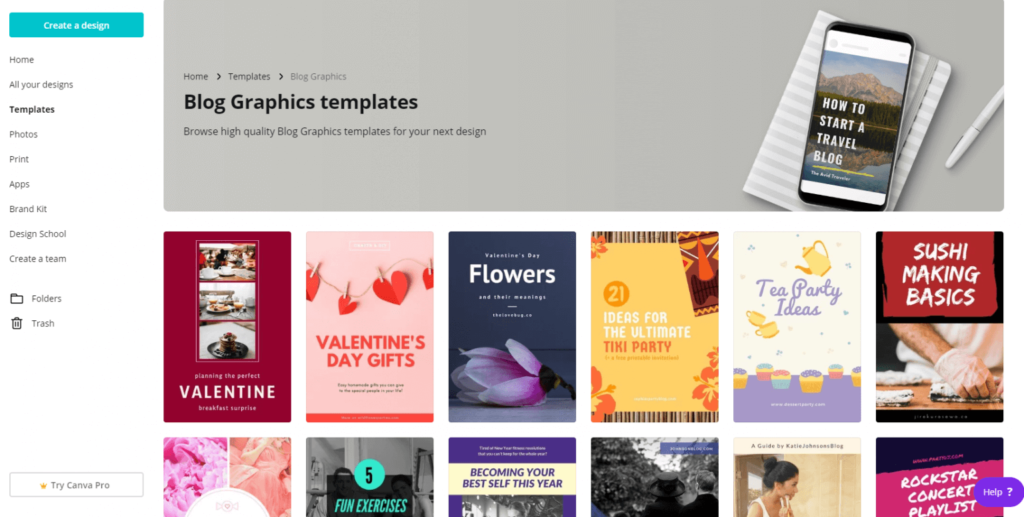
With Canva’s beautiful blog templates, you can create engaging on-page graphics that elevate your web content and keep end-users coming back for more. Navigate to Templates > Blog Graphics to browse all of their templates. Though it’s labeled ‘Blog Graphics,’ they can be used on any page of your website.
Infographics
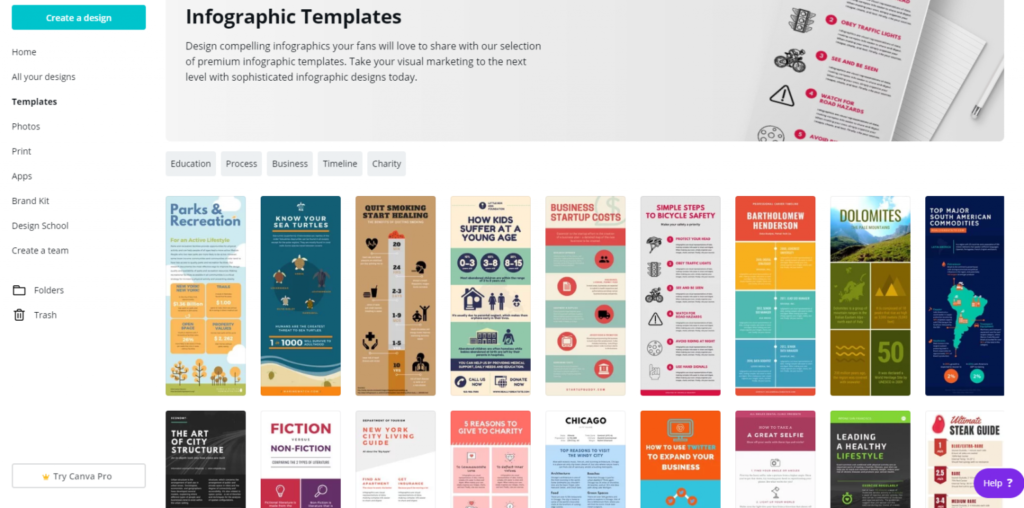
Shake up your content and posts with infographics. Break the traditional mold of simply listing information on a page and present it as a stunning graphic instead. Similar to other graphic elements, infographics allow your end users to easily digest your information; however, infographics also allow the end-user to more easily share your information with their networks. This added benefit gives your brand additional promotion opportunities and can potentially help boost traffic to your website.
Create infographics easily by navigating to Templates > Infographics. Once you’ve chosen a template, you can change the colors, icons, and other graphic elements through their editing feature. You can also upload your own elements, like your logo, and add it to the infographic.
Social Media Banners
Carry your website branding over to your social media pages. You can use Canva to create beautiful graphics for your social media profiles and posts. Custom graphics can help humanize your brand and increase interest in a space saturated with information and distractions. Engage your users with personality, entice them with quality content, then direct them back to your website.
Canva has many social media templates covering many platforms and elements. You can create banners, graphics, ads and more. Navigate to Templates to explore their many social media options. You can also search for social media templates but typing the social media platform into the search bar.

For more WordPress tips and tricks, check out our WordPress Education Channel!


Hi Stormy, nice article!
Im developing a web design all made from canva, and I wanna know how to upload that content in my webpage.
I was following a Canva tutorial but they dont explain the process with Inmotion.
Thank you!
Hello Mary – Thanks for the question about uploading your website made from Canva. The article you’re commenting on uses WordPress, so content added through posts or pages is uploaded to the webserver by default. If you’re working with a website completely designed from scratch and not using a website software (e.g. WordPress, Joomla, etc.), then you will need to upload the website files directly into the document root provided in your hosting account. InMotion uses the public_html as the DEFAULT document root for the primary website of the account. In other words, that is the location where your files would be uploaded. Uploading files is a common task and it’s often done through FTP Client. You can find out more information in this article on using FTP: https://www.inmotionhosting.com/support/website/ftp/easily-upload-content-to-your-hosting-via-ftp/. That article will also help explain the document root. If you have any further questions or comments, please let us know.