Table of Contents

Uploading files in Joomla 4 is an essential part of being a successful Joomla user. “Hot linking” images, or embedding images from another website or server, should be avoided as it can slow the page for your users or result in the image being unavailable if the originating source fails.
Whether you need to know how to upload a PDF file in Joomla 4 or some other niche file types, read on to learn the basics steps of uploading files to your website.
How to Upload Files in Joomla 4 Media Manager
First, log into your Joomla 4 administrator dashboard (e.g. https://example.com/administrator). On the sidebar, select Content and Media to access the Media Manager.
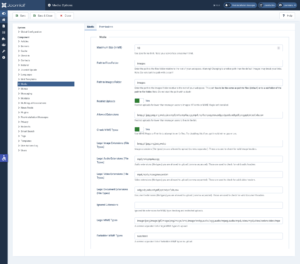
To configure the Joomla 4 Media Manager, select Options in the upper-right corner.

On the left you’ll see the default folders under “images” – “banners,” “headers,” and “sampledata.” You can create a new folder at the top of the page.On the right you may see sample images.
Select Upload to add a file to the current folder of your Joomla site. Once the file is uploaded, you’ll see “Item uploaded.” You can then edit and rename the file.
The file path will include your Joomla website URL, the folder(s) for the file, and the file name.
For example: example.com/images/headers/blue-flower.jpg
If an upload is unsuccessful, you’ll see “An error occurred.” If so, select Options from the upper-right corner. There you can modify what and how media files can be uploaded:
- Maximum file size
- File path
- Allowed file types
- Users allowed to upload media files
Don’t forget to save any changes made.
Some popular file extensions not allowed by default worth mentioning include wav, docx, tar, and zip.
Learn more about how to customize your website to fit your needs with our Joomla 4 Education Channel.

