Creating various content categories on your Joomla site helps make sure all of your content is placed into the right buckets. It also helps you control which pieces of content are sorted correctly on the front end of your site. In this article, you will learn how to create categories and how to assign them to articles. This is something you may need to do on your Joomla VPS plan or if you are running a hosting business with VPS reseller hosting.
How To Create Content Categories in Joomla 4
Follow along with the steps below to learn how to create content categories in your Joomla site:
- Log into your Joomla admin area
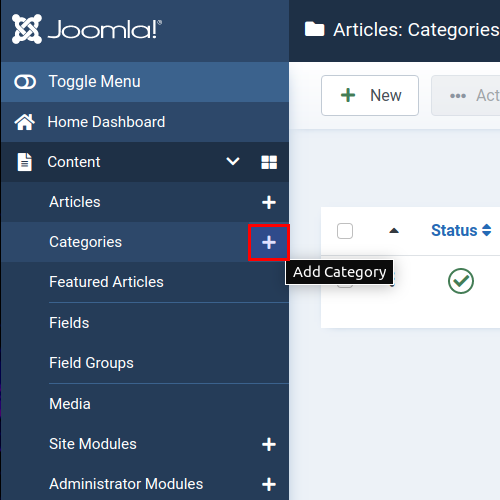
- Click + under Content > Categories

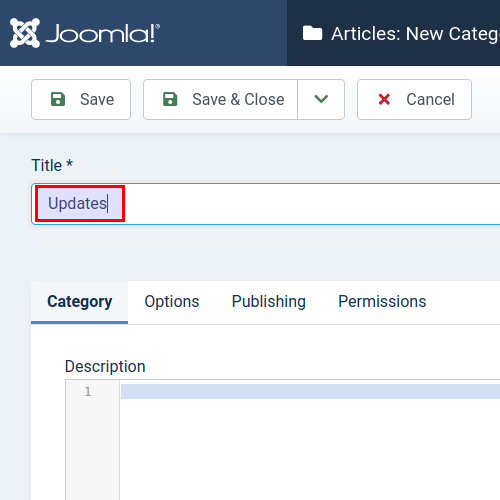
- Provide a title for your new category

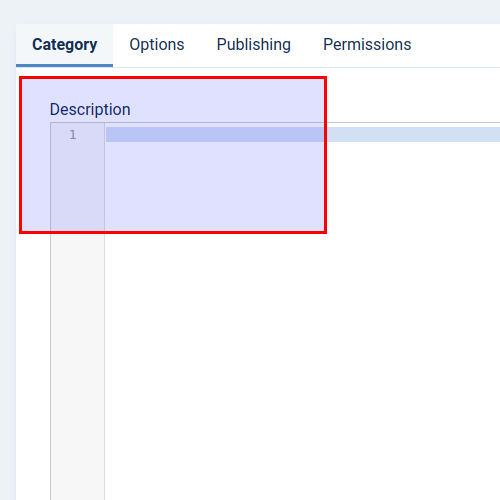
- Write an optional description for your category

- Click Save & Close if you are ready to take your category live
Be default, when you create a new category it will receive a status of “Published”. When you save the category or click Save & Close the category will be live on your site.
For categories, you have many of the same metadata options available as you do when creating articles. These include: publication status, access, tags, notes, and version notes. See our full guide on creating articles for information about content metadata.
Category Hierarchies
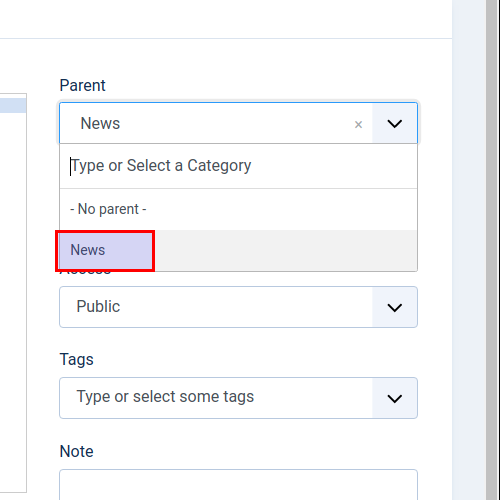
Categories can also be sorted into a hierarchy. In essence, these are like child/parent relationships. One category can be a parent of another, and likewise a certain category can be the child of another.
In this example, I’ve created a category called “Updates” and assigned the category “News” as parent. In effect, this means that updates are a nested category within the broader category of news.
Assign Categories to Articles
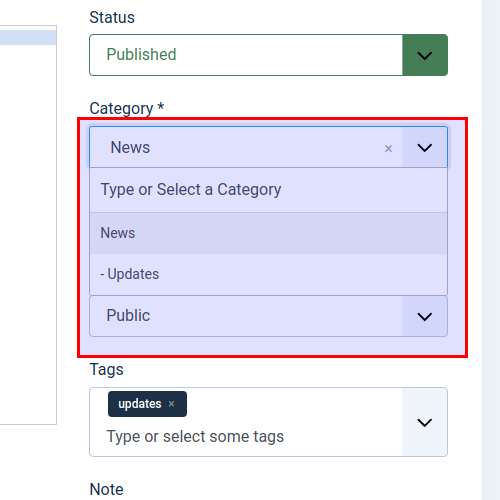
One of the main reasons to create categories is to assign them to pieces of content. Follow along with the steps below in order to learn how to assign categories to articles:
- Log into your Joomla admin area
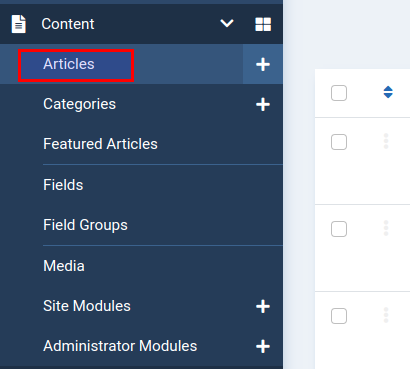
- Click Articles

- Select an article to edit
- Click the category dropdown menu in the article editor window

