Table of Contents

Tables are widely used in many types of widgets and plugins for CMS’s like Joomla. Bootstrap tables provide a wide variety of control that you can apply to tables including their columns, rows, and cells. For the purpose of this article, we will show you the basic Bootstrap code that applies to the tables, rows, and columns. To see a complete list of all the features/options please see the Bootstrap table code page.
What is Bootstrap? Bootstrap is an HTML, CSS, and JS framework used to build responsive websites that are designed to work with mobile devices. Bootstrap is currently in its 10th year of existence and in its 5th major release. It is part of an astonishing 22% of all websites on the internet.
- Using the Basic Bootstrap Table Code
- Using Colors with Bootstrap Tables
- Using the Striped Bootstrap Tables
Using the Basic Bootstrap Table Code
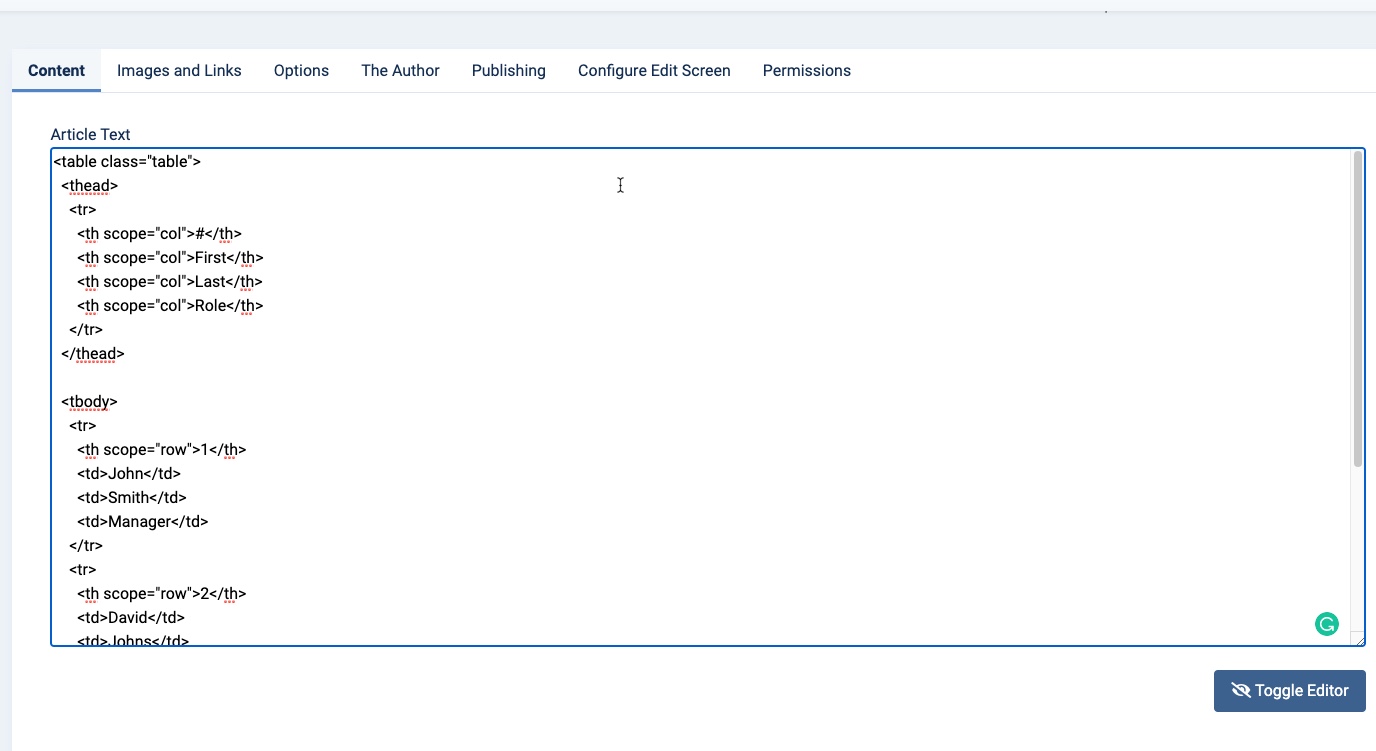
Bootstrap table code starts with some basics that you can understand from using tables in HTML. In the example below, you can see how the table is initially defined, then you can see the header section and the body of the table including its content.
You can use this code and expand on it for your own tables and content. Follow the steps below to add the code in the Joomla editor.
- Log in to the Joomla Administrator Dashboard.
- Edit an existing article or create a new article.
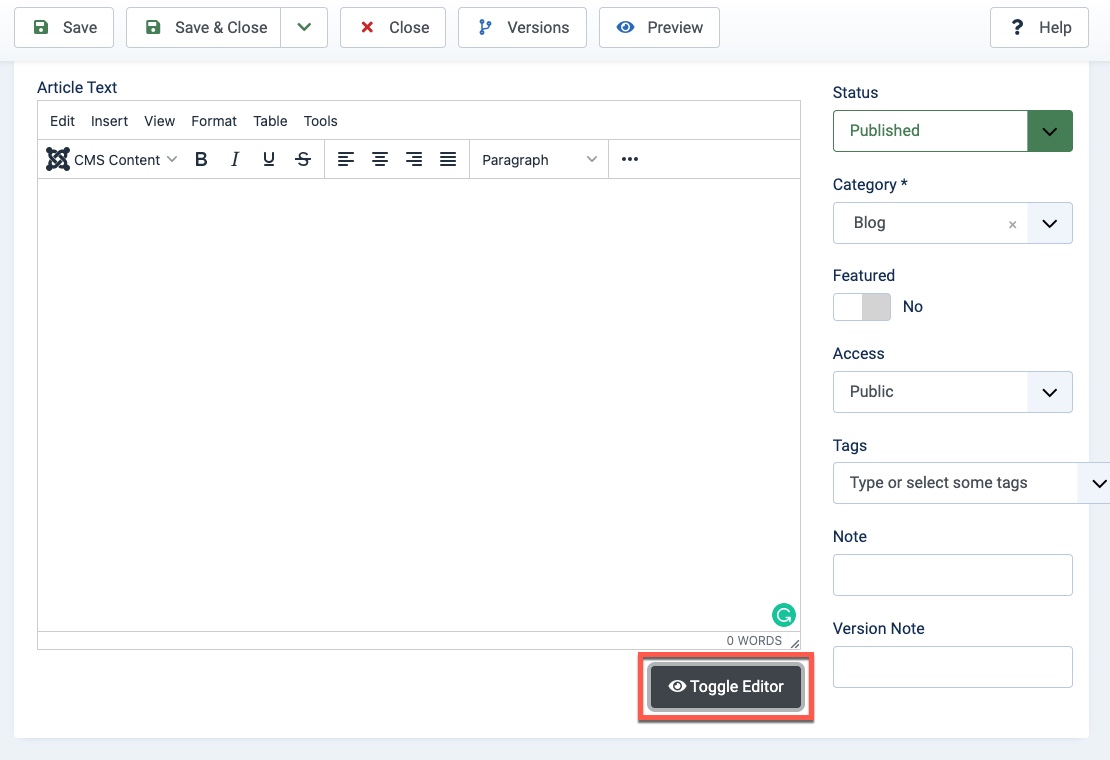
- Click on the Toggle button at the bottom of the editor. This places the editor in text/code mode.

- Copy the code and add it to the text/code editor.

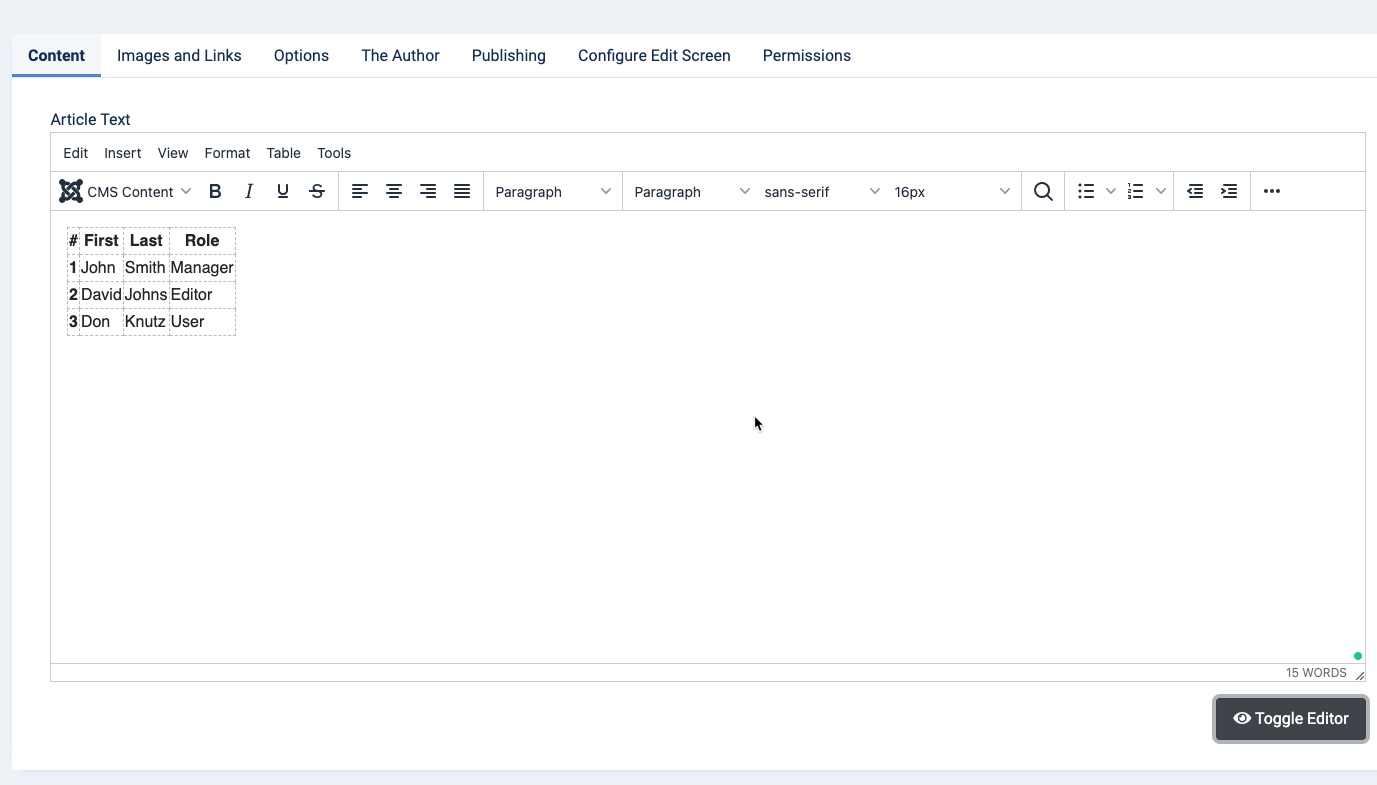
- Once the has been added, click on the Toggle button once again and you can see how the table will appear in the visual mode of the editor.

- Click on SAVE or SAVE AND CLOSE in the top left of the editor to save your changes.
You can now see the basic table added in the editor. To help make it more visually appealing or easier to view when you have a lot of table data, you add colors and stripes.
Using Colors with Bootstrap Tables
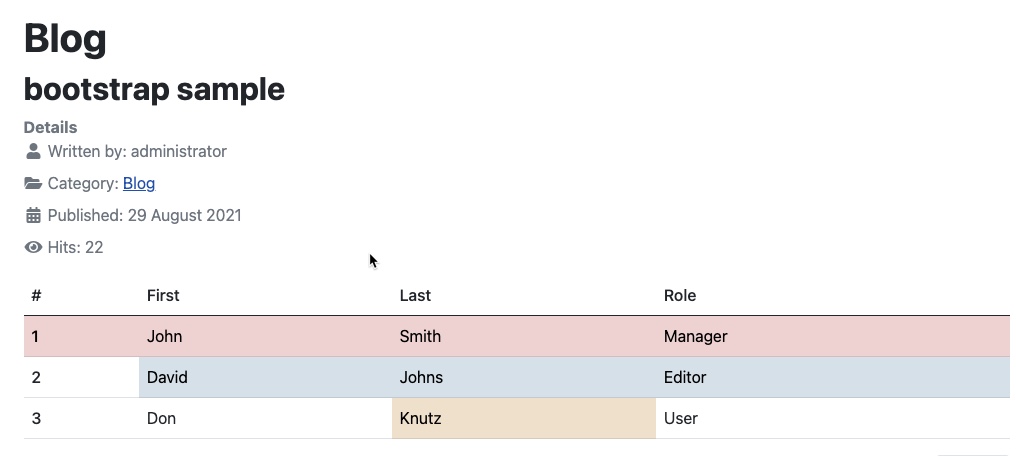
The colors used in Bootstrap are divided into 8 classes. You can see them listed below. When you use it with the Table class, then the color applies to the entire table. When you apply it to a row, then only that row is affected. If you apply it to a column or cell(s), then it is also the only element(s) affected.
Note that when you apply the color to the entire table, then you need to be careful in how you apply the code. Although the code provided by Bootstrap’s documentation shows “class=table-primary” for example, you actually need to add it after the initial class definition of the code. So, it will appear like this:
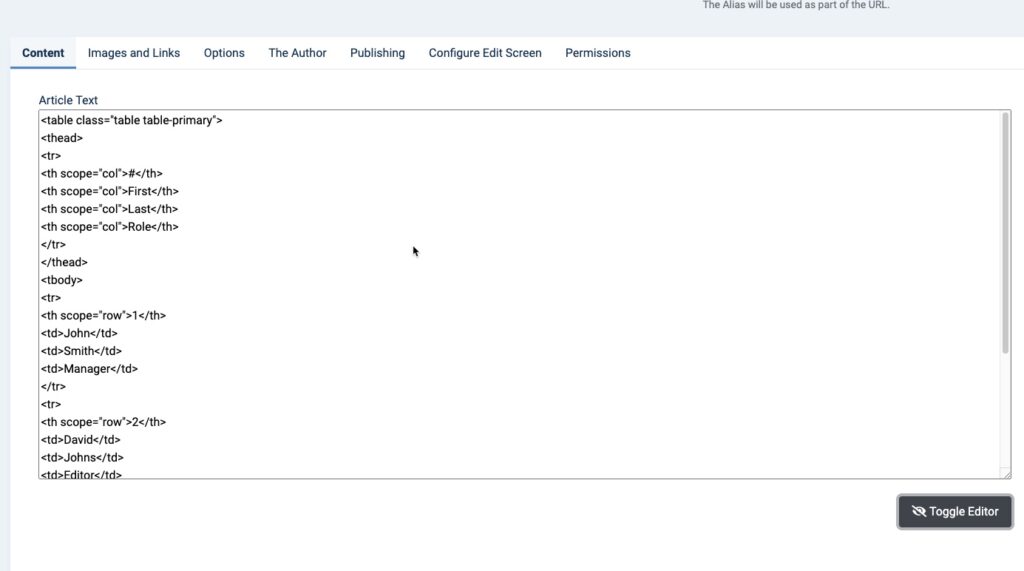
The class definition is set to “table table-primary”. Presently, you can not see the applied color when you toggle the editor to visual mode. However, you can see the color when you preview the article. Here’s how the code above would appear:
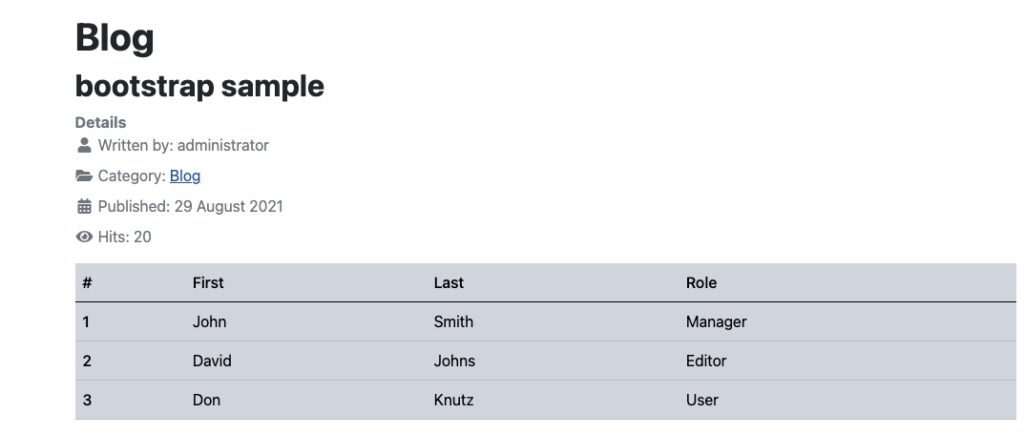
The code for applying color to rows, columns, or cells is as follows.
Note that adding a color to an entire column would mean applying the same code to all <td> entries in the same column in the table code. An example of how the color would appear for a row or cell would look like this:
Using Striped Bootstrap Tables
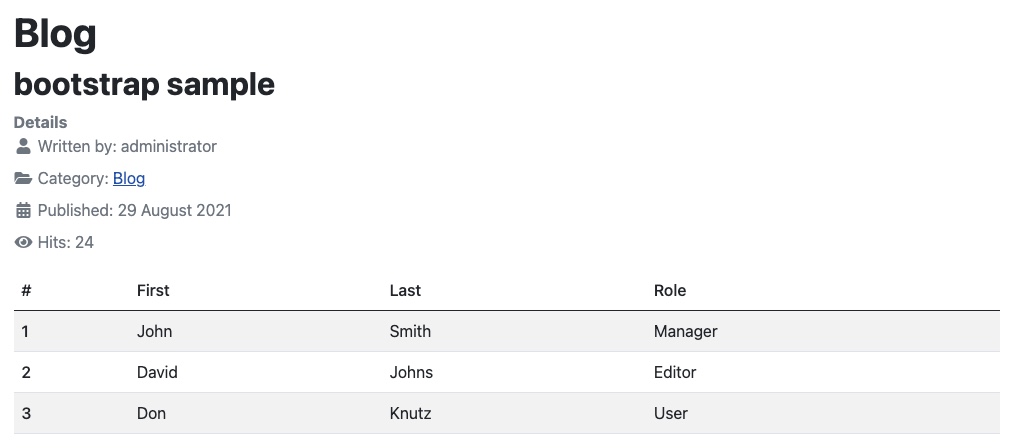
The use of stripes on tables makes it easier to read data from left to right. This is especially helpful when you are displaying a lot of rows. The code as it applies to the entire table is shown below in addition to an example of its appearance:
Example of the striped table code:
Striped Table Variants
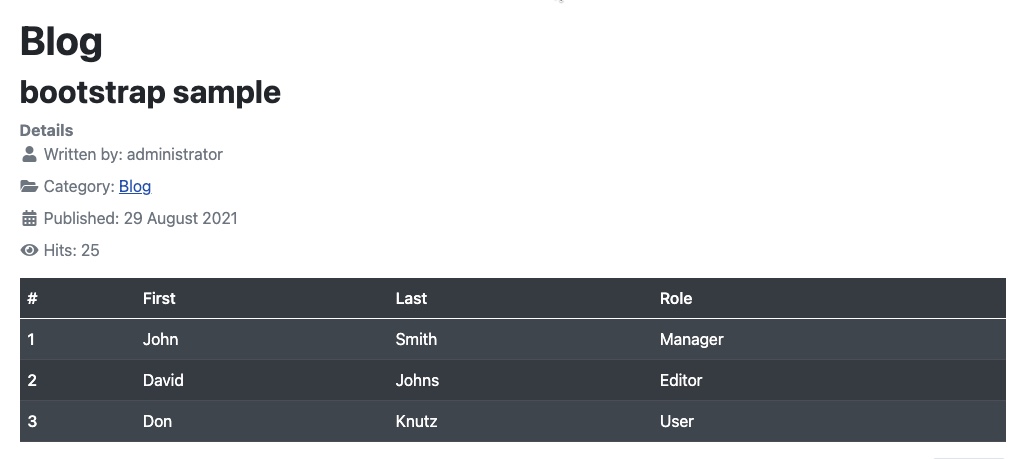
Dark stripes
Colored Stripes
Example of colored stripes added to table:
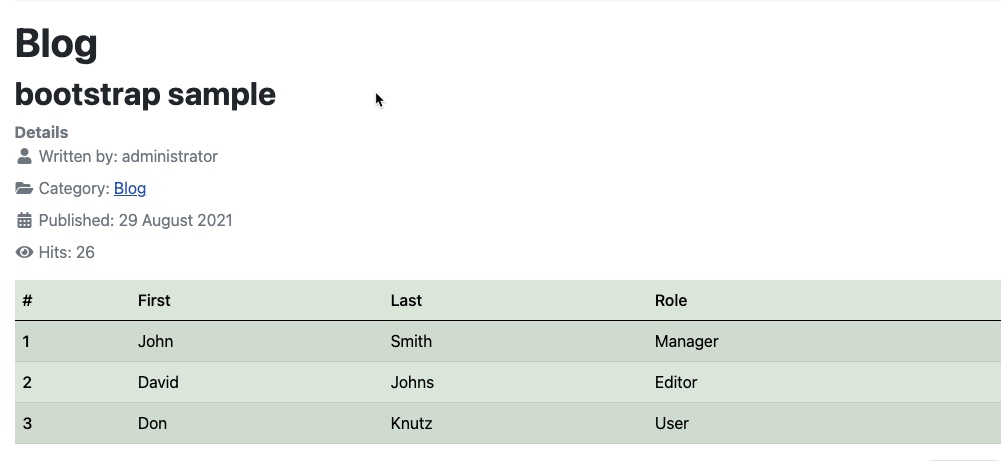
As you can see, there are a number of variants you can use to make it easier for your data to be displayed in a table using Boostrap. Stripes work really well in making data readable when you are trying to read rows that are close together.
Congratulations! You now know how to apply the Bootstrap table code to tables within a Joomla! 4.0 article!
To learn more about using Joomla!, please see our InMotion Hosting Support Center website!
