There are many different custom features you can integrate into your Pleroma account. In this article, you will learn about how to access your personal settings, including your display name, avatar, and background image settings. These are the basic settings you can use to customize your profile in a creative way.
- How To Access Pleroma Account Settings
- Name and Bio Settings
- Change Your Pleroma Avatar and Profile Banner
How To Access Pleroma Account Settings
Pleroma account settings are available for all users, with some limitation, not just admins. This is where you can edit many of the every day profile items that help identify you in the network.
- Log into your Pleroma account
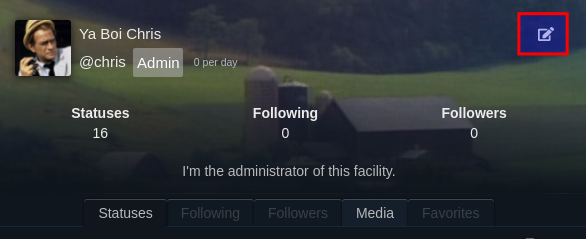
- Access your account page by clicking the username or typing the username after a forward slash following your domain name

- Click the edit button

Name and Bio Settings
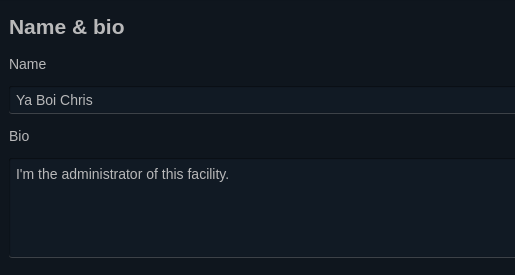
You can easily edit your display name and biographical information under the profile tab in the account editor:

Note that editing your name here affects the display name, but not the username. For example, you can put Joe Example as your display name, but keep @joe as your username for mentions and for use throughout the Fediverse.
Change Your Pleroma Avatar and Profile Banner
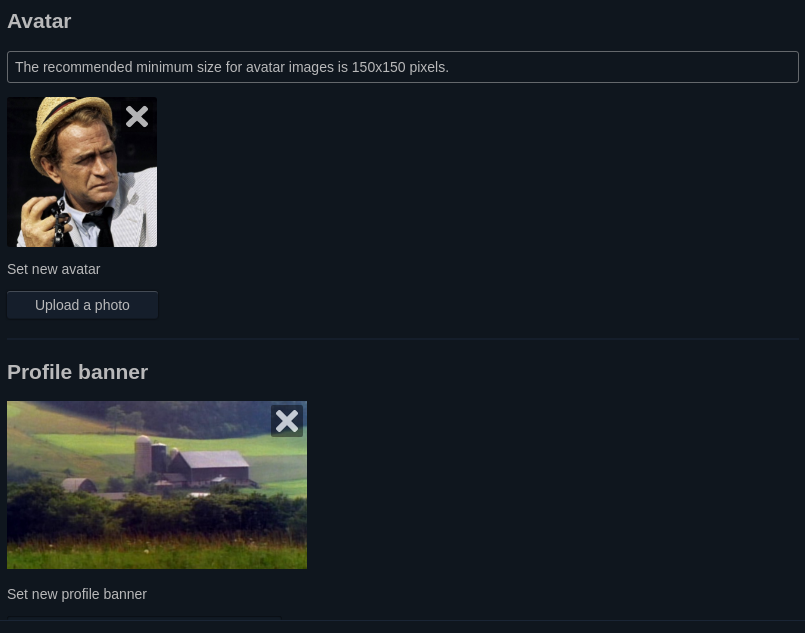
You can also use the default account settings editor to change your account avatar and profile banner.
- Under the Profile tab scroll down to the “Avatar” and “Profile banner” headings

- Click the Upload a photo button to upload your images
- Make sure to save changes
Well done! You now know how to edit basic account settings in your Pleroma site. Be sure to drop any questions or comments you may have below.


