It’s not surprising that many people will skim an article instead of reading it word for word. And yet there is important content that might get missed. If you are going to be writing long-form content, you will want to make the reading experience as pleasurable as possible for your reader, so they are less tempted to skim. This often means familiarizing yourself with the various typographical elements the Gutenberg editor offers to you. To make your text more readable (and, in most cases, scan-friendly) you will want to give your paragraphs some space to breathe. Using a separator block is easy to signal a break in the text before introducing a new idea or topic. Read on to learn how to use the separator block most effectively.
How To Create a Separator Block
Follow along with the steps below to create a separator block in a post or page:
- Log in to the WordPress Dashboard
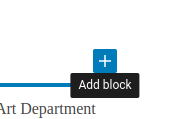
- Add a block with the + sign

- Choose Separator
Separator Styles
As with other blocks, there are adjustable settings for your separator block:
Line or Dot


The default separator for HTML documents is a straight line. WordPress adds some style to the line, to center it and add some spacing, along with some additional styles. You can choose to use the default line, as determined by your theme, or substitute dots.
You can also choose to have the line option stretch across the length of the content.
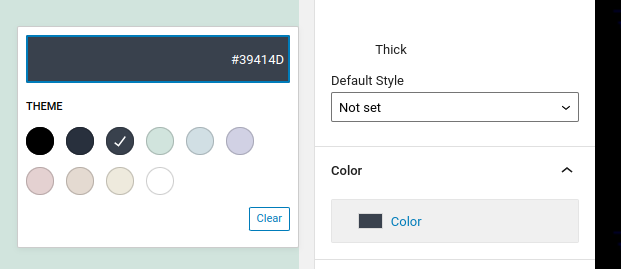
Color
You can customize the color of your lines and dots. Make sure that the color you select matches your theme, so that your lines or dots do not disappear into the background.

Well done. You now know how to create a separator block in WordPress. If you have any questions, comments, or problems feel free to drop a comment below.
For more info, check out our articles on WordPress blocks.
Looking for more guides? We have over 400 WordPress How To Articles to help you!
