Table of Contents
In this tutorial, we will show you how to purchase an additional hosting plan from your AMP. This new hosting account will be separate from your existing plans. If you are just looking to upgrade/downgrade your existing account, see our guide here.
Purchasing an Additional Hosting Plan in AMP
- Login to AMP.
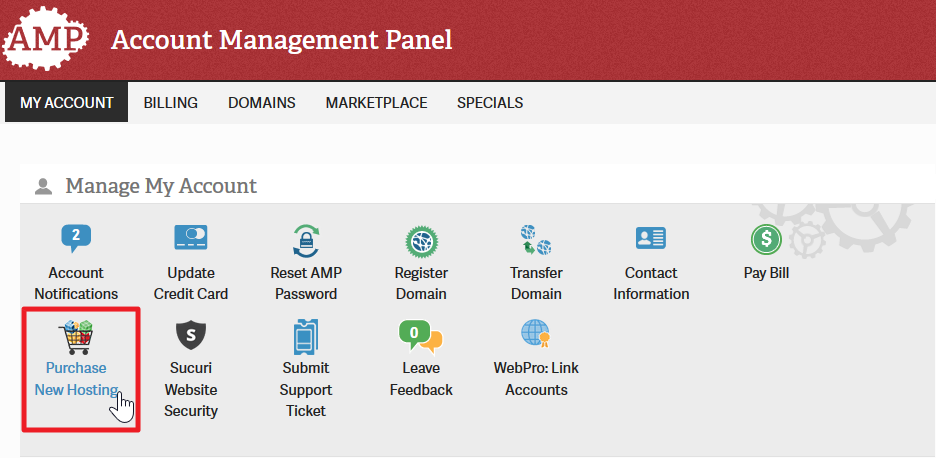
- In the main menu, select Purchase New Hosting from the homepage.

You can also click Marketplace on the top menu for other hosting products. - Choose the hosting product you want to purchase.

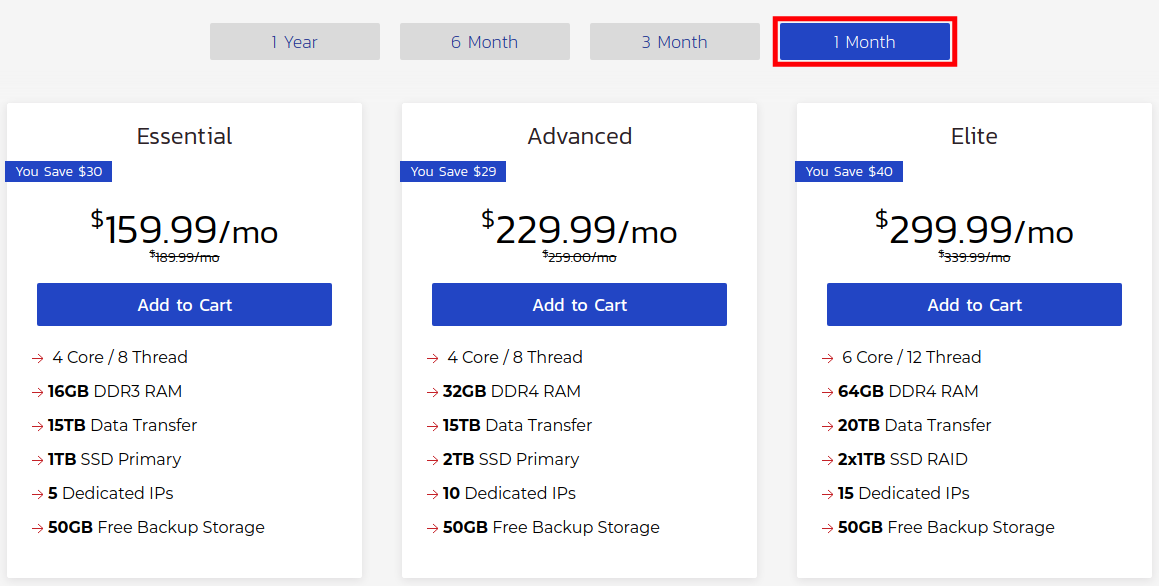
- You will then see a comparison chart of all the plans. Choose the term you want to purchase hosting for. Such as 3 Year, 2 Year, 1 Year, 6 Month, or 1 Month. The available terms will differ based on the plan you are viewing.

- Click the Add to Cart button for the plan you want to purchase.
- You will then be given some optional add-ons based on your plan, such as Backup Manager or a Dedicated IP. Add the ones you are interested in and click the Continue button.
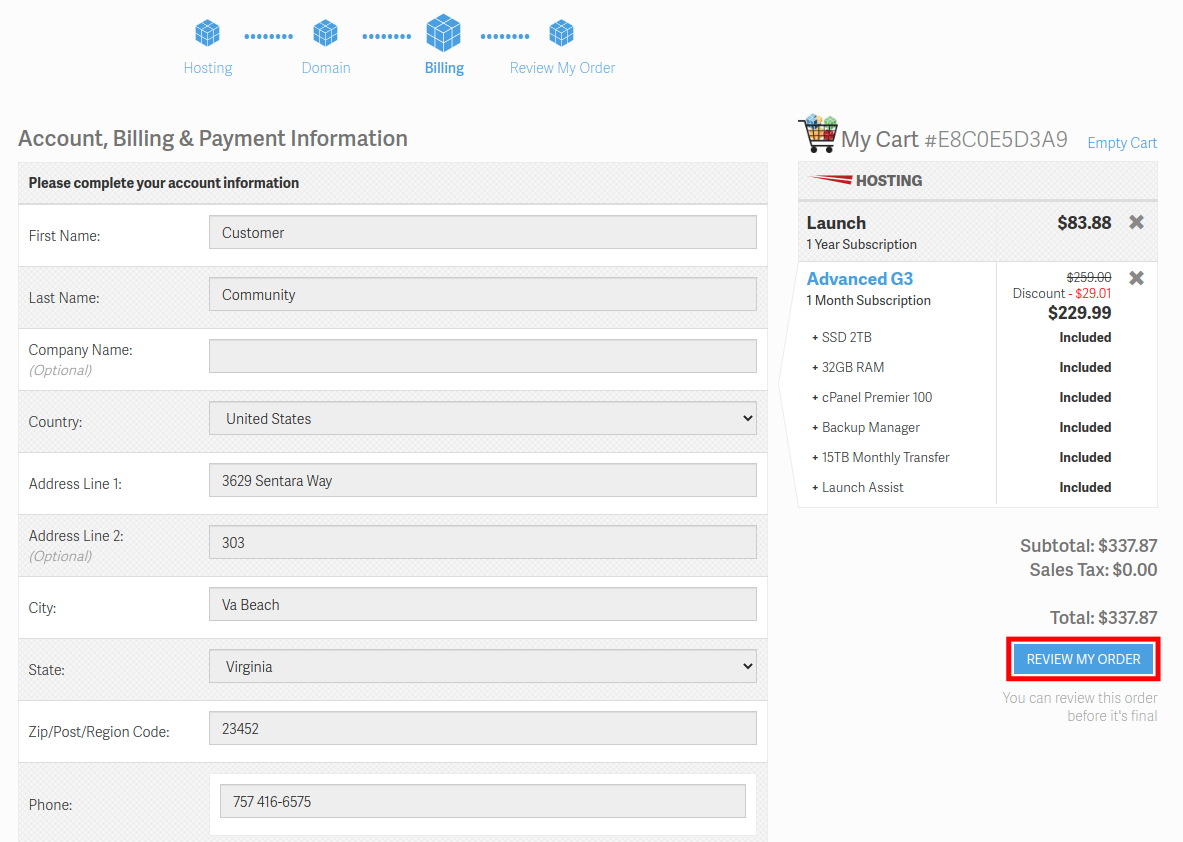
- You will then be on the Account, Billing & Payment page. Fill in the fields as needed then click the Review My Order button.

- Review your order then agree to the Terms of Service, and click the Checkout button. You will then see a message stating “Your order has been completed.“
Congratulations, now you know how to purchase an additional hosting plan from AMP! You may want to also consider Upgrading To High-Availability Cloud Server.

