Table of Contents

Splitting up your domains between multiple cPanel accounts can allow you to provide cPanel access to a website owner to eliminate their access to your cPanel user’s other domains. As well as many other benefits, this also provides better statistics for identifying resource usage and traffic trends.
Luckily, splitting up domains is made simple using the Convert Addon Domain to Account tool located in the Transfers section of WHM. This guide contains the steps to use this tool for splitting up the cPanel account’s addon domain, including the databases, directory files, SSL Certificate, as well as, FTP and email accounts.
How to Convert an Addon Domain to an Account
 Create a full cPanel backup of the account that contains the domain that you are attempting to split.
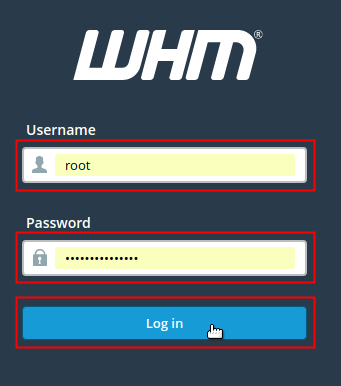
  Log into WHM as root.
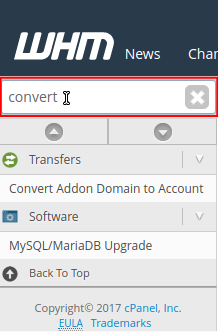
  Type “convert” into the search field to the left.
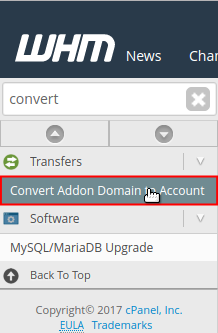
  Click on Convert Addon Domain to Account under the Transfers section.
  Click the Convert icon next to your addon domain.
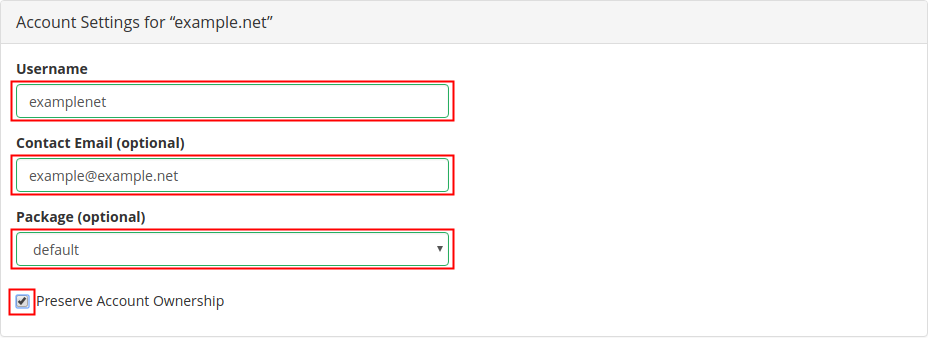
  Configure the new Account Settings by filling in the fields accordingly. Refer to the table below for a brief description of the expected values for each field:
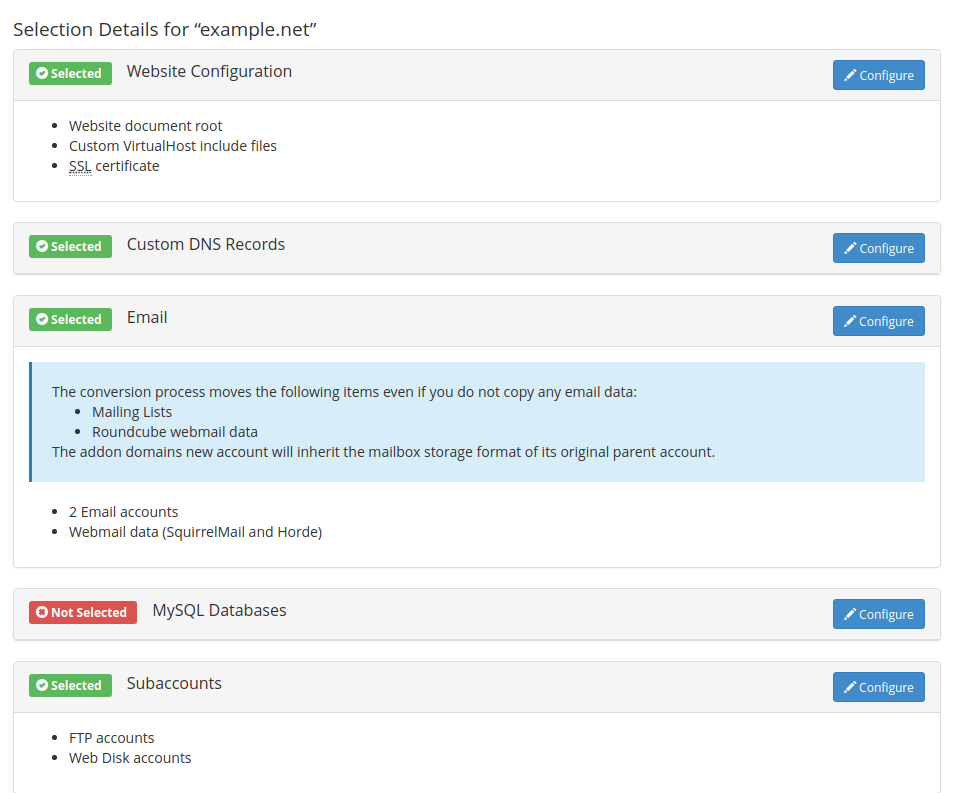
 Field Description Username Enter a username to be used as the new cPanel account that will own the addon domain. Contact Email (optional) Enter a valid email address to be used for cPanel notifications. Package (optional) Select a package to assign to the new cPanel account that will own the addon domain. Preserve Account Ownership (Checkbox) Select this checkbox to ensure that the owner of the old cPanel account is set as the owner of the new cPanel account.  Under Selection Details for “example.net” confirm that the addon domain’s details are selected for what you would like moved to the new cPanel account. For our example, all the details were selected correctly, except for the website’s databases.
  In order to select the database for the addon domain, click on the Configure button next to the MySQL Databases option.
  Review the warning and click to select Move from the How do you want to transfer your MySQL Databases? options.
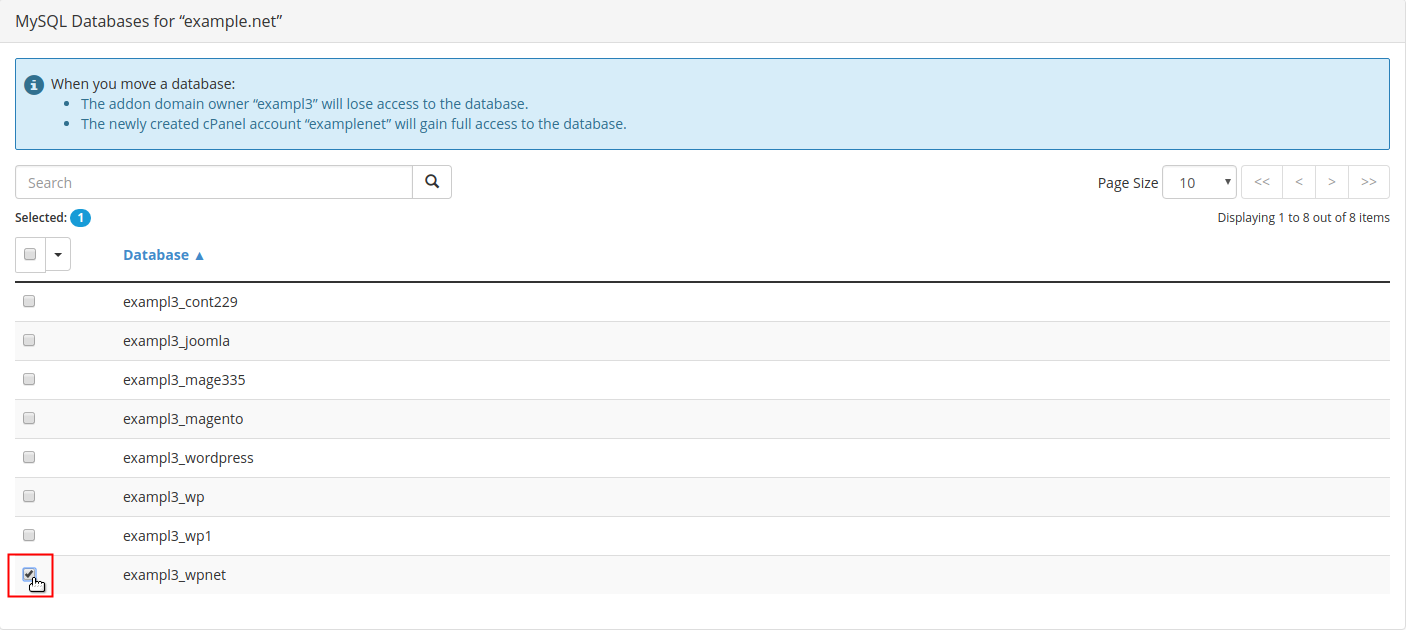
  Review the notice in the MySQL Databases for “example.net” section and proceed to make your selection for the Database(s) to be moved.
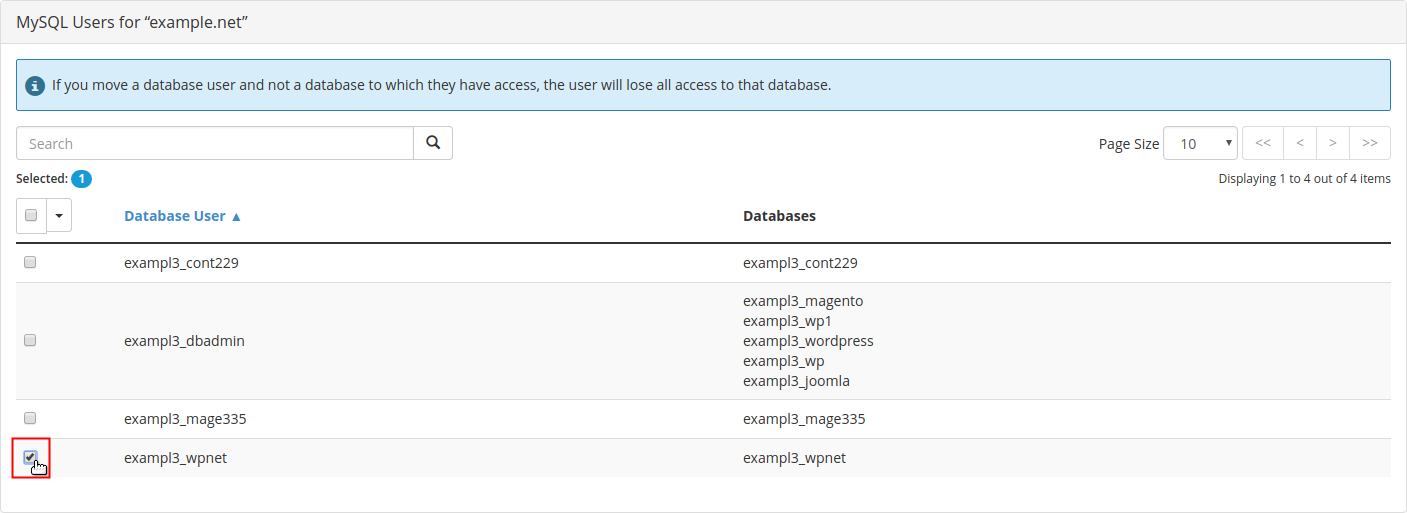
  Review the notice in the MySQL Users for “example.net” section and proceed to make your selection for the Database User(s) to be moved.
  Scroll down and click the Save Selections button.
  Click on the Start Conversion button.
Depending on how large the account is, you may see it complete in a few moments. Otherwise, the status will update once the conversion is completed. During the conversion process, we recommend avoiding making any further changes to the accounts.
Now that you have converted the addon domain to its own account you can manage that website from the new cPanel account created. If you need to reset the new cPanel account’s password to gain access, you can follow our guide on how to reset a cPanel password from WHM.
Experience the Power of a Dedicated Server
Know you will always be able to reach your customers when you need to with reliable and secure Dedicated Hosting. Get industry-leading hardware at an affordable dedicated server price.
DDoS Protection
Free Backup Storage
cPanel or Control Web Panel
Managed Server
Unmetered Bandwidth

