Please note: This website includes an accessibility system. Press Control-F11 to adjust the website to people with visual disabilities who are using a screen reader; Press Control-F10 to open an accessibility menu.
Popup heading
Questions about our MailChannels Deployment? We have answers and are here to help!
Our Ansible Control Node allows you to start managing remote systems. The container is set up with Git, popular playbooks, an is easy to configure in the Account Management Panel (AMP). This allows you to spend less time working on your Ansible agent and more time managing remote nodes. Features include:
All needed Python and Ansible dependencies
InMotion’s Ansible Catalog
Eliminated issues with a spotty local internet connection
Free up local resources
Use the included GNU Screen or Tmux utilities
All text editors are welcome: vi, vim, GNU Nano, and GNU Emacs
The Ansible Control Node is only available with Cloud Server or Bare Metal dedicated server hosting plans. You can always install Ansible manually.
Below we’ll cover how to get started with your Ansible Control Node.
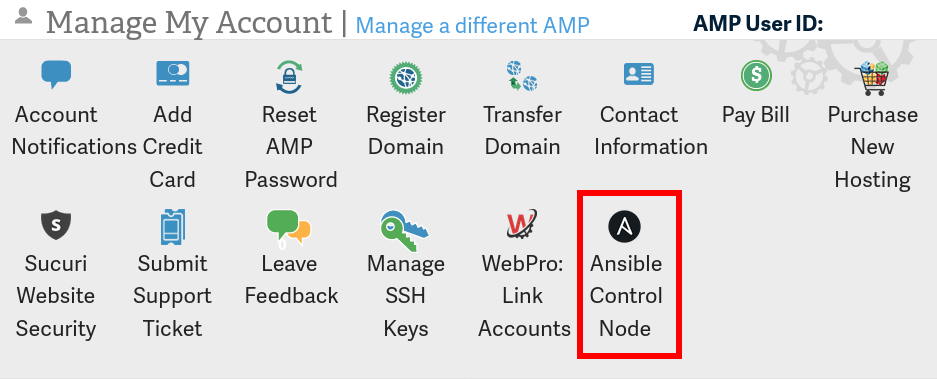
Select My Account at the top to return to the main page
Under Manage My Account, select Ansible Control Node
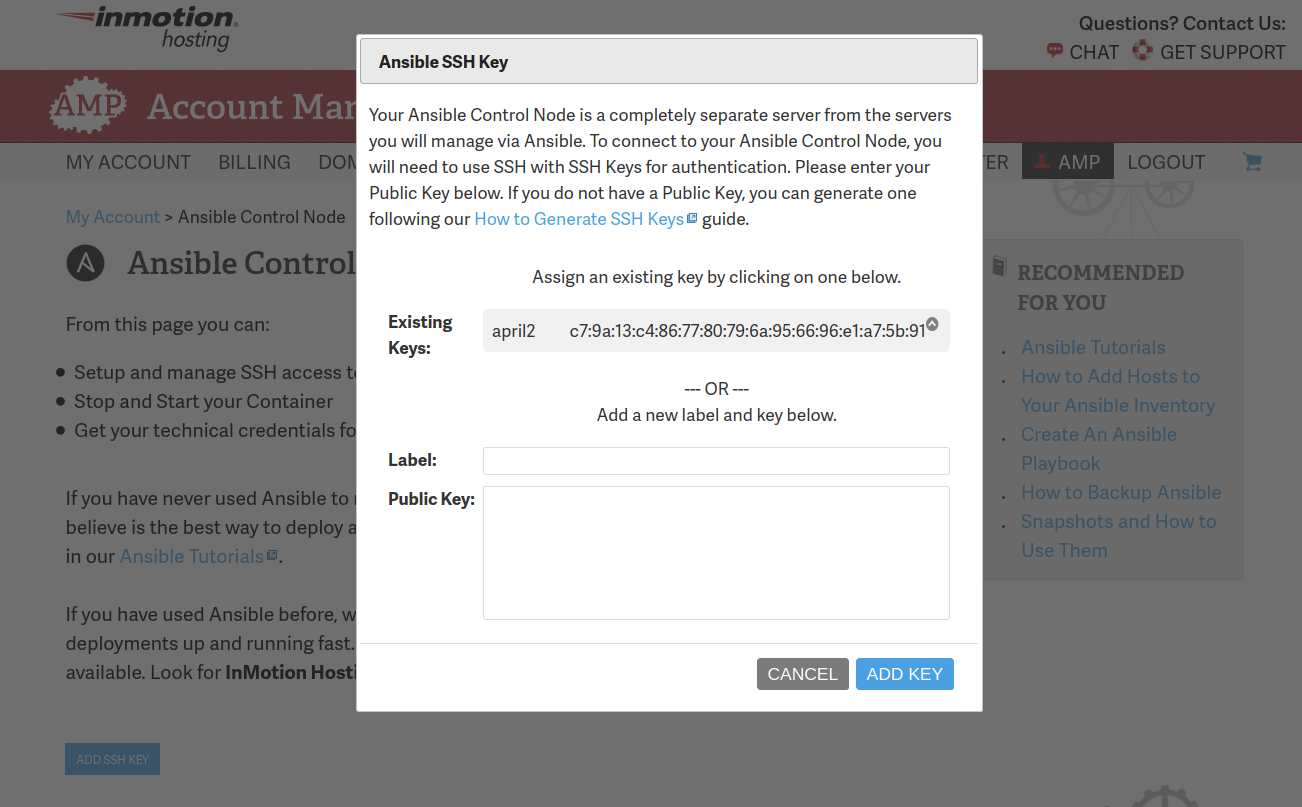
Upon first visit to the Ansible Control Node page you’ll be prompted to select an existing public key or add a new key
After you’ve selected a key, select ADD KEY
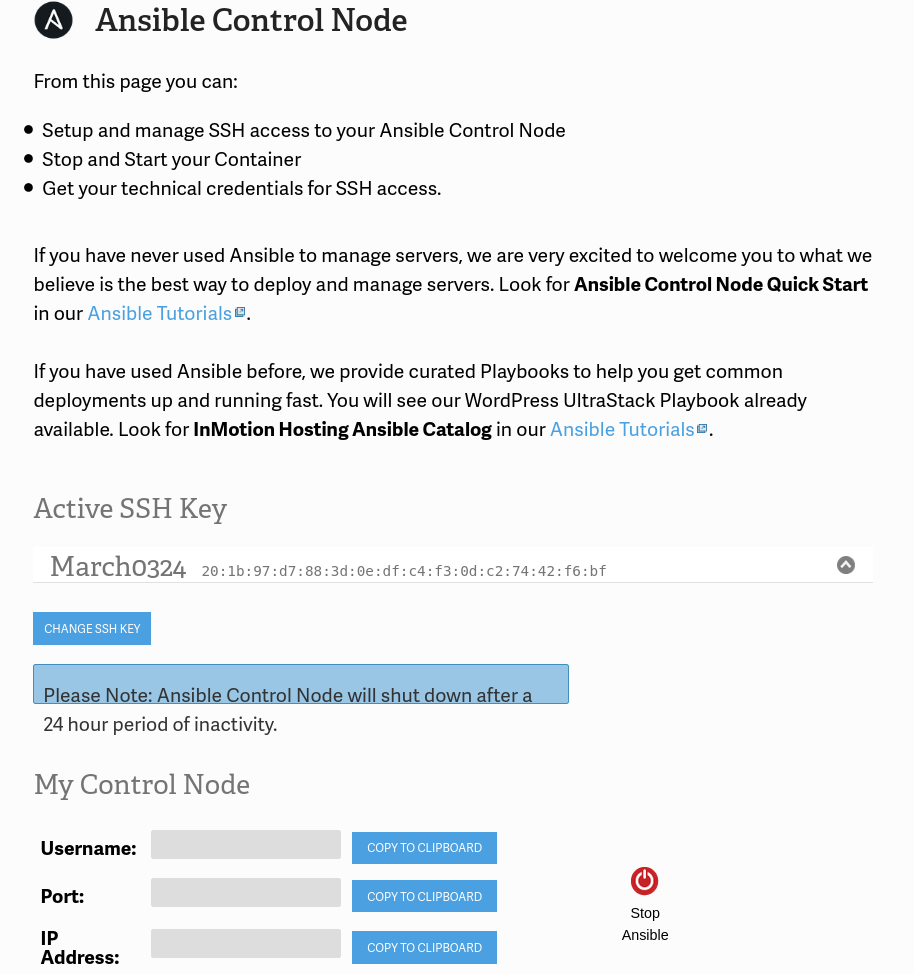
Select Change SSH Key to change your Ansible key at any time
Start the Ansible Control Node
You must start the Ansible Control Node in AMP before you can log into it to run plays. Note that the Ansible Control Node shuts down after 24 hours of inactivity.
Using our Manage My SSH Keys guide, install the public key you created on the Ansible Control Node to any Cloud Server or Bare Metal Dedicated Server you want to manage with Ansible
Great, you are now in your Ansible Control Node. Next, you can try a common deployment of WordPress onto a Server by following our Using the WordPress UltraStack Playbook guide.
InMotion Hosting contributors are highly knowledgeable individuals who create relevant content on new trends and troubleshooting techniques to help you achieve your online goals!
Get web hosting that grows with your business. Our all-in-one hosting platform gives you everything your website needs to scale - so you can focus on the next big thing for you and your business.