Table of Contents

Many website owners install Matomo Analytics when opting for a self-hosted solution. It’s arguably the most popular open-source analytics software today with integrations for WordPress, Drupal, and many other popular content management systems (CMSs).
Below we’ll cover how Control Web Panel (CWP) users can install Matomo Analytics manually.
How to Install Matomo Analytics on Control Web Panel
The following steps contain methods for completing the installation from the admin and user panels. However, regular users will need to contact the CWP server admin if you need a newer PHP version installed.
- Log into Control Web Panel.
- Admin users must create a regular CWP user if you haven’t already.
- Create a subdomain so that you can easily manage DNS and other settings for the Matomo installation.
- Create a MySQL database and user for Matomo.
- Ensure you have PHP version 7.2.5 or higher selected for the CWP account or at least the Matomo subdomain (if using CWPpro).
- We recommend using the CWP terminal or SSH to complete the rest of this section. Regular users without SSH access can use the CWP file manager or FTP instead.
- Navigate to the Matomo subdomain root directory. Shell users must change the file path with your chosen Matomo subdirectory. For example:
- Remove the default CWP index file:
- Download the latest version of Matomo:
File manager users will need to open the Matomo URL in a web browser to download the compressed file. Then, upload it to your Matomo directory. - Extract the compressed file:
File manager users, right-click the file to decompress it. - The files are now in a new directory titled “matomo.” Move all files from the new directory to your current directory:
- Remove the now empty directory and zip file:
- Admin users will need to change the owner of the website files from “root” to the CWP user, replacing “USER” with the CWP username:
Complete Matomo Setup
Below we’ll cover the web application setup process.
- Visit your Matomo URL in a web browser to start the setup wizard.
- Change the language at the top if needed. Press Next on the welcome screen.

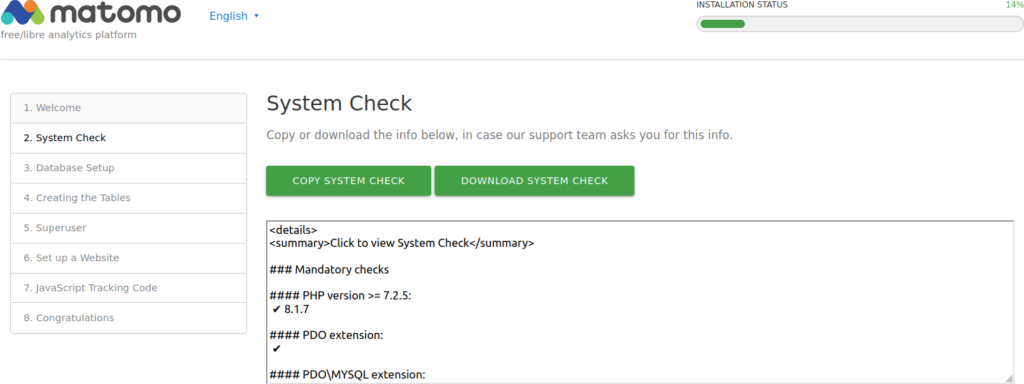
- Ensure you meet all requirements. If not, resolve the issues or download the system check text file before continuing the Matomo installation process.

- On the next page, type the database user, user password, and database name. Select Next.

- Select Next under the tables creation confirmation.
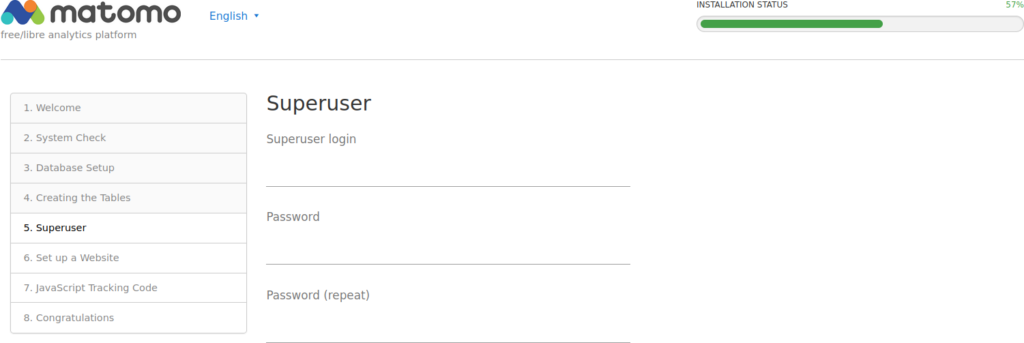
- Create a super user name, password, and email account. Select Next.

- Specify the title of your primary website, domain, preferred time zone, and whether your site is an online store. Select Next.
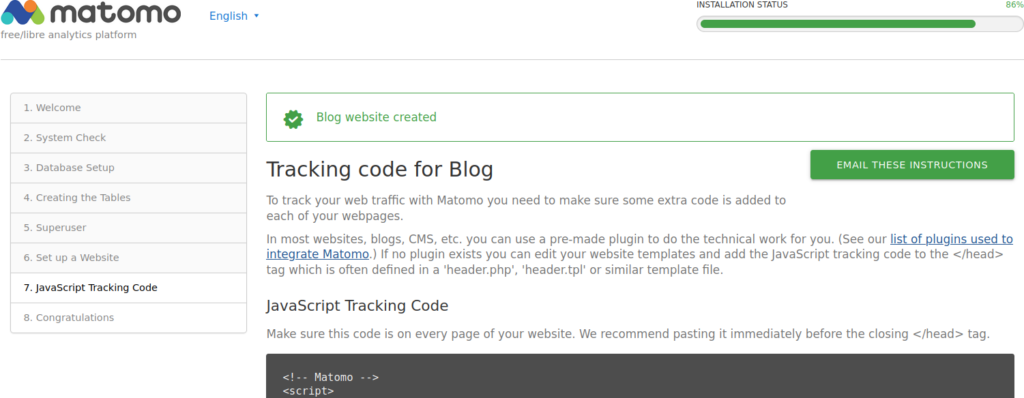
- If your website builder has a stable Matomo plugin, you should try using that first. Otherwise, add the provided JavaScript tracking code in your website header file (e.g. header.php) at the bottom of the “<head>” section. Select Email These Instructions if you wish to save the info for later review. There are links for different use cases as well. Select Next.

- Customize the default Matomo settings at the bottom by selecting the check marks if desired. Continue to Matomo.
Getting Started with Matomo Analytics
Here’s a quick-start guide so you can quickly gain a better understanding of your website traffic.
- Log into Matomo.
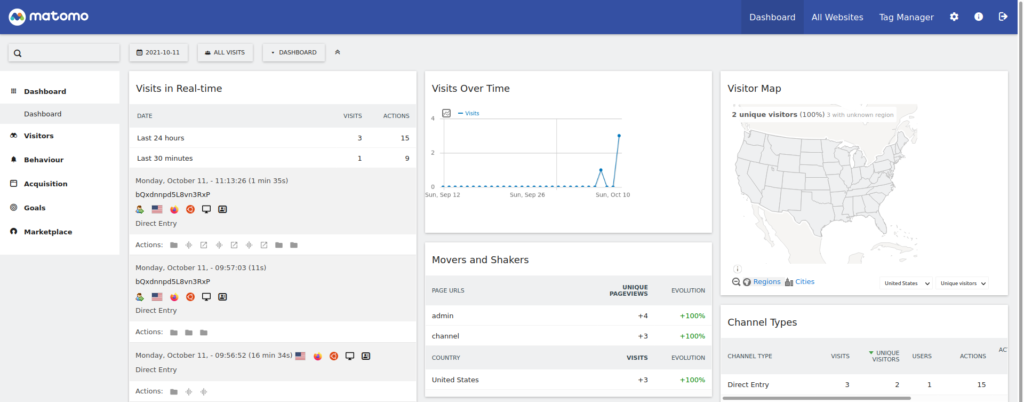
- When you log into the dashboard, you’ll be provided with multiple options for connecting Matomo with web applications. The “Integrations” tab shows your Matomo URL and site ID if needed for any third party integrations. Once you’ve added Matomo tracking code to your website and Matomo has gathered some user activity, this section will disappear to display the analytics.
- Install an SSL certificate for your Matomo subdomain. We recommend Certbot.
- Force SSL connections.
- Add a privacy banner to your website.

How to Use Matomo Analytics
Below are some articles to help you learn more after you install Matomo:
- Create a regular user
- Understand how to see all connected websites Matomo ID numbers
- Add features by installing free Matomo plugins
Consider amping up your digital marketing efforts with Brand Indicators for Message Identification (BIMI).
Check for Matomo update notifications regularly as they’re not automated like CWP upgrades. Learn more about what you can do with your CWP server.
Upgrade to VPS Hosting for Peak Performance
Upgrade to InMotion VPS Hosting today for top-notch performance, security, and flexibility, and save up to $2,412 – a faster, stronger hosting solution is just a click away!
SSD Storage
High-Availability
Ironclad Security
Premium Support


