Table of Contents
Drupal is a popular content management system (CMS) for security conscious professionals who want to develop highly customized backend solutions and integrations. InMotion Hosting is a trusted Drupal host and contributor, with years of experience supporting Drupal users globally.
Below we’ll cover how to install Drupal in Control Web Panel (CWP), formerly known as CentOS Web Panel.
How to Install Drupal in Control Web Panel
These steps are for users with access to the CWP admin panel. However, regular users can follow these steps if you have the necessary PHP version installed.
- Log into Control Web Panel.
- Create a regular CWP user if you haven’t already.
- Create a domain or subdomain if the website will not be installed for the user’s primary domain.
- On the left select MySQL Manager to create a database. Skip this step if you plan to use SQLite in lieu of MySQL/MariaDB.
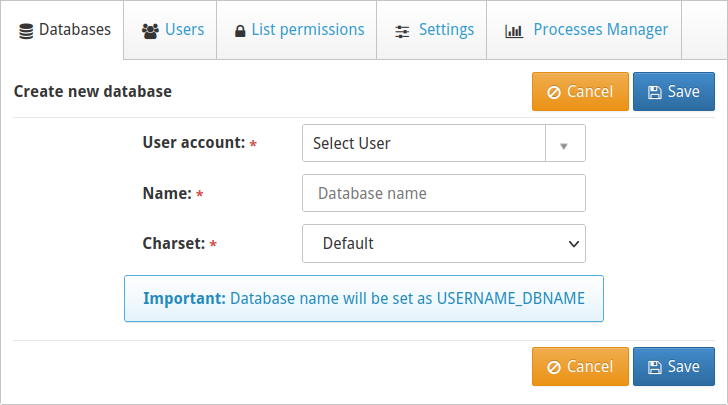
- At the top select Add new database.

- Select the new CWP user account, specify a database name, and utf8mb4_unicode_ci or utf8mb4_general_ci charset. Then select Save.

- Ensure you have PHP version 7.3 or higher.
- At the top select Terminal and Simple Terminal to open a new window. Users without SSH access can use the file manager or FTP instead.
- Navigate to the root directory for the domain. Shell users should “USERNAME” with the CWP username. For example:
- Remove the default CWP index file:
- Download the latest version of Drupal with zip or tar:
File manager users will need to download the compressed file from one of those URLs and upload it to the current server directory. - Extract the compressed file:
File manager users, right-click the file to decompress it. - There’s now a new directory named “drupal-‘version-number’.” Move all files from that directory to your current directory (you may need to change the version number in the commands below):
- Remove the now empty directory and tar file (you may need to change the version number):
- Admin users will need to change the owner of the website files from “root” to the CWP user, replacing “USER” with the CWP username:
Drupal Setup
Below we’ll cover the website setup process.
- Visit your Drupal domain in a web browser. You’ll be redirected to the setup wizard.
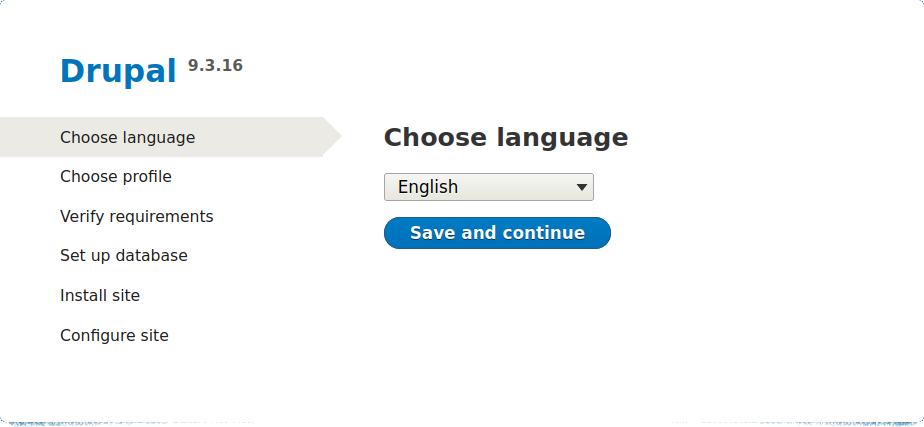
- Select your preferred language, then Save and continue.

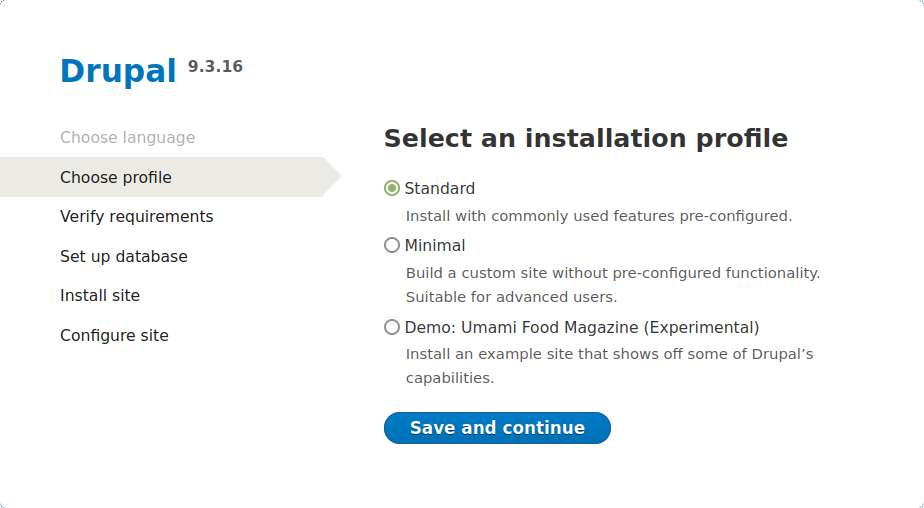
- Leave the Standard option selected unless you’re an experienced Drupal developer.

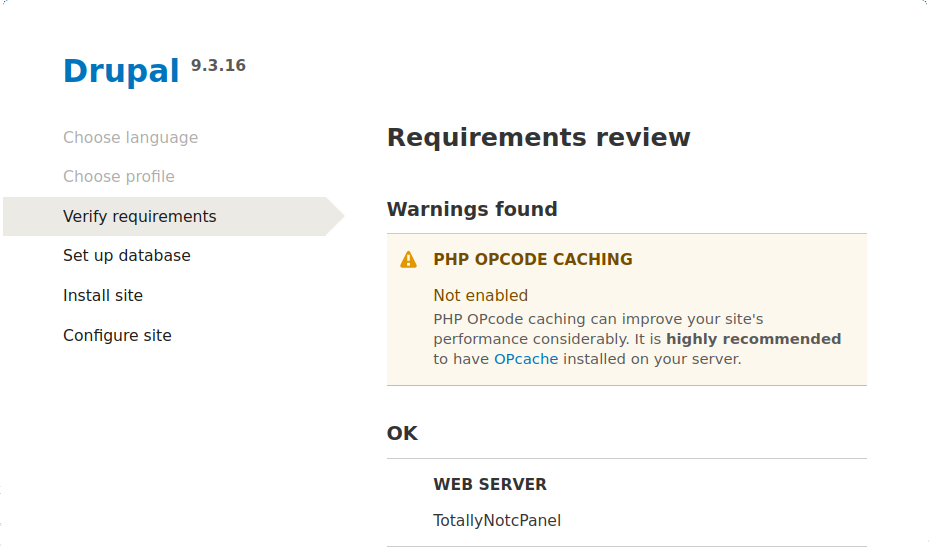
- Review the requirements. Resolve any warnings or note them for further review later. At the bottom, select continue anyway.

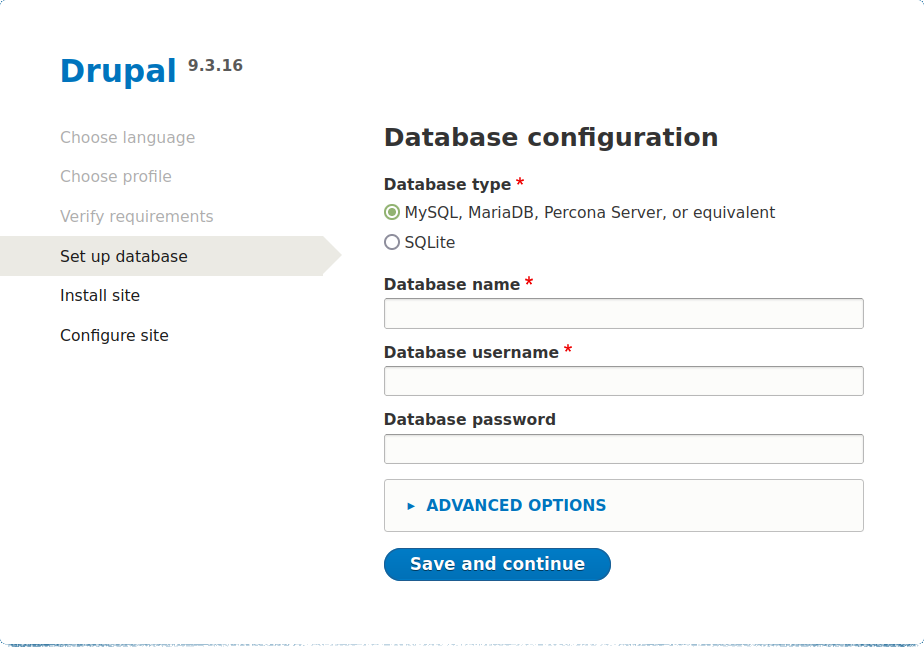
- Type the Drupal database name, user, and user password. Or select SQLite if that will be your database solution.

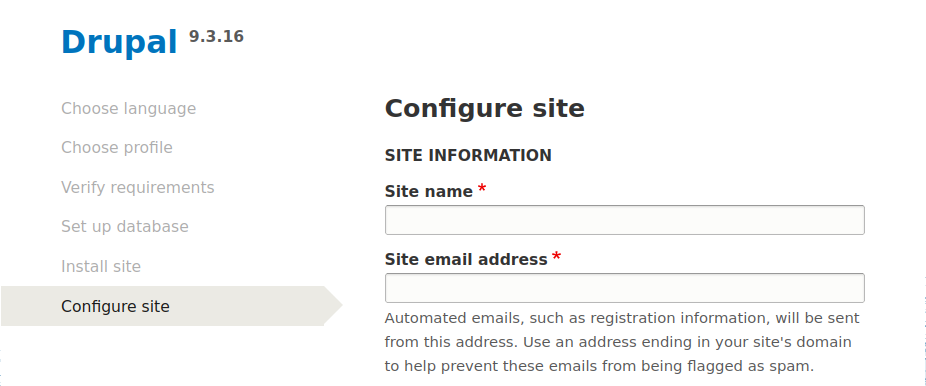
- Complete all required fields to complete the installation. The “site maintenance account” is the admin user account.

- Click Save and continue to see your new Drupal site.
Getting Started with Drupal
Here are some essential tasks to quickly get your Drupal installation ready for production.
- Make sure you know how to log into the Drupal backend.
- If your domain is already being publicized, consider enabling maintenance mode until development is complete.
- Install an SSL certificate for the domain via CWP or Certbot.
- Add security HTTP headers such as Content Security Policy (CSP) and HTTP Strict Transport Security (HSTS) via web server configuration or the Security Kit module.
- Install plugins for search engine optimization (SEO) and accessibility including Real-time SEO, Metatag, and Simple XML Sitemap.
- Configure automated Drupal backups.
- Integrate your analytics software. Two of the most popular options are Google and Matomo Analytics. We have a guide for installing Matomo in CWP.
Learn More About Drupal
There’s plenty more to learn about the Drupal CMS from our Drupal Education Channel. If you’re in need of sophisticated solutions that require some coding skills, there is reputable free and paid Drupal support for custom development.
As secure as Drupal is, you should still remember to harden CWP server security.
