In this article we’ll discuss how to disable the cPanel /scgi-bin directory, so that if your website failed a PCI scan due to this being found you can have have it re-scanned and then pass the scan. If you read our previous article on how to pass PCI compliance scans, having the /scgi-bin directory enable is a common way to fail a PCI scan of your website.
A PCI scanning vendor typically picks up on these issues due to the way the /usr/local/cpanel/cgi-sys/scgiwrap script functions. Essentially this script is used to run CGI scripts as the cPanel user, instead of the web-server’s nobody user. When a PCI scan is taking place, typically they will attempt to request a wide range of known problematic scripts, in most cases the majority of those scripts won’t exist on your website. But with the way the requests are handled the server responds back with a HTTP 200 OK response displaying a page that the script wasn’t found, instead of a HTTP 404 Not Found response.
So the PCI scanning company thinks that the actual problematic script is present on the server, when in reality if it was a human looking at the page it could be determined that the problematic script didn’t actually exist, and wasn’t executed. You can use the steps below to disable access to the /scgi-bin directory so that you can pass a PCI scan. These steps will require having root access to either your VPS or dedicated server.
- Login to your server via SSH as the root user.
- First make a copy of your cPanel Apache configuration file with the following command:
cp -frp /var/cpanel/conf/apache/main{.,backup}This will create a /var/cpanel/conf/apache/main.backup file for you.
- Now you’ll want to edit the cPanel Apache configuration file with the following command, in this example we are using the vim text editor:
vim /var/cpanel/conf/apache/main
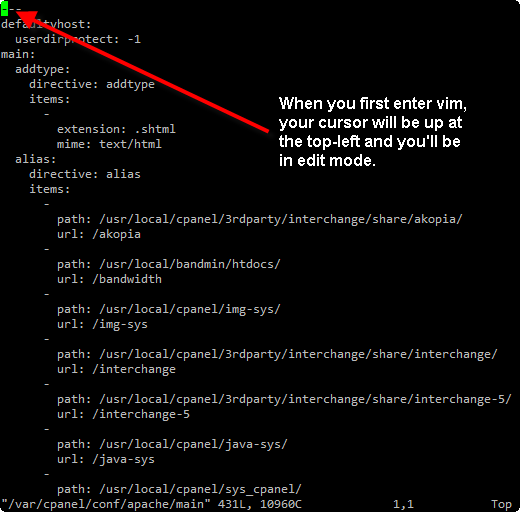
When vim is loaded you’ll be in edit mode, meaning if you type something it doesn’t get inserted into the document.
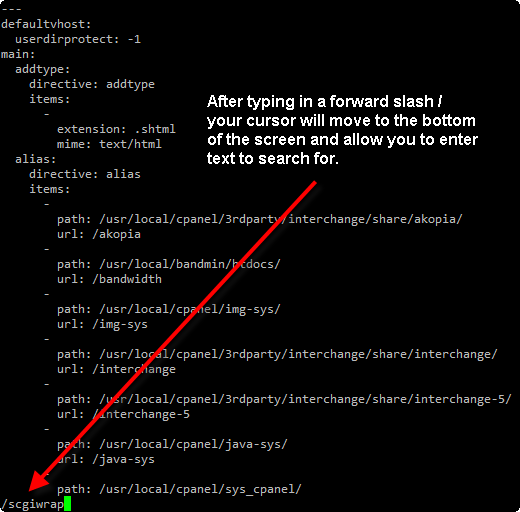
We want to look for scgiwrap, so first type in a forward slash / to enter find mode, the cursor will drop to the bottom of the screen, then type in scgiwrap and hit Enter.
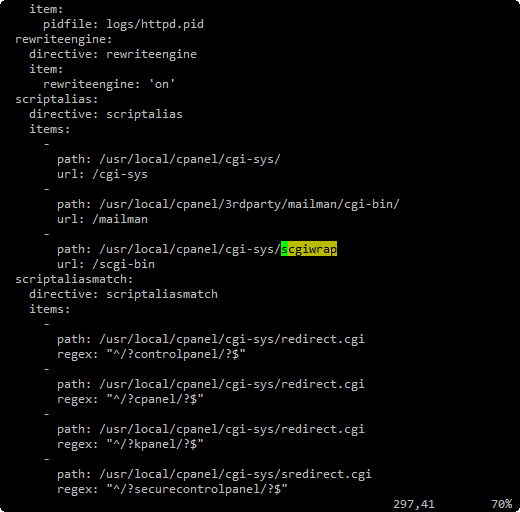
Now you should be dropped directly to the line containing a reference to the scgiwrap script, with that word highlighted.
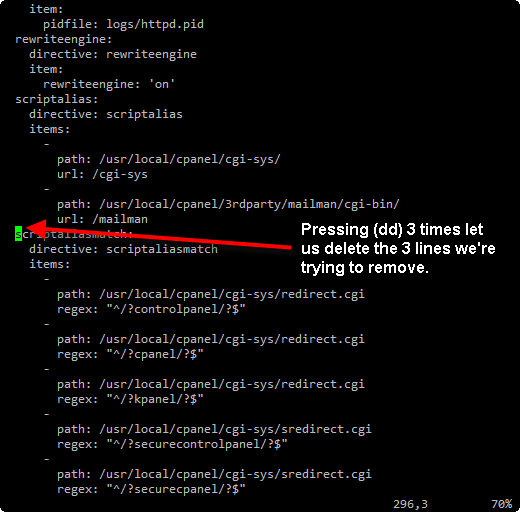
Press the Up arrow one time on your keyboard to move above the line highlighted, which should just contain a single dash mark –.
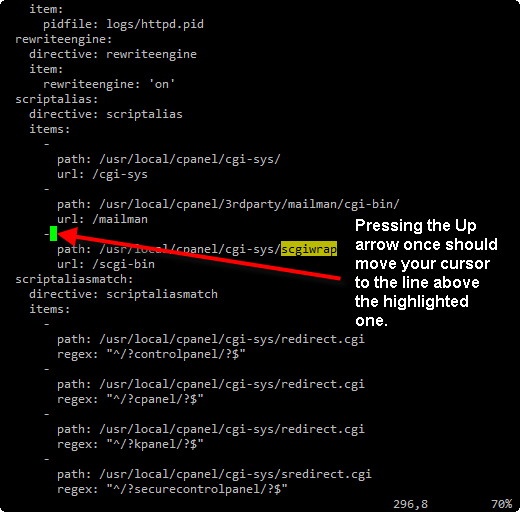
In vim when you’re still in edit mode, you can press dd which is simply pressing the d key twice, to delete a line. So you’ll want to delete the 3 lines regarding the scgiwrap script.
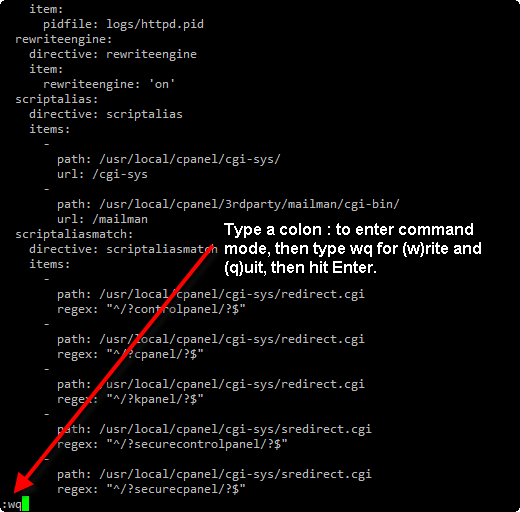
Now type in a colon : to enter command mode, then type in wq for write and quit, the hit Enter
- Now you’ll want to rebuild the Apache configuration with the following command:
/scripts/rebuildhttpdconfThis should give you back the following response:
Built /usr/local/apache/conf/httpd.conf OK - Finally restart the Apache service with the following command:
service httpd restart - Below shows the before and after from turning this off, the first one is with /scgi-bin still being enabled, and the second is with it disabled following the instructions above.


You should now be able to pass a PCI scan that had previously failed for the /scgi-bin/ directory being accessible. If needed, you can also disable other cPanel features that could impact your overall system health and compliance.


