Table of Contents

CyberPanel is a web hosting panel built on the LiteSpeed web server. Officially supporting Ubuntu and CentOS / Enterprise-based Linux distributions, there are two versions to choose from when you install CyberPanel:
- CyberPanel Free Forever with OpenLiteSpeed
- CyberPanel Enterprise with LiteSpeed Enterprise
We do not recommend using Ubuntu for CyberPanel at this time due to current security-related bugs.
Below we’ll cover the CyberPanel free version which includes an unlimited number of domains and worker processes.
How to Install CyberPanel
Follow these steps to install CyberPanel on Ubuntu or Enterprise-based distros.
- Log into SSH.
- Run the CyberPanel installation script:
- Type “1” and Enter to confirm installation.
- Choose “1” to install CyberPanel with OpenLiteSpeed. Remember, you’ll need a LiteSpeed Enterprise license for the Enterprise version.
- Choose “Y” to install “full service for CyberPanel” – PowerDNS server, Postfix mail transfer agent (MTA), and Pure-FTPd server.
- Choose “N” to skip remote MySQL setup and continue with local MySQL server setup.
- Choose the latest MySQL version unless you’ll be importing a database that requires a specific, older version.
- Choose “s” to set an admin password.
- Type and confirm your admin password.
- Choose whether to install Memcached and its PHP extension. You can always install this later if you don’t need it right now.
- Decide whether to install Redis and its PHP extension. Again, you can install this post-installation.
- Choose whether to install WatchDog, currently in beta, which automatically reboots downed systems with software errors. If you’re on a production system and unsure about this, we recommend denying this.
- The installation may take up to ten minutes. Afterwards, save the auto-generated LiteSpeed WebAdmin console password and Rainloop Webmail admin password in a password manager. The admin username for each login is “admin.”
- Ubuntu users must choose “N” when asked to reboot the system.
CentOS, AlmaLinux, and other Enterprise-based distro users may select “Y” and continue to the next section. - (Ubuntu users) Due to Ubuntu-specific issues, you’ll need to stop and disable Firewalld:
- Restart the system:
Contact CyberPanel developers directly regarding Ubuntu firewall issues.
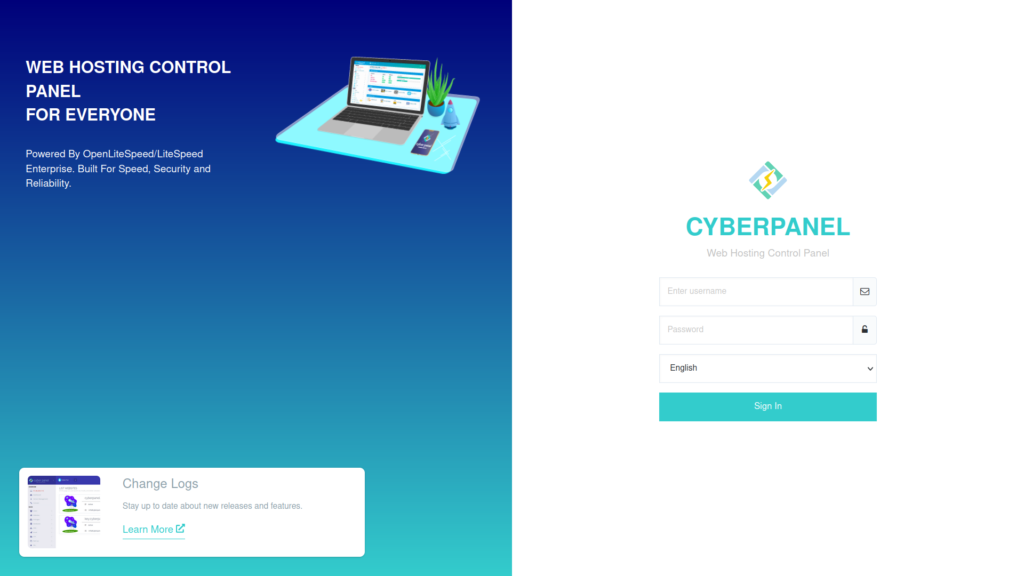
Log into CyberPanel
The URL to access your CyberPanel installation in the web browser is:
Username: admin
Password: the same password you set during initial setup.

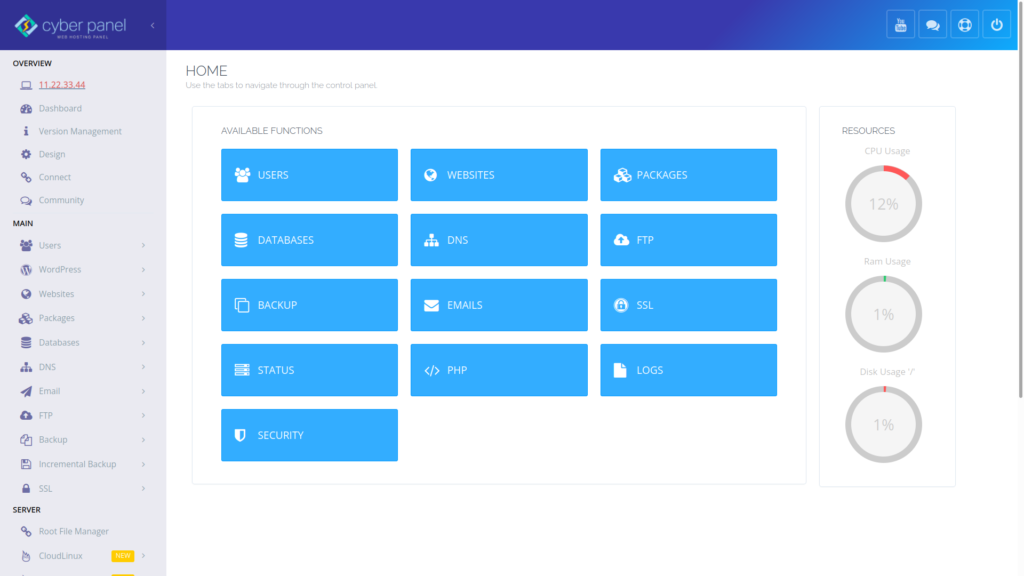
The dashboard shows buttons for primary functions with system resource usage stats on the right.
The top-right options grant quick access to various CyberPanel user communities.
The sidebar on the left lists primary sections which expand to show additional options when clicked.

Learning Your CyberPanel Installation
Here are some ideas to help you get started:
- Save your new installation with a new snapshot
- Configure automatic CyberPanel backups
- Create SSL certificates for the CyberPanel panel domain name
- Create regular users to manage websites
- Create a WordPress site in just a few clicks
The terminal command below resets your CyberPanel admin password. A space is added at the beginning to prevent the password from showing in bash history. Furthermore, we recommend using a simple password to ensure the process works. After you login, change the admin password to a stronger one.
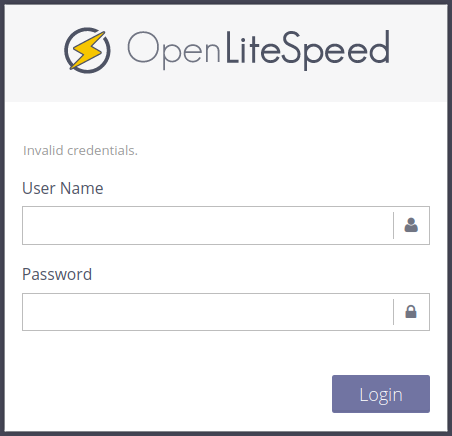
Log into OpenLiteSpeed WebAdmin Console
Manage LiteSpeed web server settings from the web interface at:
The username is “admin.”

To reset your LiteSpeed console password, open a terminal session and run the following command:
Press Enter to reset the default user – “[admin].”
Enter and confirm the new password.
Log into Rainloop WebMail
Access the Rainloop webmail web interface at:
The username is “admin.”
- To reset the Rainloop admin password, edit the configuration file:
- Add the following:
- Save the settings.
- Login and change the password immediately.
During testing, we were unable to reset the Rainloop admin password in Ubuntu. Further research showed that many users have similar issues. Contact CyberPanel developers directly for additional assistance.
Don’t forget to regularly check for server updates.
Check out our Support Center to learn more about managing your cloud server.
With our Cloud Server Hosting, you can deploy a lightning-fast, reliable cloud platform with built-in redundancy – ensuring the availability of your environment!
