Table of Contents
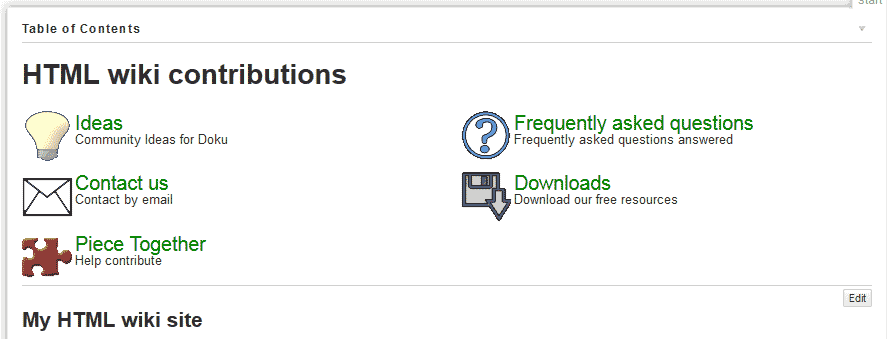
DokuWiki has a plugin called the “menu” plugin that will allow you to place a custom navigation menu in your pages. This menu has nice icons separated out to each menu link catagory. The “menu” plugin that primarily works in the Wiki page code. The following article will explain how to use the “menu” plugin.
Important! This menu only appears in the page you place the code in. To create a menu that is at the top of each page, please visit here.
Adding a menu to your DokuWiki with the menu plugin
The menu plugin can be a nice aesthetic to a page in your wiki. The menu plugin can be downloaded at the following link. Visit the following link and right click the download link on that page and save the link location.
You should have a link like the following.
ftp://ftp.berlios.de/pub/pbbuttons/plugin-menu.tgz
Take that url and use it in the following steps. The following steps will explain how to install install and use the menu module.
- Log into DokuWiki.

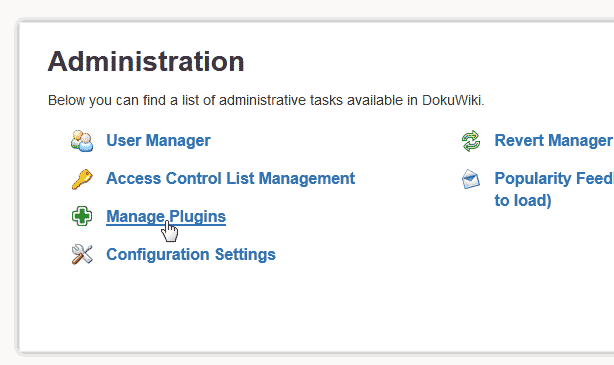
Click Admin at the top right.

Click Manage Plugins.

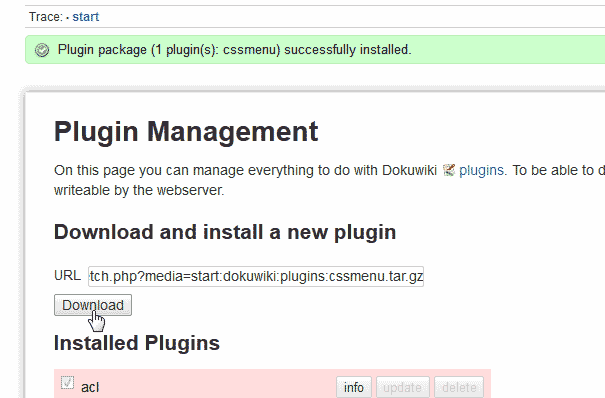
Paste the download link in the Download and install a new plugintext box. In this case, the download link is the following.
ftp://ftp.berlios.de/pub/pbbuttons/plugin-menu.tgz
Click Download
You should see a green confirmation box saying (1 plugin(s): menu) successfully installed.
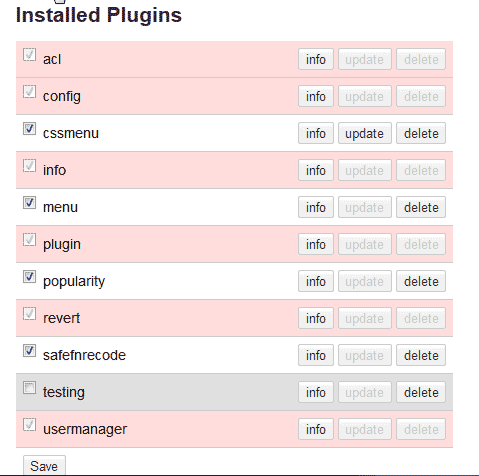
The menu plugin will now show in the Installed plugin list.

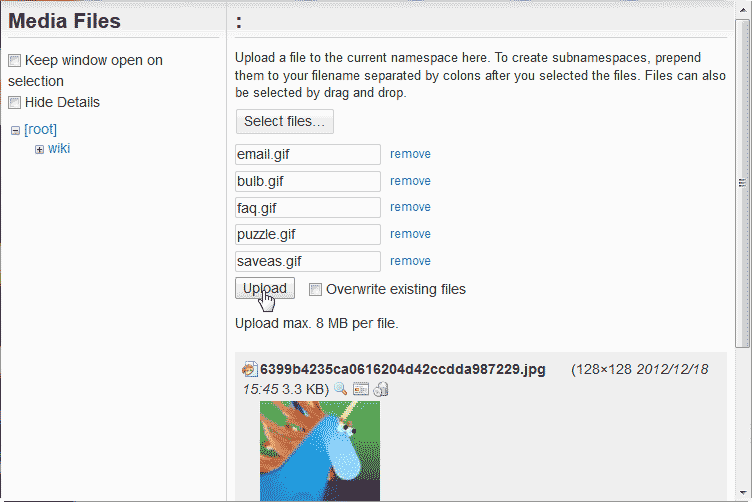
Upload the icon images to the page you are adding the menu to.

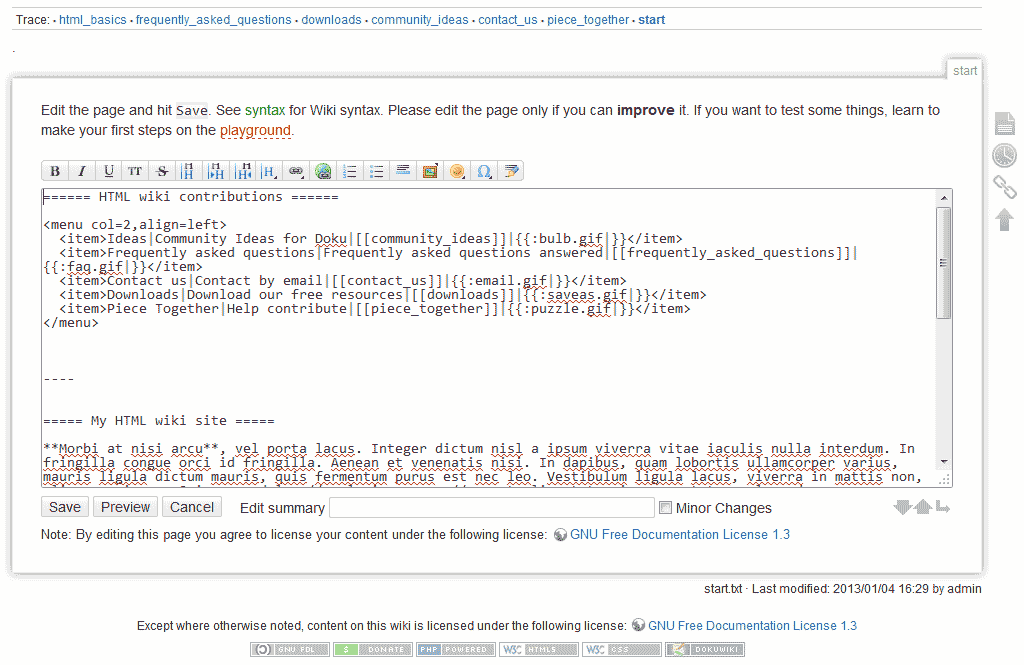
Add the following code to a page. Click here for how to edit a page.
You will need to supplement the following for your menu items.
– Item name: The text you want for the link.
– Item descr: Text that follows the link with information.
– Wiki link: The path to your wiki page. For example, frequently_asked_question. This is obtained be visiting the page and getting the last variable in the URL.
– Image: This is the image name you uploaded in step 5. For example, email.gif.Save the page and now you should see the menu look like the snapshot to the right.

