After creating and adding links to your custom menu, you will want to place it somewhere on your site. This is done by assigning the menu block to a specific block region for the theme you are using. Follow the instructions below as we guide you through the basic process within Drupal 8.
How to assign a menu to your webpage
- Log into your Drupal 8 admin interface.

From the top menu select the Menu option.

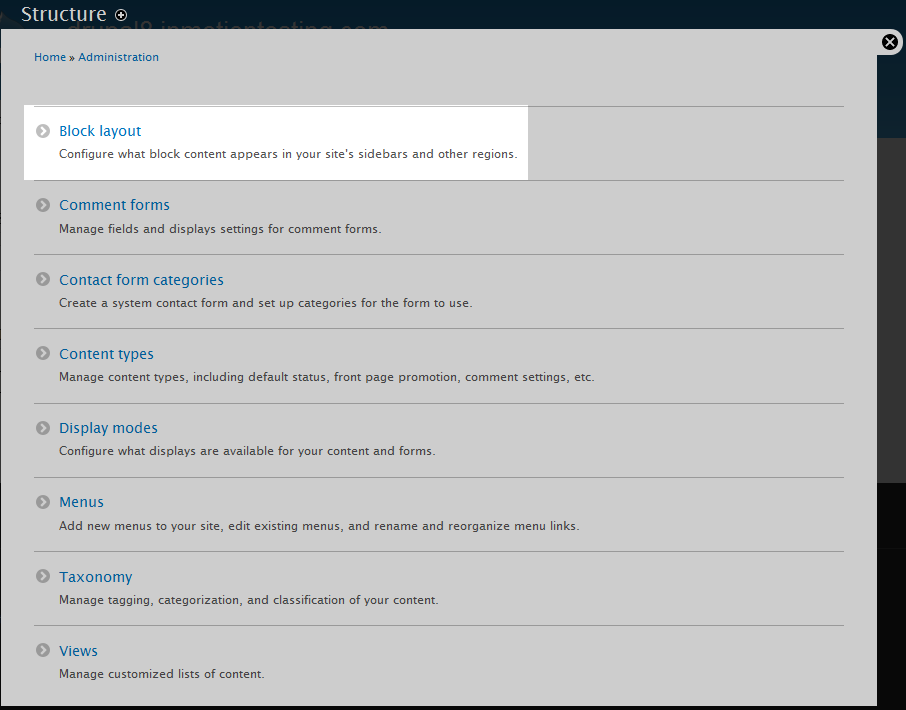
A secondary menu will appear just under the first. From here, click on the Structure option.

The main Structure list will be displayed. From here click on the Block Layout option.
- This page is the Block Layout page, where you will assign the menu block to the desired block region. Note that this will need to be done for each theme as every theme has its own block region layout. The theme in this example is the Bartik theme,one of the default themes in Drupal 8. To locate your menu, look to the right hand sidebar and click on the Menu option to expand the list below. From there, click on the menu you want to assign, in our example, it is the Test-Menu.

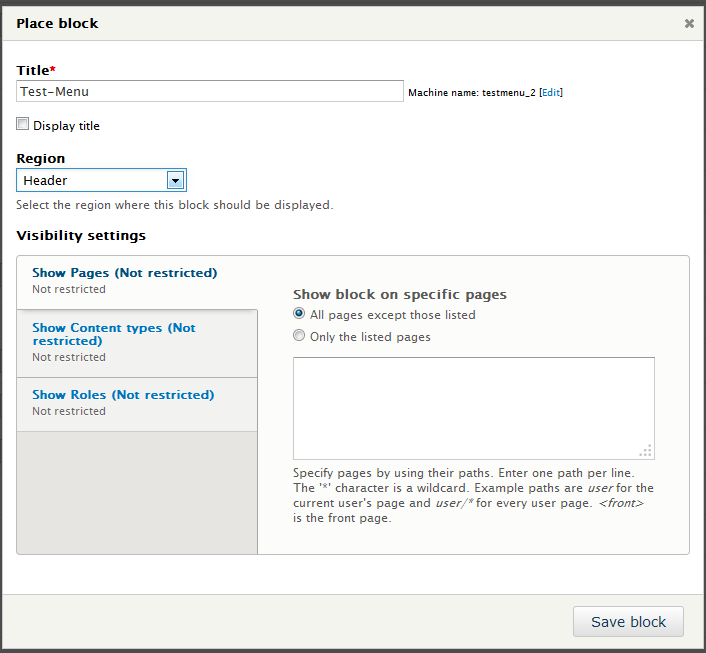
The block placement settings appear for you to customize where and how to place the block within the theme.
Title The title of the block Display Title Check in order to display the title for the block on the page. Region Select the block region where the menu will display on the website. In the example, we selected Sidebar first. Visibility Settings These settings are used to allow you to limit when the block is displayed, either by specific pages,content types, or users. 
Once you have tailored your settings, click on the Save Block button to save the block’s new configuration. You will be taken back to the Block Layout page where you will see the menu block located under your selected block region.
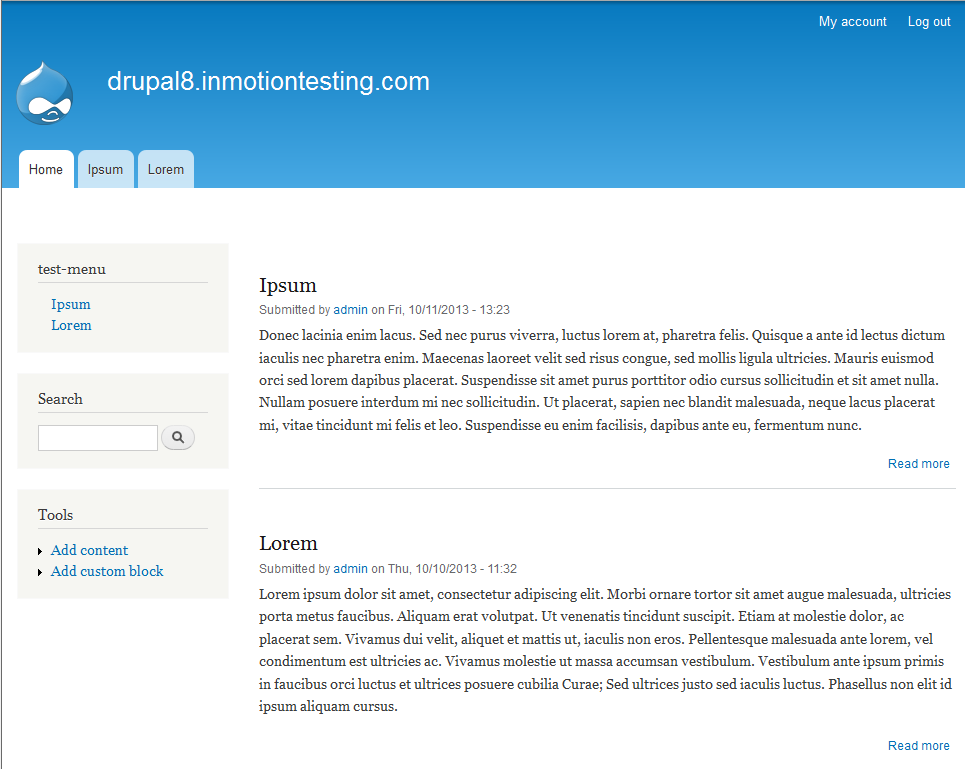
Now you may visit your site and see the new menu. Our example here shows the new menu in the left hand sidebar.


