Table of Contents
After doing the basic setup for your site, you may have a few details you want to change. The basic details include the site title, the slogan (or tagline), and the primary email address. Below is a tutorial on how to change the basic details for your Drupal 8 site.
Get better security and performance with our optimized Drupal Hosting services.
In this tutorial:
How to change site details for your Drupal 8 site
Getting to the site details
Before you can change the details, you will first need to navigate to that portion of the admin dashboard. All the details are in the same area, so regardless of which detail you want to work with, follow these steps:
- Log into your administrative dashboard.
 Locate the upper menu toolbar and click on the Menu tab. From there, a second menu will appear. Click on the Configuration tab to continue.
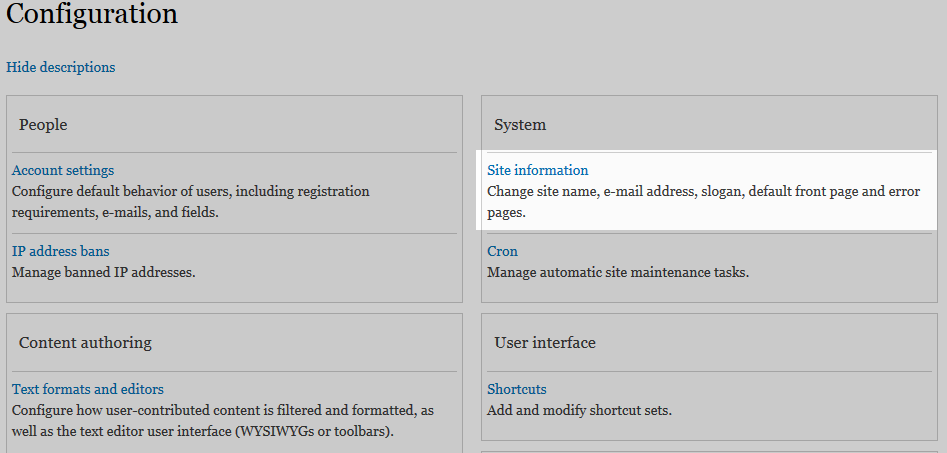
 From the configuration screen, click on the Site Information link found under the System category.
Once on the page, you have access to a number of settings.
Site Name
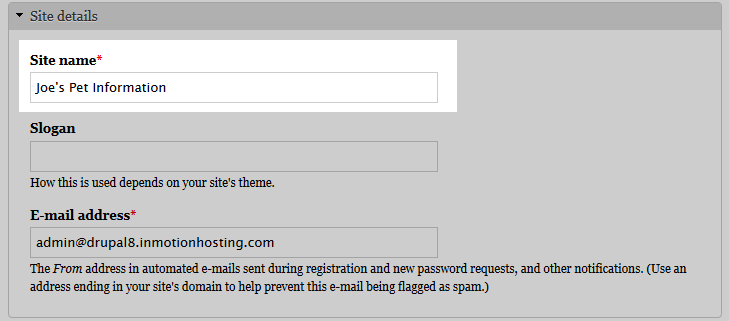
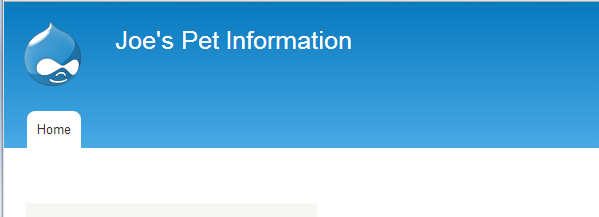
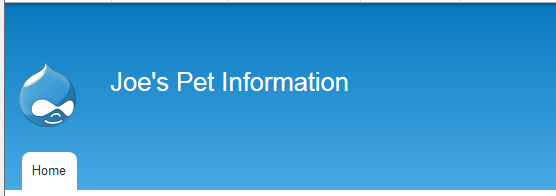
By default, the site title is set to the full domain name. For example, if your domain name is example.com, then that will be displayed as the site name. Many sites work with this just fine, but if you wish to set the site title to something different, say “Joe’s Pet Information“, simply enter your new name in the Site Name field. Below is a quick before and after shot for changing the Site Name.
| Before | After |
|---|---|

|
|
Slogan
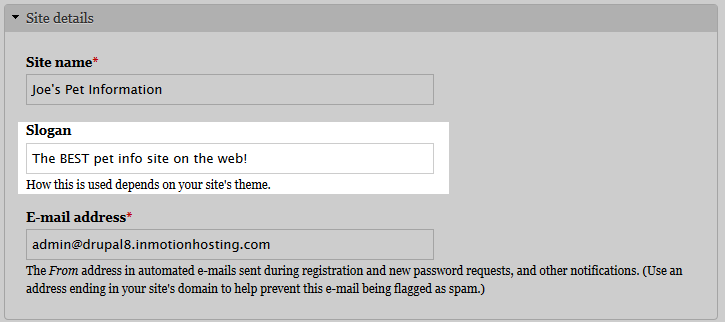
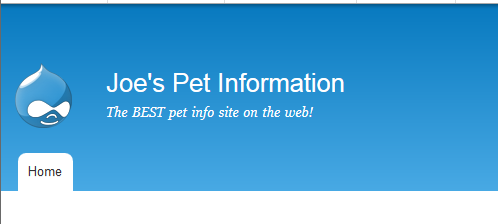
The slogan, also called the tagline or subtitle, is not displayed by default as the field is blank. Simply enter your desired slogan in the space. It will appear in a smaller font just under the main title of the page. For our example we added “The BEST pet info site on the web!” as a tagline for “Joe’s Pet Information“. You can see how the tagline appears in the screenshot below.
| Before | After |
|---|---|
|
|
Email Address
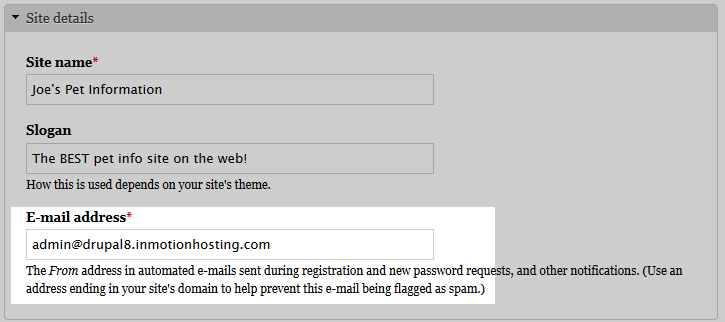
This is the primary email address for the site. This is the “From” address that will be used in automated emails such as password requests and new account setups. Simply enter your new address in the Email Address field.
Front Page
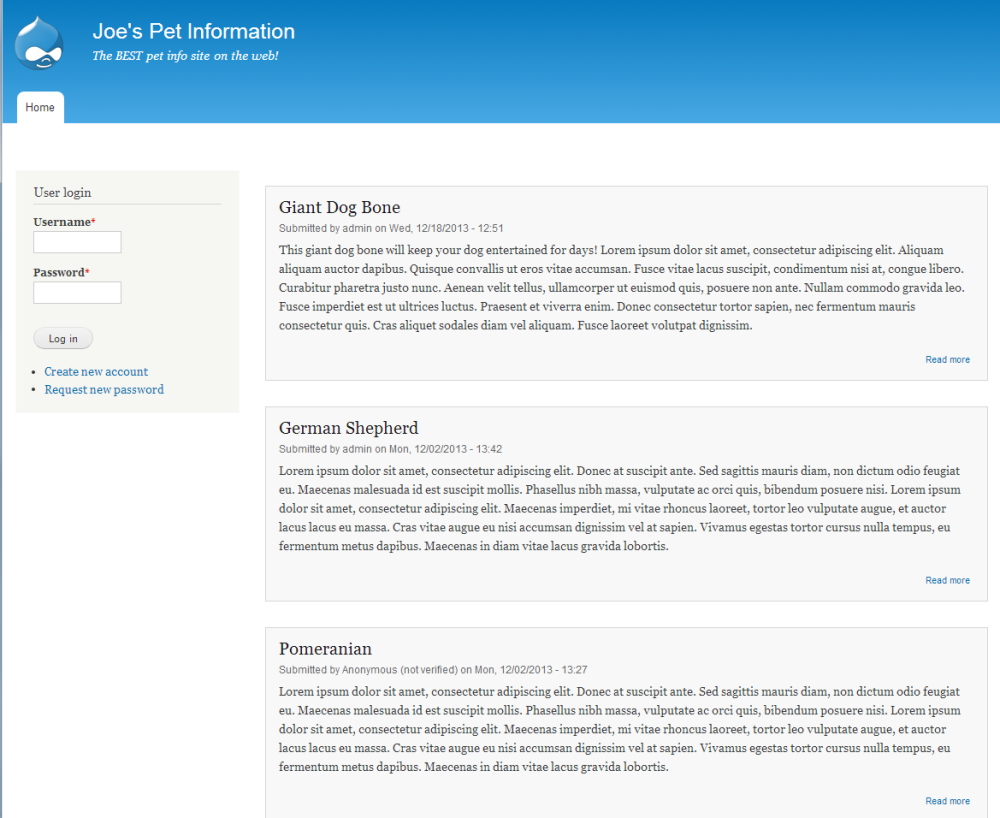
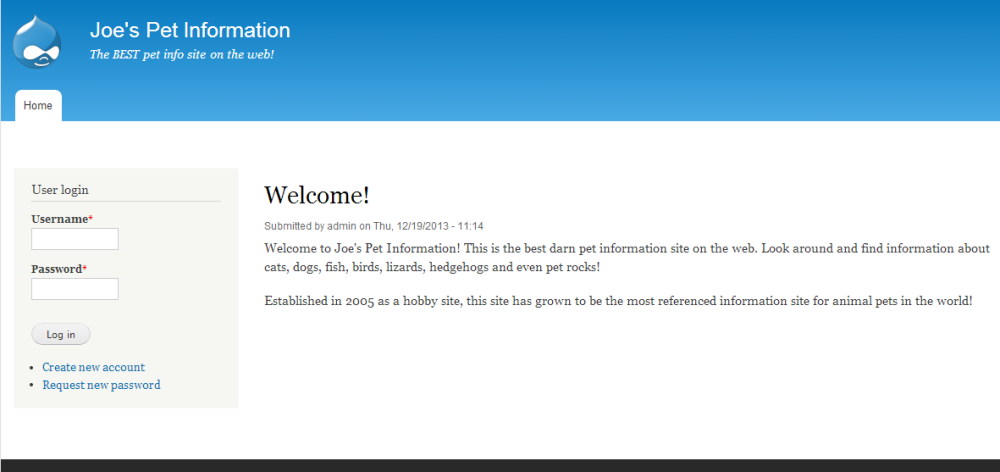
By default, the front page URL is set to /node. This is the standard front page that displays excerpts for nodes that are added/promoted to front page. This can be changed to display another page simply by adding /# (where # is the node number of your desired page). For instance, if you want to have a static page, simply enter that page’s node number after the /node. As an example, we will change the Default Front Page to /node/6, which is a static page for our site.
| Before | After |
|---|---|
|
|
Error Pages
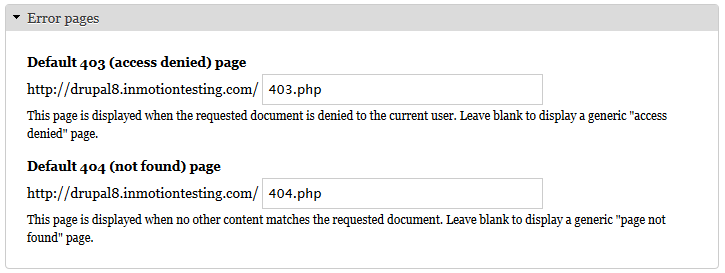
Although most people rely on the server default pages for 403 and 404 errors, you can set custom pages up if you like. After you create them, simply enter their path into the respective field. Leaving them blank will ensure they use the server defaults.

