Table of Contents
While there are may different content types available in Drupal 8, they may not fit your exact situation. In this article, we will cover how to create a custom content type for your application.
What is a custom content type?
Custom types are specifically for you to display and format your data in a way that benefits and makes sense to you. Often they are used to sub-divide other content types such as Articles or Basic Pages into a specific template. An example would be if you decided to create a ‘Breaking News‘ type of content that is a special type of Article. Custom content behaves the same as other content types (Articles, Basic Pages), but are available for you to create in case you want to have them specicially organized.
Creating a custom content type
- Log into your Drupal 8 interface.

You will now see a toolabr across the top of your screen. Using that, find and click on the Menu option link.

You will now see a second menu that appears underneath the top menu. From here, find and click the the Structure option.

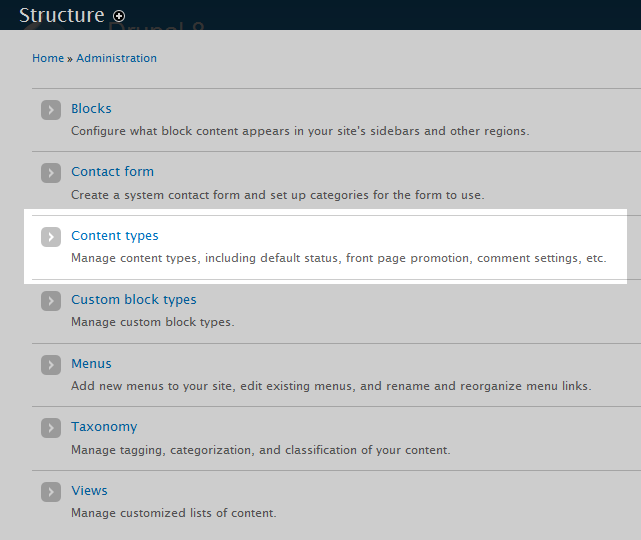
Now you will see a a screen where you will see the many different Structure options. Click on the Content Types option.

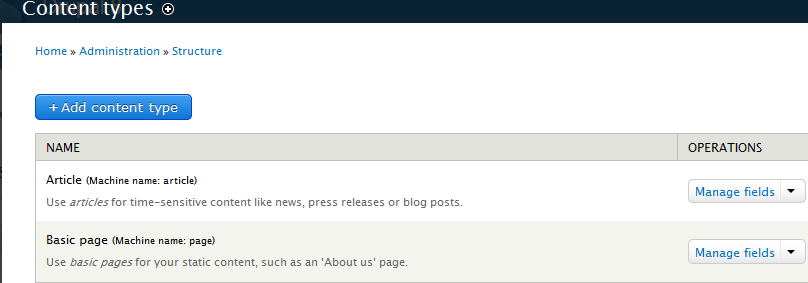
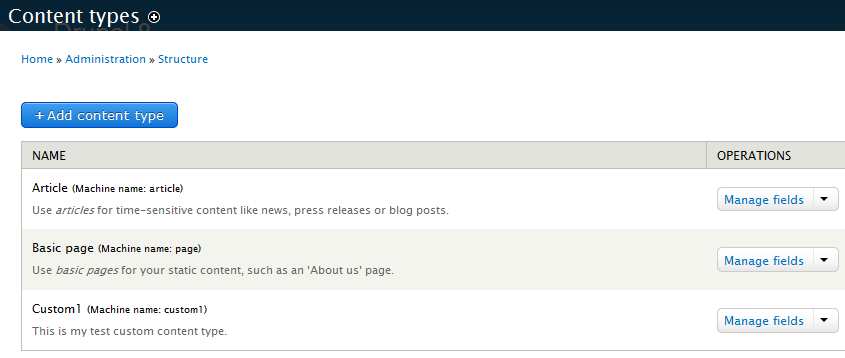
The new screen lists all the current content types you can use. As you can see, we only have the default types available at the moment. Click on the Add content type to begin the custom configuration.

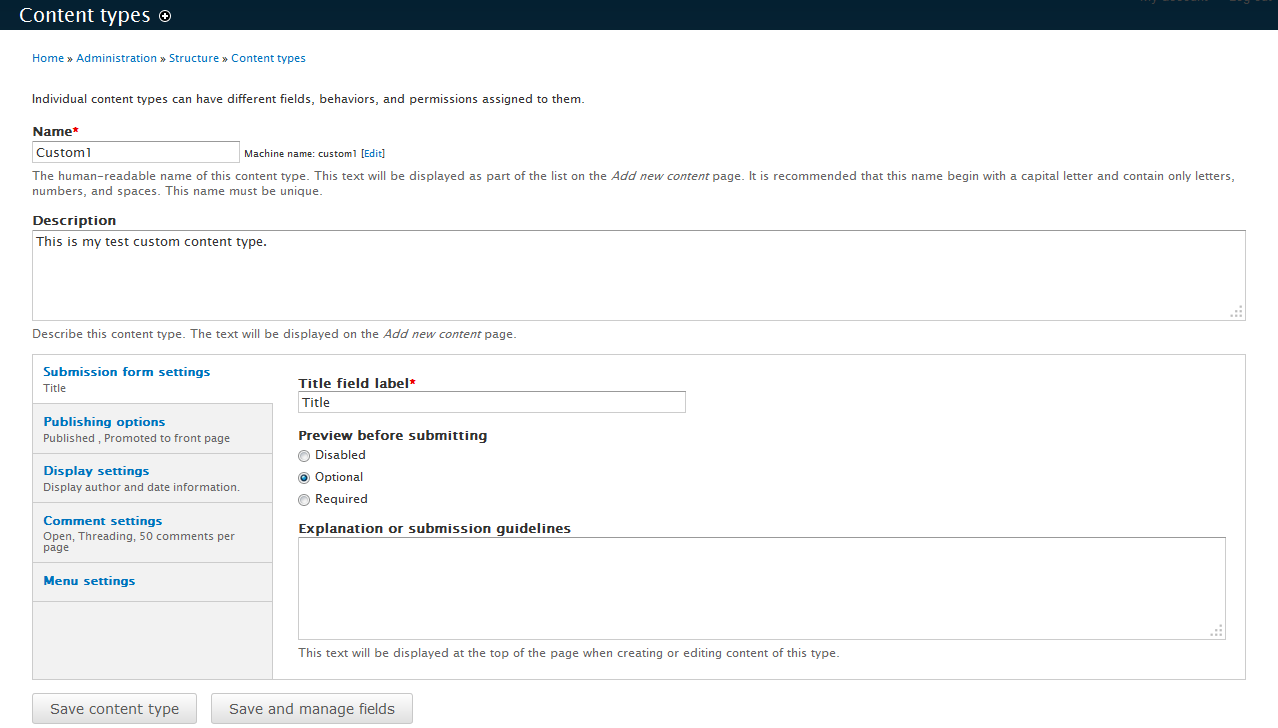
You are taken to the basic content type screen. From here, you will simply give it a name and description. Below are various optional customization sections such as whether the preview is available, if author content is published in the content, and options for menu placement.
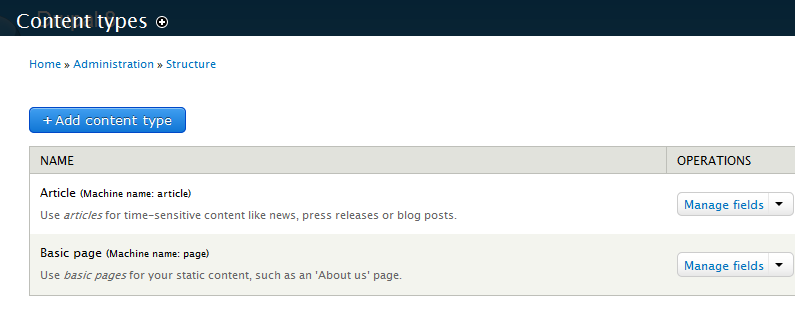
- Once you have finished configuring your new content type, click on the Save and publish button. This will save the new content type and allow it to be selected within the list along with the default types. Below is a comparison displaying the content type list both before and after adding a custom type.
Before After 


