Table of Contents
Even though you have learned how to add a comment field to a content type, you are not obligated to keep the comment on each individual node. YOu may want to create pages that will not have the ability to have comments, or shut comments down on nodes whose comments have gotten a bit out of control. The steps below will guide you on how to disable comments on a specific node in Drupal 8.
How to disable comments for a specific node
- Log into your admin dashboard.

Using the top menu bar, select the Menu option.

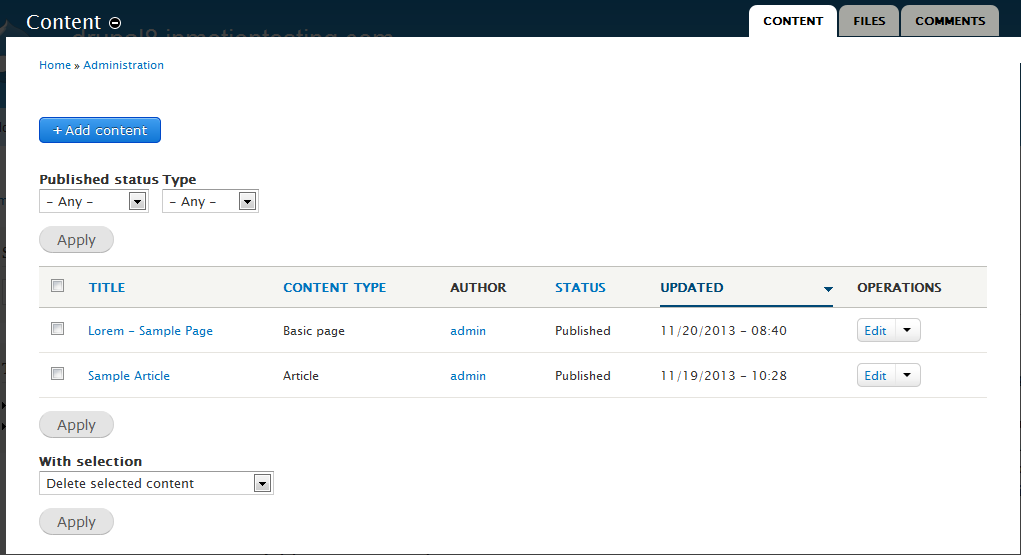
Next, choose the Content option from the second menu.

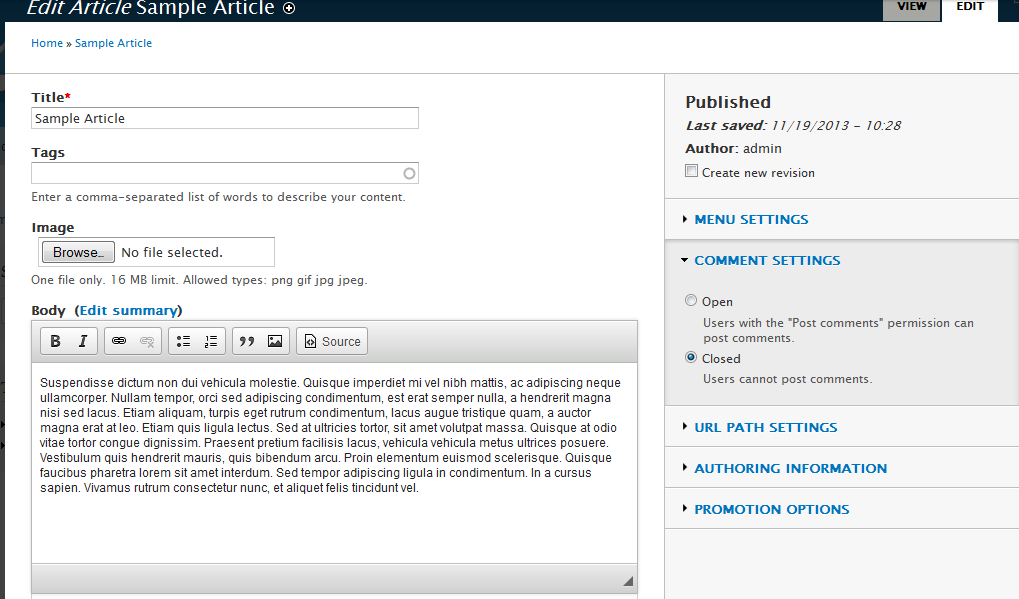
This page will show a list of all nodes that have been created. Find the specific node you want to disable the comments for and click on the Edit link from the dropdown on the right hand side of the row. For example, we will choose the Sample Article node, which is an article content type and has comments enabled by default.

Now you will see the settings page for the node. Over to the right hand side of the page there are a few sections you can expand to change the settings. Click on the Comment Settings section and then click on the Closed radio button. This will disable the comments for that node.
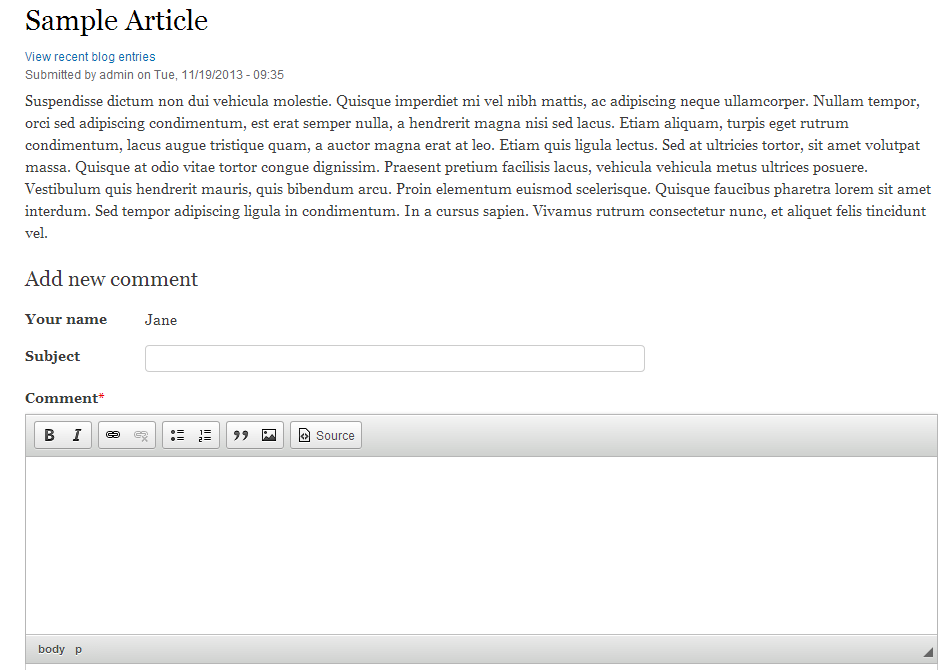
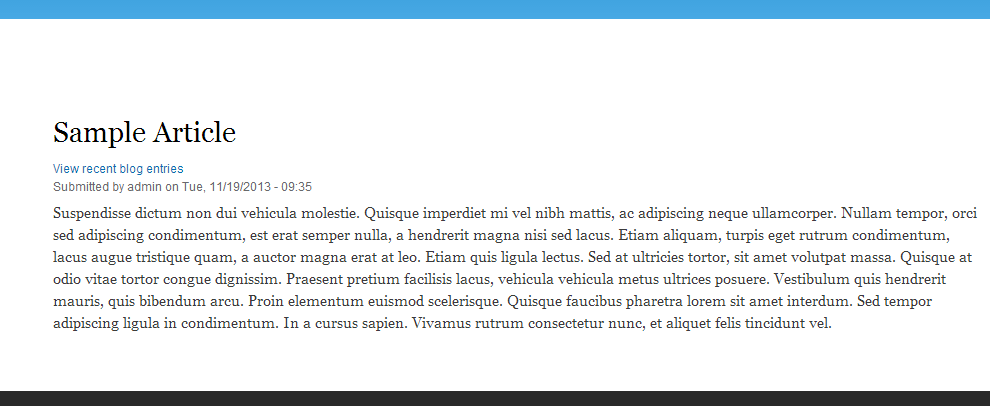
Note: This will not remove any existing comments on the node, these will need to be removed separately.- Once you have closed the comments for the node, click on the Save and keep published button at the bottom of the page. This will activate your new settings fot the node. Visiting that particular node on your site, you will notice that the comment form is no longer visible. Below is a before and after comparison so you can see the difference in the change you made.
Default Coment field added 


