Table of Contents
Blogging is one of the more popular online activities and the main reason some people create a website. For Drupal 8, however, the Blog module was removed from the core files. This in no way means that blogging is disabled or cannot be done within Drupal 8. You can find the Blog module at https://drupal.org/project/blog and can install and enable it in your website. Follow the instructions below as we guide you on how to install and enable the Blog module in Drupal 8.
Installing the Blog module
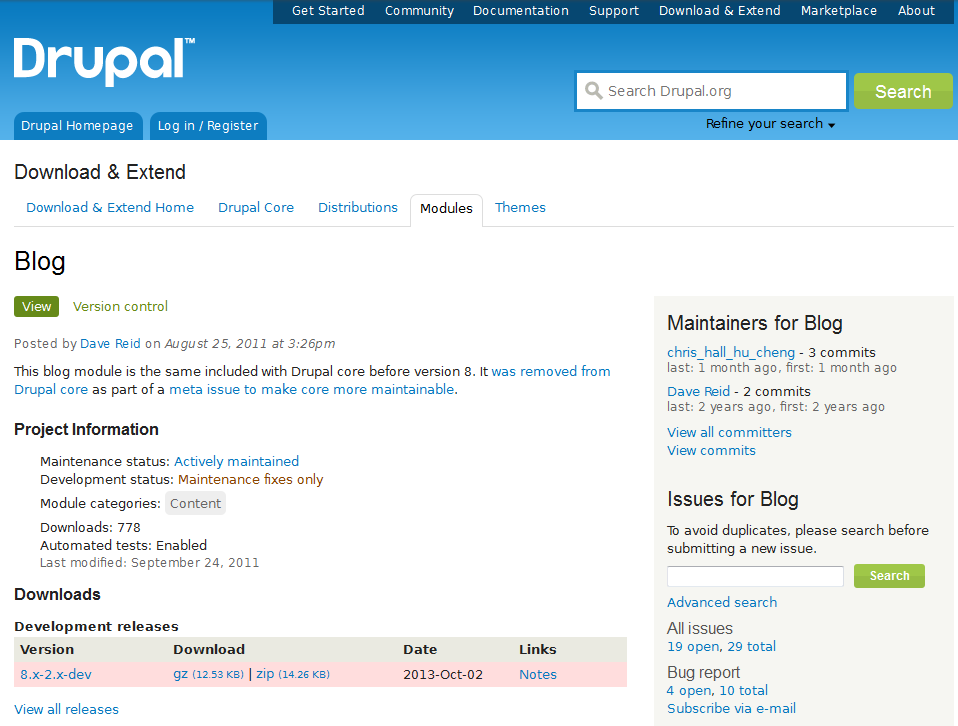
- First, you want to find the Blog module. This is located at https://drupal.org/project/blog.

Look to the lower section of the page, under the Downloads section. Locate the version you want to install. Currently, there is only one available, the development release. Hover over your choice of download, in our case we will choose the zip version. Right click on the link and choose the Copy Link Location link. Your browser may have a different wording, but make sure you save the link location as you will be using that URL later.
- Once you have the link safely stored on your clipboard memory, log into your Drupal 8 admin interface.

From the the topmost menu bar, select Menu

Next, click on the the Extend link from the second menu bar that appears.

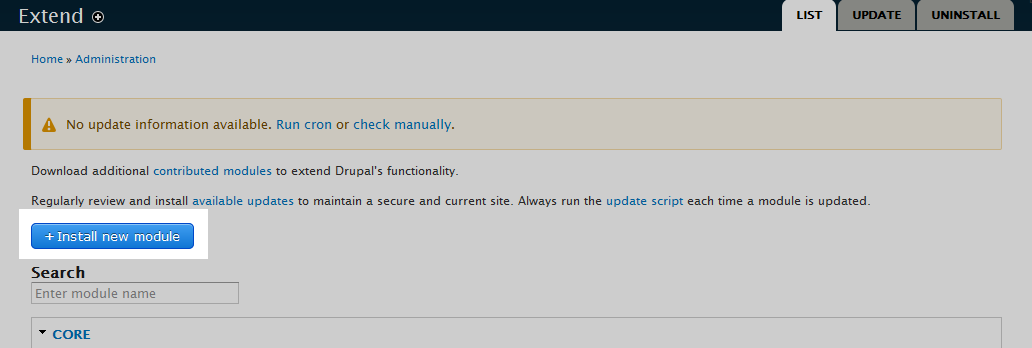
You are now on the Extend page where available modules are listed. Since the Blog module is not listed, we need to install it. Look to the top of the page and click the Install new module button.

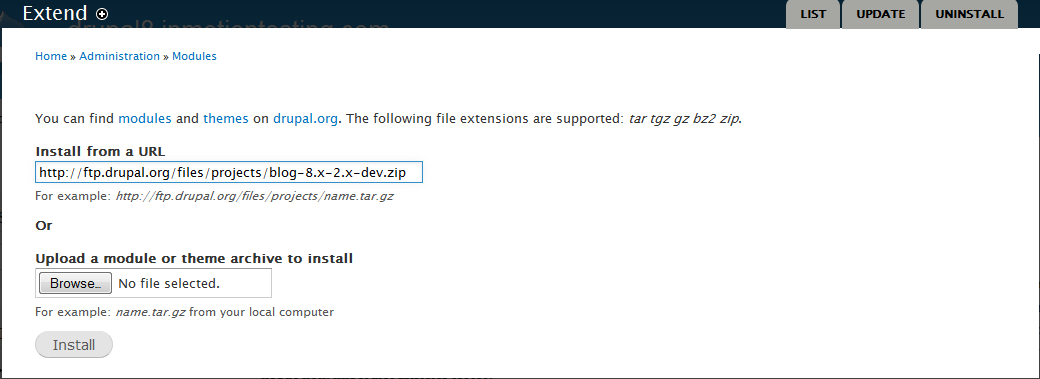
This is the installation screen. Since you have the specific URL of the blog module file, enter it into the field labeled Install from a URL. Once entered, click the Install button at the bottom of the screen. This will install the module to your extensions list.
Enable the blog module
Now that the Blog module has been installed into your Drupal 8 site, it is now time to enable it so you can begin to create blog specific content.

As previously, click on the the Extend link from the second menu bar at the top of the screen.

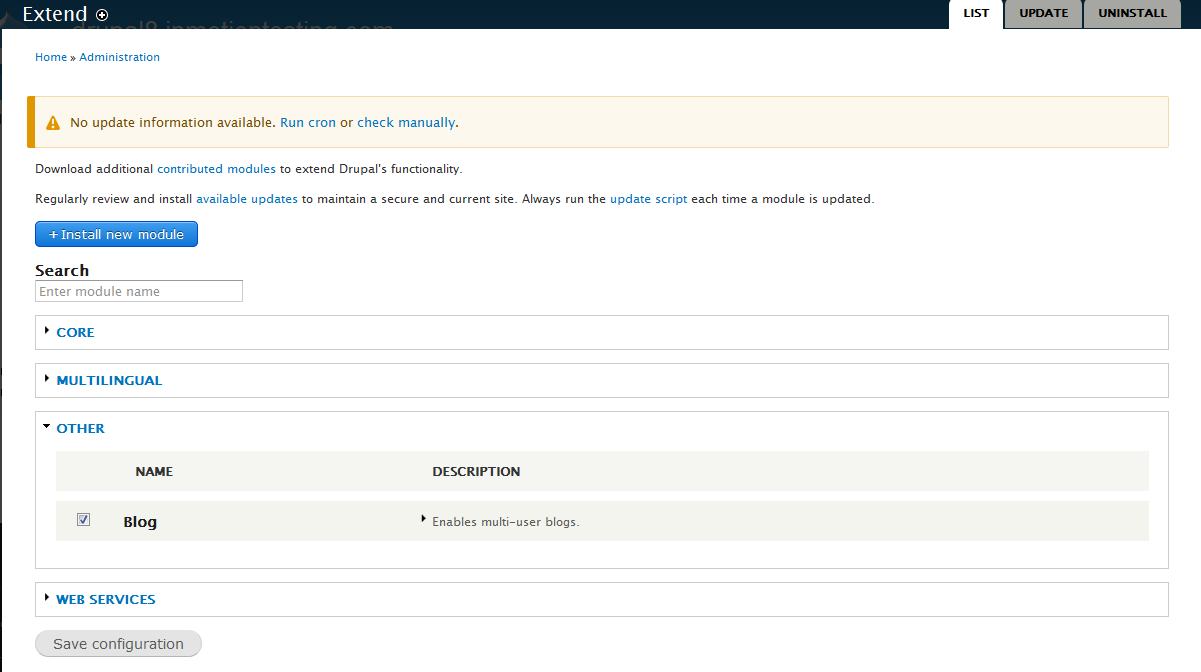
Once again we are on the Extend page for available modules. This time, scroll down past the Core list of modules and you will see a section labeled Other. Here you will see the Blog module. Click on the checkbox to the left of the module to enable it.
- Once checked, click on the Save configuration button to save the setting and activate the module. This will now allow a Blog page content type to be available when creating new nodes.
Before After 


