Table of Contents
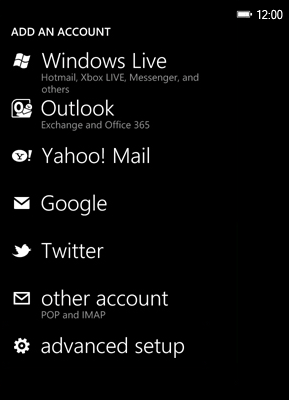
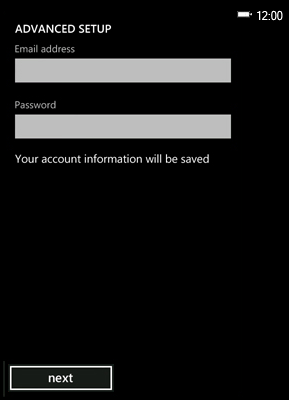
This tutorial will explain how to setup an internet email account on a Windows phone. You will need to know your email account settings in order to set up your account. This also means that your email account should have already been created in cPanel before beginning this process.
How to setup email on Windows Phones
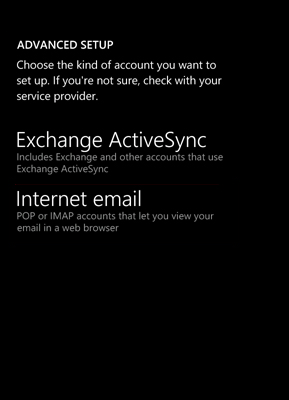
Please note that these screens are meant to be a generic representation of the steps for setting up internet email on a Windows phone. The exact screen may vary from manufacturer to manufacturer – please see your phone’s manual for specific screen details.
-

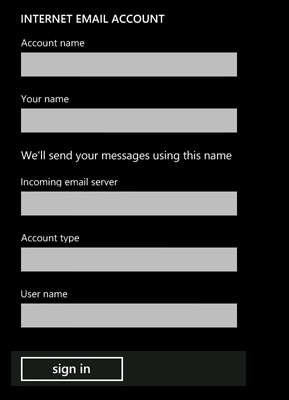
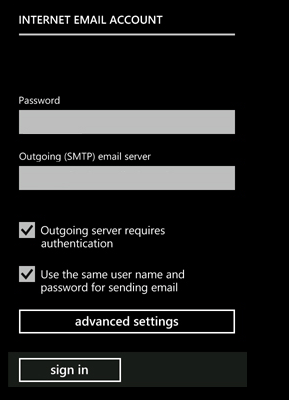
At this point, you will need to know your email settings. If you are unaware of your email settings, you can find them by going to finding your email settings. The account name is the same as the email address. “Your name” is the name used when the email is sent. “Account Type” is either POP3 or IMAP -the account can be setup with either type, but you will need to select one. For more information IMAP vs. POP3, check out How email works in general. You may need to scroll down in order to fill in all of the settings that are available. Scroll down until you two check boxes as per the screenshot at right.
-

Tap each of the check boxes so that you see a check mark in each box. These check boxes include: Outgoing server requires authentication and Use the same user name and password for sending email. These options are both true and required. When the check marks are in the check boxes, tap on advanced settings at the bottom of the screen to proceed.

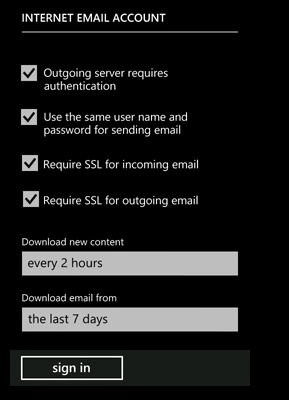
You will see the Outgoing server requires authentication and Use the same user name and password for sending email check boxes again. They should be still be checked. If not, then tap each box to add the checkmark. The next two items depend on if you are using the secure email settings. Here’s an example of secure email settings:
INCOMING for POP3: server: secure##.inmotionhosting.com port:995
INCOMING for IMAP: server: secure##.inmotionhosting.com port:993
OUTGOING(SMTP) for either POP3/IMAP settings: server: secure##.inmotionhosting.com port:465
Tap to check the boxes ONLY if you are using the secure settings for incoming or outgoing email settings.
- Finally, there are also settings for Download new content and Download email from – both of these settings are based on time. Typical settings might be, “every 1 hour” for downloading new content, or, “the last 7 days” for the Download email from settings. Set the time intervals you wish to use for these settings, then click on SIGN IN in order to complete the process.
After clicking on “sign in” you will immediately find out if the account was setup correctly, as long as you have a good connection to the internet. If you find that you’re not connecting, double-check your settings and also check to make sure that you have a good connection to the internet. If you see your email, then congratulations on successfully setting up your Windows smart phone to send and/or receive email!
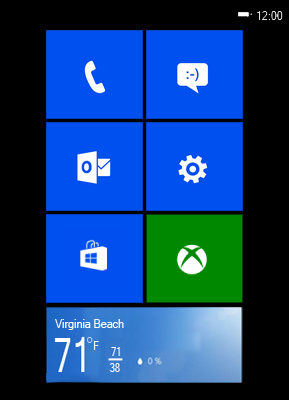
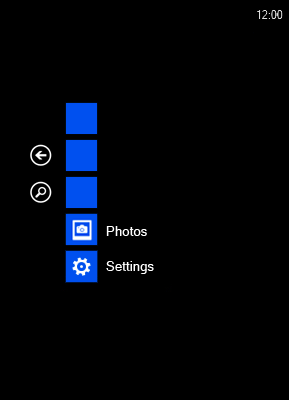
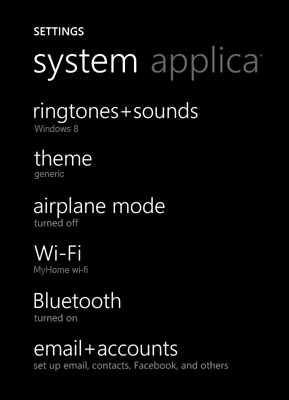
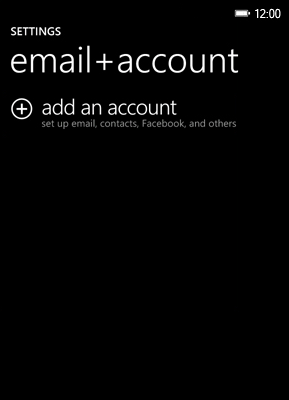
Because InMotion Hosting’s servers use self-signed certificates and Windows phones do not have an option to ignore certificate errors or accept all certificates like iPhone and Droid, you must first e-mail the certificate to your Windows phone from a separate e-mail account like Gmail.
If you don’t install the certificate before following the directions above, it will not work – you will get an error about the self-signed certificate.
Hello Jason, and thanks for the comment.
Thank you for pointing out a possible workaround if you’re on a Windows phone using our servers. If you are attempting to connect to your mail server using your domain name such as mail.example.com you should get a domain mis-match error about the SSL certificate, but it shouldn’t be a self-signed error, as the shared SSL certificate is verified by Comodo.
You can use the shared SSL certificate on the server in the form of secure103.inmotionhosting.com so that your mail client doesn’t get a domain mis-match error. You can find your server name in cPanel and just replace the beginning part with secure in your mail client server settings.
Please let us know if that works for you!
– Jacob