Table of Contents
In this tutorial:
1. Install the JotCache Extension 2. Disable the System-Cache plugin 3. Enable JotCache
In this tutorial, we will show you how to install the JotCache Extension in Joomla 3. JotCache provides more in-depth control of caching in Joomla. There are 3 steps to installing the JotCache Joomla Extension, we will cover them now.
Upload & Install the JotCache Extension
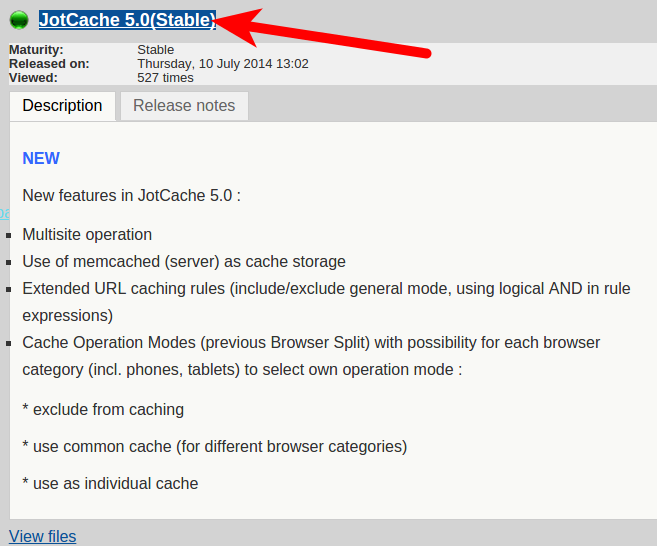
- Download the latest stable version of JotCache here. At the time this article was written the latest version was JotCache 5.0(Stable), and the file was titled pkg_jotcache_5.0.6_j33.zip.
- Login to the Joomla Admin Dashboard.
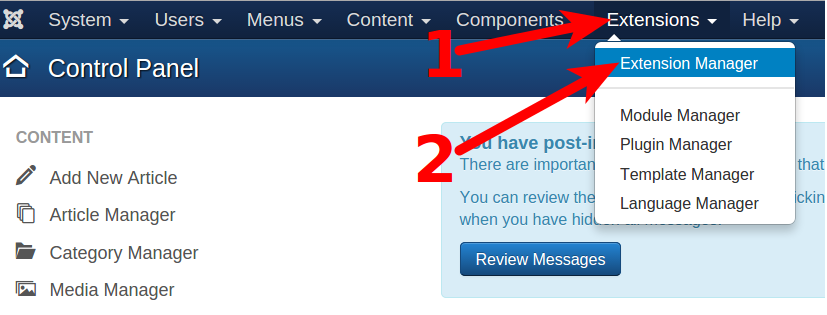
- In the main menu click Extensions, then click Extension Manager. See the steps below.

- Click Choose File in the Upload & Install Joomla Extension section, then select and open the JotCache file you downloaded in Step 1. Then, click the Upload & Install button.
Disabling System-Cache plugin
The System-Cache plugin was already disabled by default in my tests, but you can easily disable it from the Admin Dashboard if it is enabled.
- Login to the Joomla Admin Dashboard.
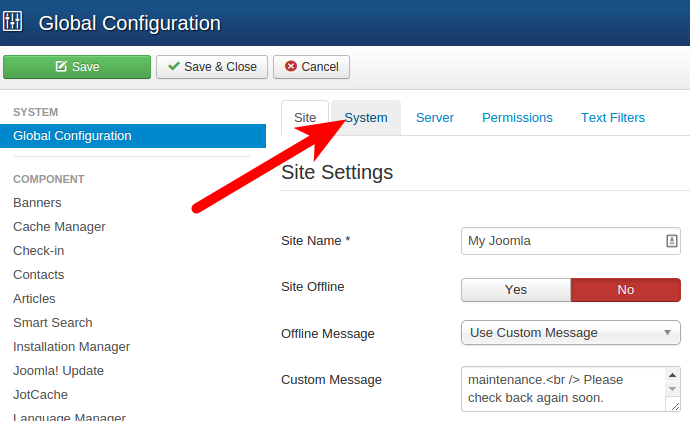
- Roll your mouse over System, then click Global Configuration.
- Click the System tab on the Global Configuration page.

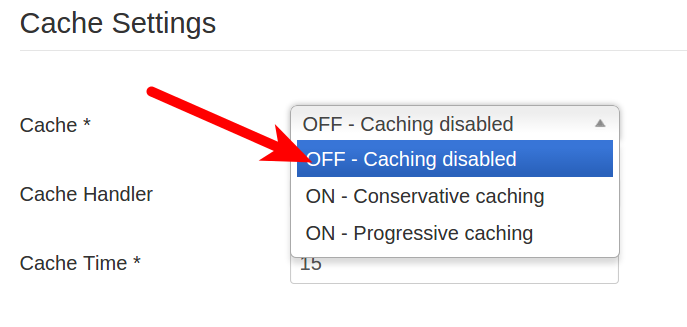
- Click the drop-down box next to Cache*, and click the OFF – Caching disabled option.

- Click the Save button, and your System-Cache plugin will be disabled.
Enabling JotCache plugin
After installing the Jotcache Extensions, and disabling System-Cache (if necessary), you can finally turn the Jotcache plugin on. We will now walk you through enabling the JotCache plugin in Joomla 3.
- Login to the Joomla Admin Dashboard.
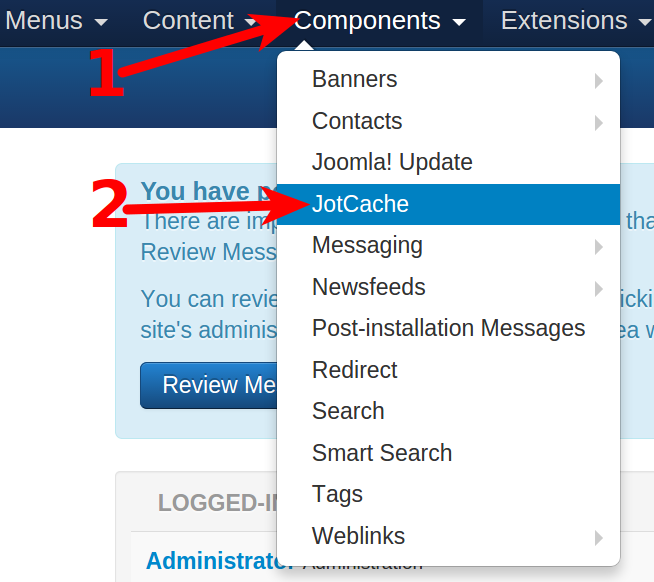
- In the navigation menu click Components, then JotCache.

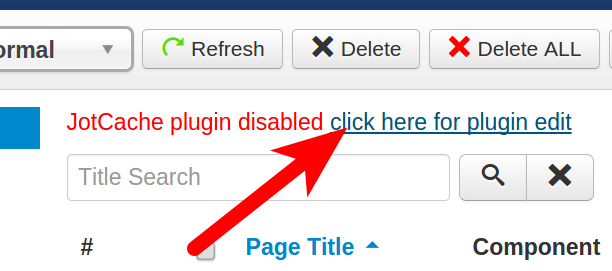
- You will see a JotCache plugin disabled message, click the povided link. See the image below.

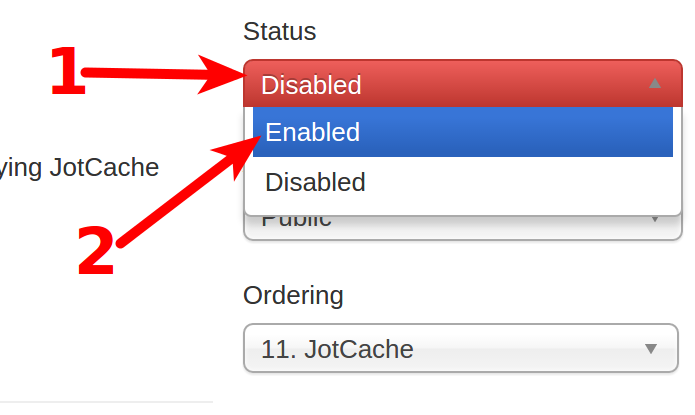
- On the JotCache plugin page, click the Disabled menu, then change it to Enabled.

- Click the Save button to enable the JotCache plugin. At this time you can choose your JotCache settings. For more detailed information about JotCache plugin administration, see their official guide here.
Congratulations, now you know how to install the JotCache extension in Joomla 3!
