Table of Contents
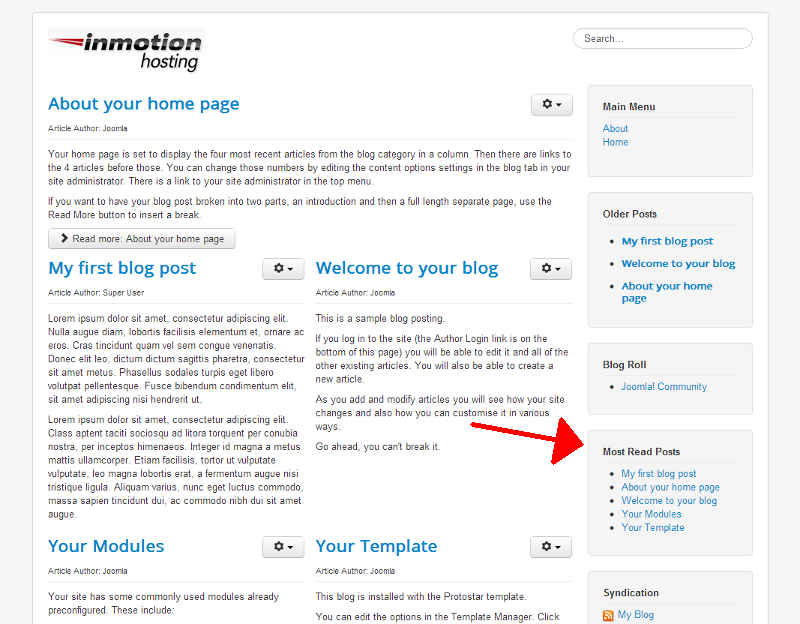
When you build a blog using Joomla, you’ll see a module in your right sidebar named most read posts. The most read posts widget simply shows your posts that have been seen the most by users on the web.
By default, there will be a few posts already listed:
- About your home page
- Welcome to your blog
- Your Modules
- Your Template
These are articles “pre-written” by Joomla, published when you installed the blog sample data. You can see in the screenshot how your Most Read Posts module appears.
In this tutorial, we’ll show you how to manage your most read posts module.
How to edit the Most Read Posts Module
The first thing we’ll show you how to do is access the available settings for your module.
- Login into your joomla dashboard
- In the top menu, click Extensions and then click Module Manager
- Using the filter feature at the top (where it says Search in module title), type in most read posts and then hit enter. In the results you’ll find “Most Read Posts”, click it.You are now at the configuration screen. Make any desired changes, and then click the Save button in the top left menu.
What is the Most Read Posts module?
There are several different modules installed by default within Joomla 3.0. The most read posts module has the following description (which you’ll see in the right sidebar when you follow the steps above):
Module Description ID:84
This Module shows a list of the currently published Articles which have the highest number of page views.
So, even though the module title says “posts”, the module is actually showing most read “articles”. After all, writing a post is actually writing an article in Joomla.
Changing the number of posts that show in Most Read Posts
There are various settings available for this module. As an example, we’ll show you how to change the number of posts that show.
- Follow the steps above to access the settings for the most read posts module
- Click the Basic Options tab
- Find the setting labeled Count:

Count
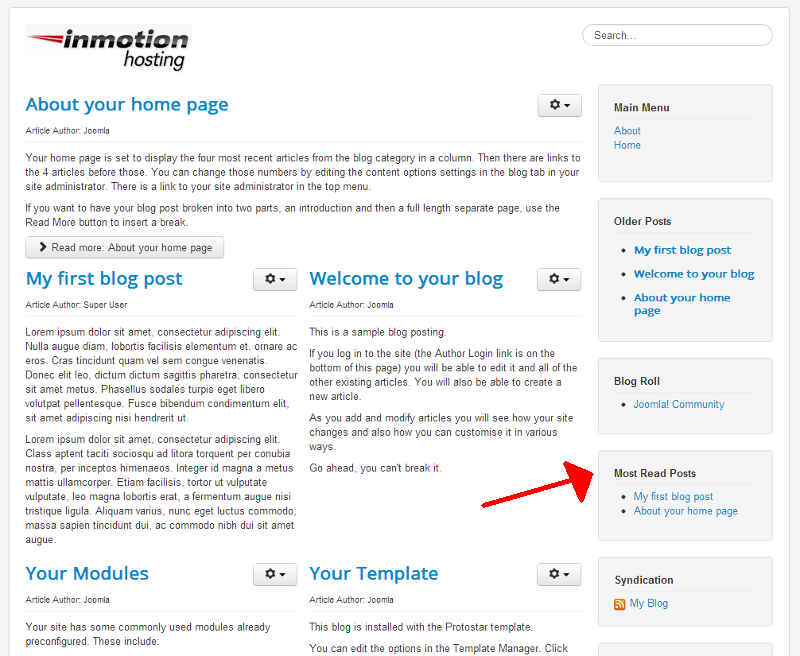
The number of Articles to display (the default is 5)Change this value and then click the Save button in the top left menu. We set the count to 2, and you can see this update in our screenshot to the right.

