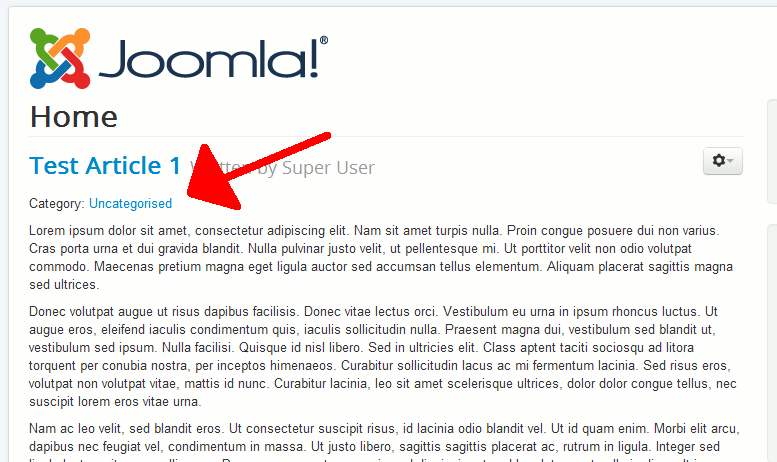
Before you create your first article category, all of your articles in Joomla 3.0 will be assigned to the Uncategorised category. You can see to the screenshot to the right where the article’s category will be displayed within your article.
In this tutorial, we will walk you through the steps needed to create a new article category. After you have created a new category, you can then begin to assign articles to that category.
Creating a new Category for articles in Joomla 3.0:
- Log into your Joomla 3.0 admin dashboard
- In the top menu, click Content and then click Category Manager
- In the top left of the page, click the New button
- Enter the settings of your category and then click the Save button towards the top left of the page. After clicking save, you have just created a new article category!
The only required setting is a Title, but there are many settings you can configure for your category, and you can find those within the tabs towards the top of the page:
Details The details tab allows you to enter basic information about the category, such as a title, url alias, and a description. Options The options tab contains various options such as the categories parent, whether or not it is published, who can access it (such as anyone or only registered users), and several other settings. Metadata Options The metadata options tab allows you to adjust metadeta settings, such as the page’s meta description and meta keywords. Category Permissions The category permissions tab allows you to set who can manage the category. Managing the category contains settings such as create, delete, edit, etc. In our next tutorial, we will walk you through the steps for assigning an article to this category.
