Table of Contents

Security for logging into any Joomla site can be enhanced by simply using two-factor authentication (2FA), but it’s even more secure with a hardware key (like Yubikey) that can be purchased and enabled for each user who you want to use it.
This article will go over how to enable and use the Yubikey option for your Joomla 4.0 login options.
Looking for a more robust hosting server for your Joomla website? Check out InMotion’s Managed VPS web hosting solutions! You’ll find secure, performance-oriented servers made to fit your budget.
Note that Yubikey is not free. Users wanting to use it will find it very useful in providing secure logins for more than just a Joomla website.
What is Yubikey?
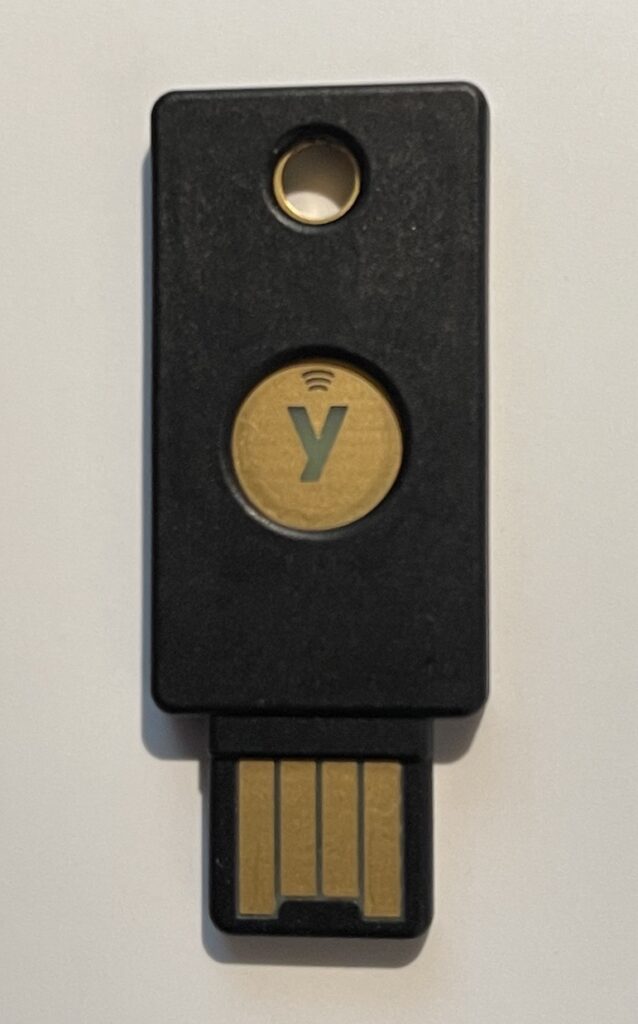
Yubikey is a hardware device that is used for helping to provide secure logins to online accounts, software, and hardware. Features of using Yubikey:
- Stops account takeovers by forcing a more secure login procedure
- Multi-protocol support; FIDO2/WebAuthn, U2F, Smart card, OpenPGP, OTP
- USB-A, USB-C, Lightning, NFC
For the purposes of this tutorial, we will be using Yubikey as an option for logging into the Joomla 4.0 website using Web Authentication (WEBAUTHN).
This particular key can be used with USB-A devices and devices that use NFC (Near Field Communication). It can also be used for touch verification. When NFC is enabled, then as long as the key is near the device, it will be able to authenticate.
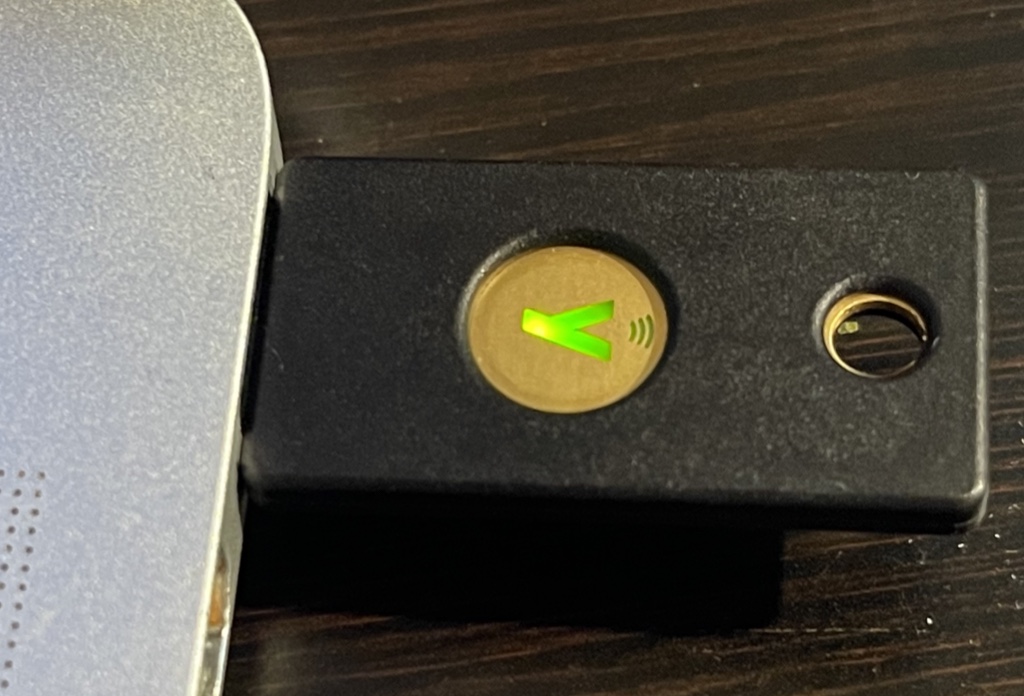
The touch verification requires that you first register the device with touch. Then, when you log in to the software/website/hardware, it will ask you to authenticate by touching it. The gold circled area with the “Y” in it is where you would touch it.
How to Enable 2FA with Yubikey for Users
When you enable 2FA for your Joomla users you are setting up web authentication (webauthn). Here are the steps for setting it up:
- Log in to the Joomla Administrator Dashboard and click on Users in the main menu at the left.
- Click on the user that you want to modify.
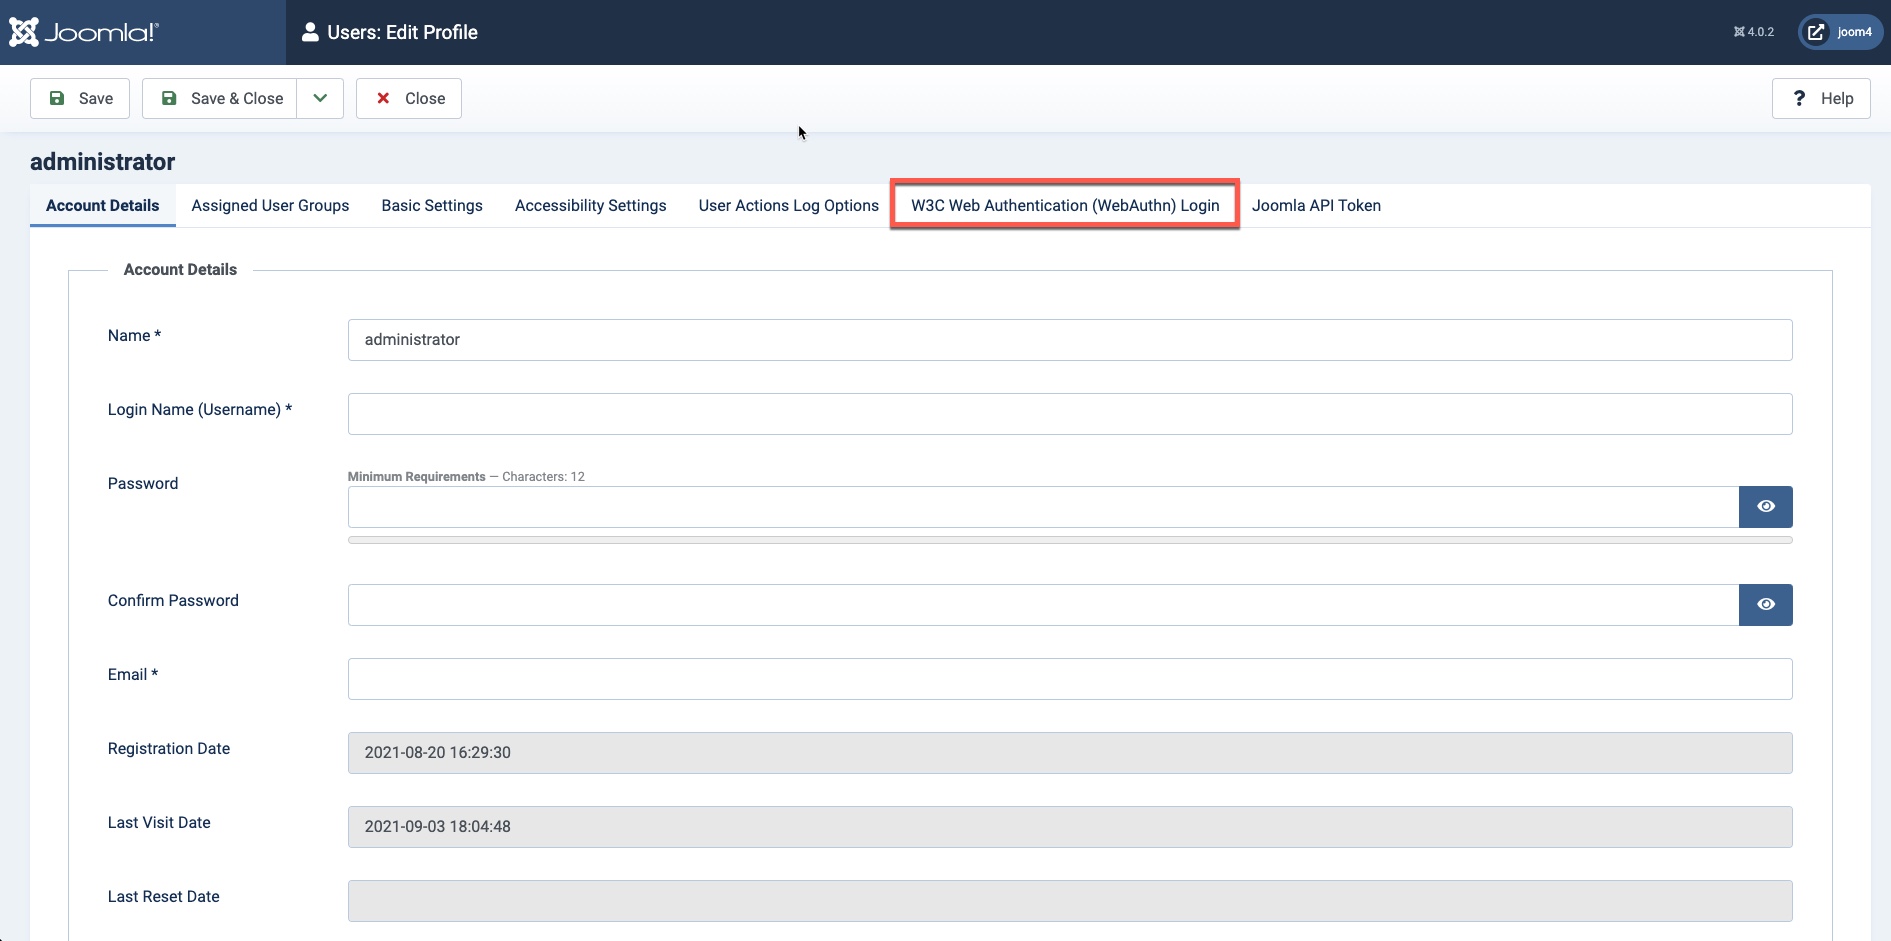
- You will see the user with a tab for Web Authentication:

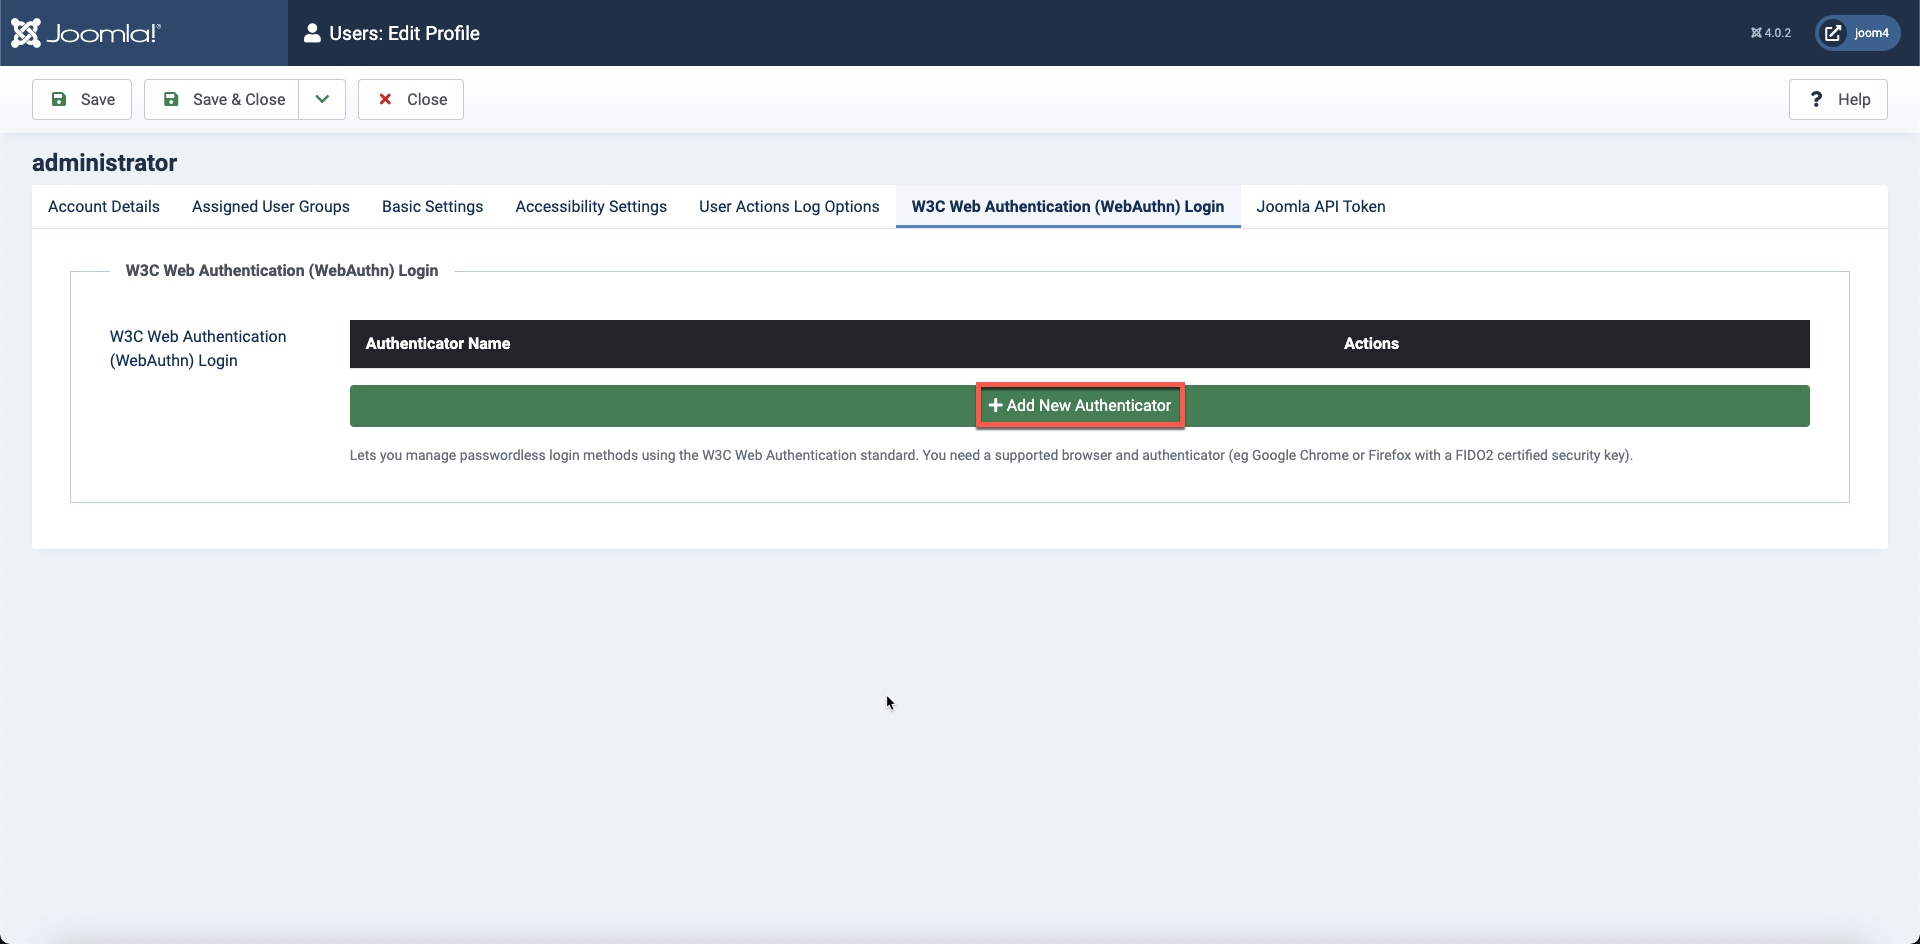
- Click on the W3C Web Authentication tab. You will see the option to add an authenticator at the bottom.

- Click on the green bar and you will get the option to add an authenticator. In this example screenshot, select the USB hardware device.

You will be prompted to insert the Yubikey and then touch the circular section marked with the “y”. This will register the device so that you can use it for login. - When I completed adding the device, it confirms it on the screen.

- Make sure to click on SAVE or SAVE & CLOSE in the top left corner.
At this point, WebAuthn has been enabled for the user and you can test it at the login screen.
How to Use the Yubikey to Login to Joomla 4
Once you have the user set up to use the Yubikey, it becomes much easier to log in.
- Type in the URL for your Joomla Administrator login page.
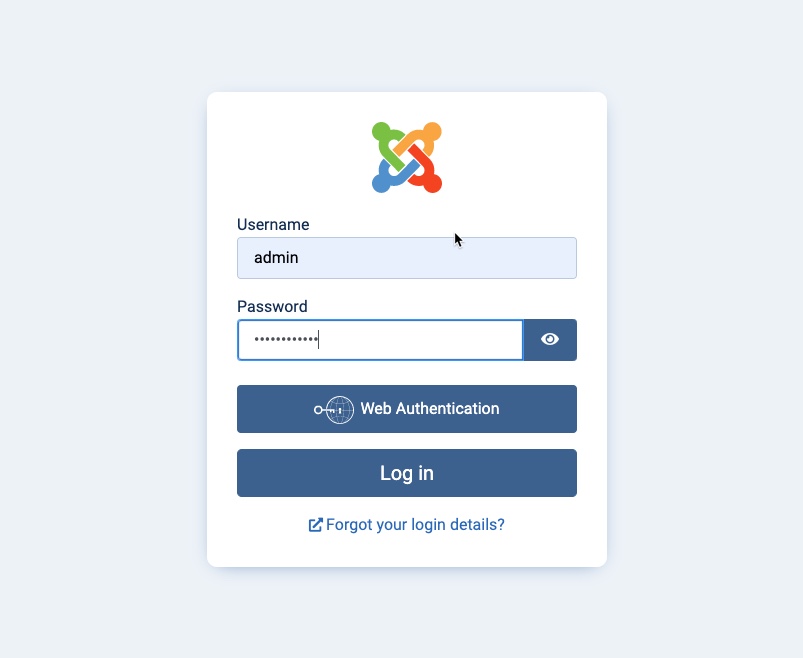
- Type in the User name and password – this is the first step in logging in.

- The next step is to click on the button that says Web Authentication.
- You will then need to insert the Yubikey into a USB-A port.
- You will be prompted to touch the key (it will light up).

This will then log you straight into the Administrator.
Congratulations! You now know what a Yubikey is and how it is enabled and used to securely log in to your Joomla 4 website. For more information on Joomla 4.0 and many other web-based topics, please see our InMotion Hosting Support Center!
Enjoy high-performance, lightning-fast servers with increased security and maximum up-time with our Secure VPS Hosting!
Linux VPS
cPanel or Control Web Panel
Scalable
Website Migration Assistance
