Table of Contents

In this article, you will learn how to create a simple contact form on your Joomla 4 site. A basic contact form is a great way to request feedback or simply provide your visitors with an easy way of getting in touch with you. The contact form you will be creating with this tutorial will generate an email that will be delivered to your Joomla user account email.
- How to Create a Contact Form in Joomla 4
- Make Your Contact Page Public
- Creating Different Contact Pages For Different Users
This article uses the default Joomla contact form, which can effectively receive input and send email, but it does not save input in the Joomla database. This means you will be able to receive email messages from visitors, but the content they sent to you will not be saved anywhere on your site.
Likewise, remember that your user will be submitting their email along with the message they send. If your website has a privacy policy and/or terms of service then you may want to mention that the email they provide will only be used for contact and not for marking purposes.
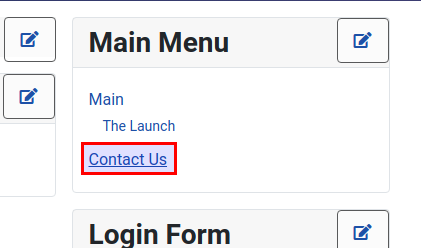
By the end of this tutorial, you will have a link to a “Contact Us” page accessible from your main menu in the sidebar of your Joomla site. (In the default Joomla template, this menu will be located at the top of the right-hand sidebar.)
How to Create a Contact Form in Joomla 4
In order to complete these steps you must first be logged into your Joomla admin area.
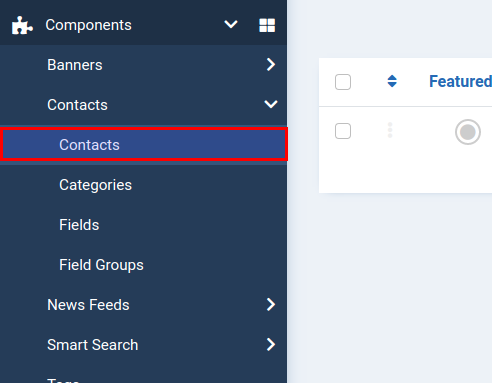
- Under Components > Contacts, click Contacts.

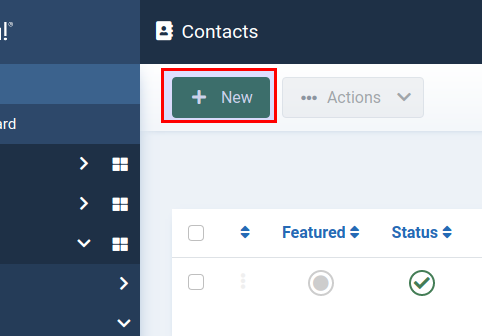
- Click the New button to create a new contact form:

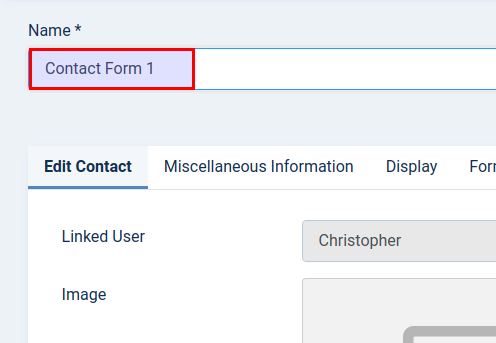
- Give your contact form a name using the “Name” field:

- Most importantly, be sure to link a Joomla user with the contact form. This is the user that will receive the message via email. Each Joomla user account has an email associated with it. However, this can be any email you have access to, it does not need to be a personal email address. For example, you can create a general email account for a specific type of inquiry:

Your new contact form is ready. Now, in the next step you will be adding this contact page to the main menu of the site, so that it will be accessible to the public.
Make Your Contact Page Public
Now, you will learn how to publish your contact page so your users can access it and get in touch with you. In order to accomplish this, you will adding a link to the contact page to the main menu of your site. If you are using the default Joomla template, this means you will have a link to the contact page in the top of the right-hand sidebar.
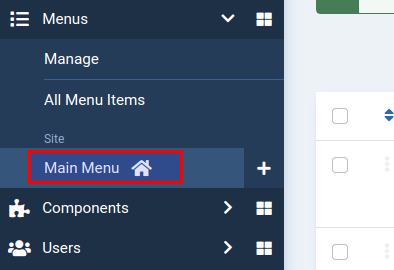
- Under Menus click Main Menu:

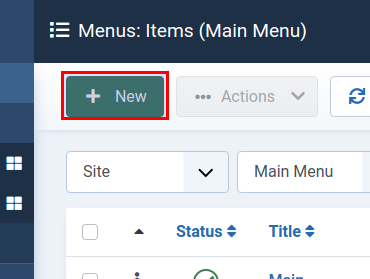
- Click New:

- For Menu Item Type click Select:

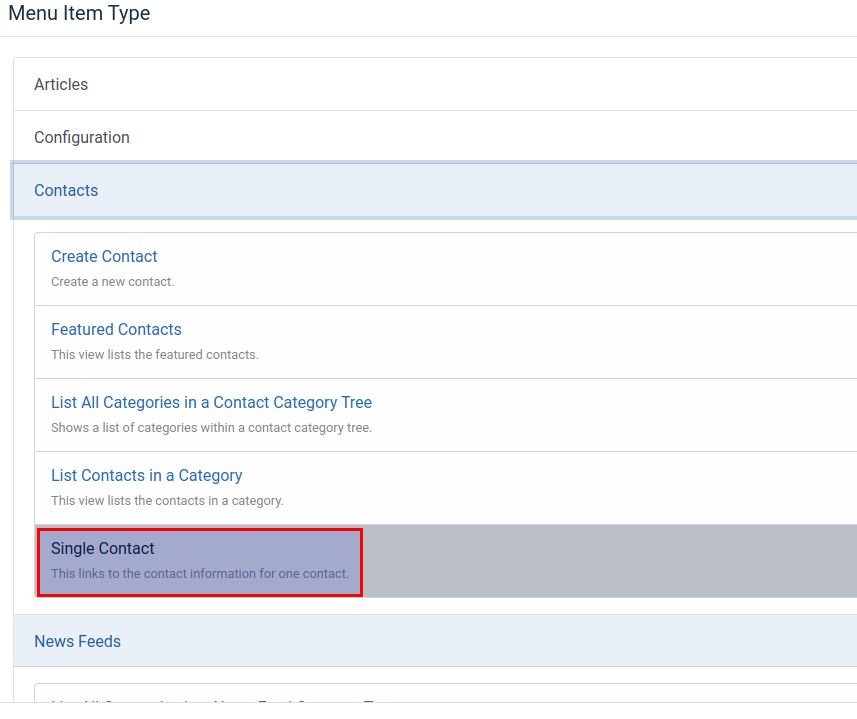
- Under Contacts choose Single Contact:

Click Save & Close. You will now see the link to your contact page appear in the main menu of your site.
Creating Different Contact Pages For Different Users
There may be instances in which you want to create a different contact form for a specific inbox. This is sometimes known as “sender filtering.” For example, you might have a contact page for personal inquiries and one for general or specific inquiries. An easy to way to make sure that the right message gets to the right place is to simply create a new contact form and link a different user.
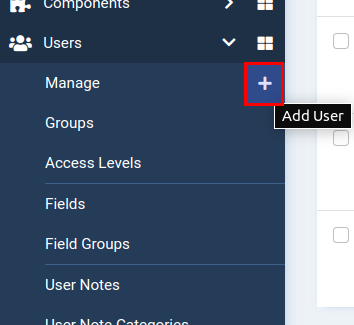
Remember, every Joomla account is associated with a certain email address, and you can always create new Joomla users to associate them with a different email account:
If you already have a user account set up for this email address, you can proceed with creating a specific contact form for that user. In order to accomplish setting up a contact form for a specific email address, go back to the initial contact form creation process and link the new form to a different user account.
The linked user account you select in the contact form creation process will receive any emails that result from the usage of the contact form itself.
Please note, you will want to create a different name for the new contact form in order to distinguish it from the other contact forms. Pay close attention to the “Name” field and use it to provide a name that is different enough to make it stand out. You will want to avoid confusing contact forms in order to make sure the proper communication gets to the right place.
Well done! You now know how to create a contact form in Joomla 4 and associate it with a page in your site.
