Table of Contents

The Joomla 4 JCE brings the Joomla Content Editor — one of Joomla’s most popular extensions — into Joomla 4. The JCE expands Joomla’s default content editor to unlock advanced word processing functionality in the editor. Read on to learn how to get it up and running. This process will work great on Joomla VPS hosting or similar hosting packages.
Install the Joomla 4 JCE Extension
We’ll be installing the free version of the JCE in this walkthrough.
- Visit the downloads page for the JCE and choose the version you wish to download — usually the latest free version.
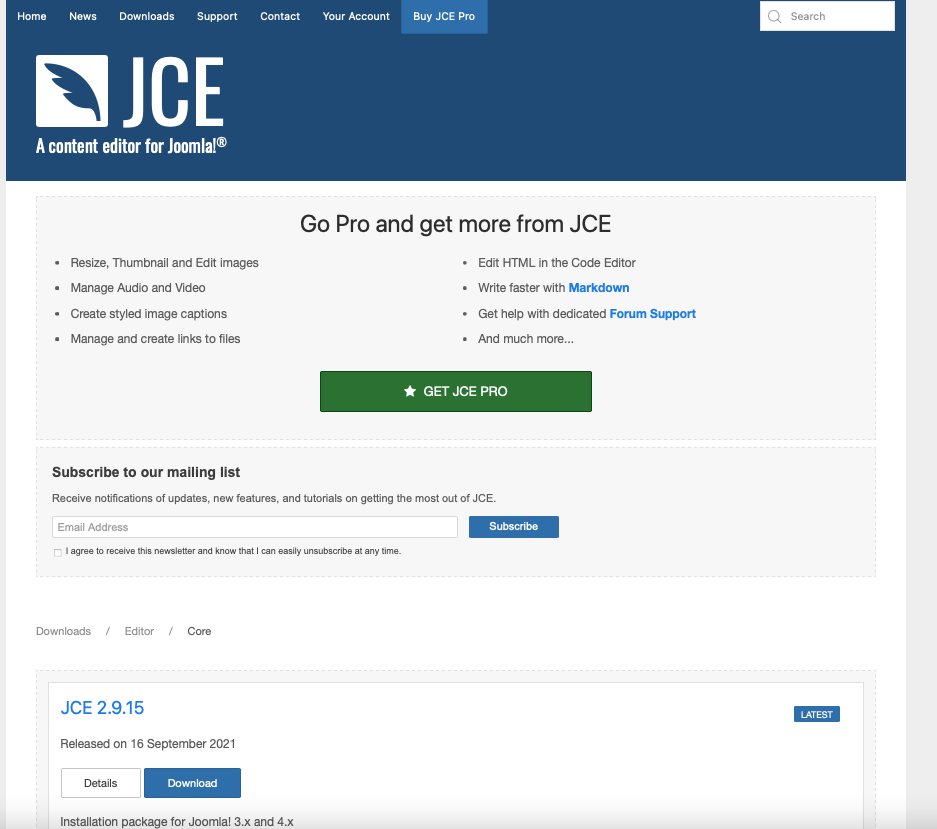
- Save the ZIP file to your computer and leave it compressed.
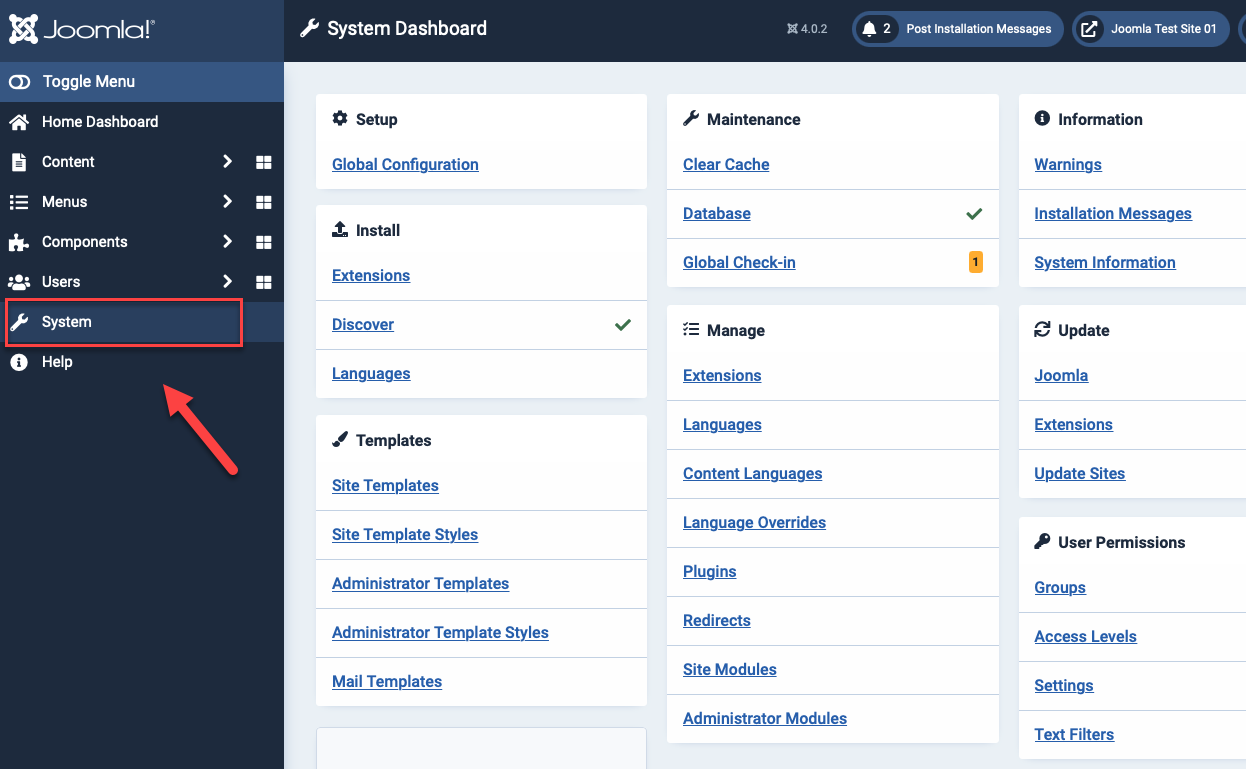
- In your Joomla 4 Home Dashboard, click on System.

- Under Install, click on Extensions.
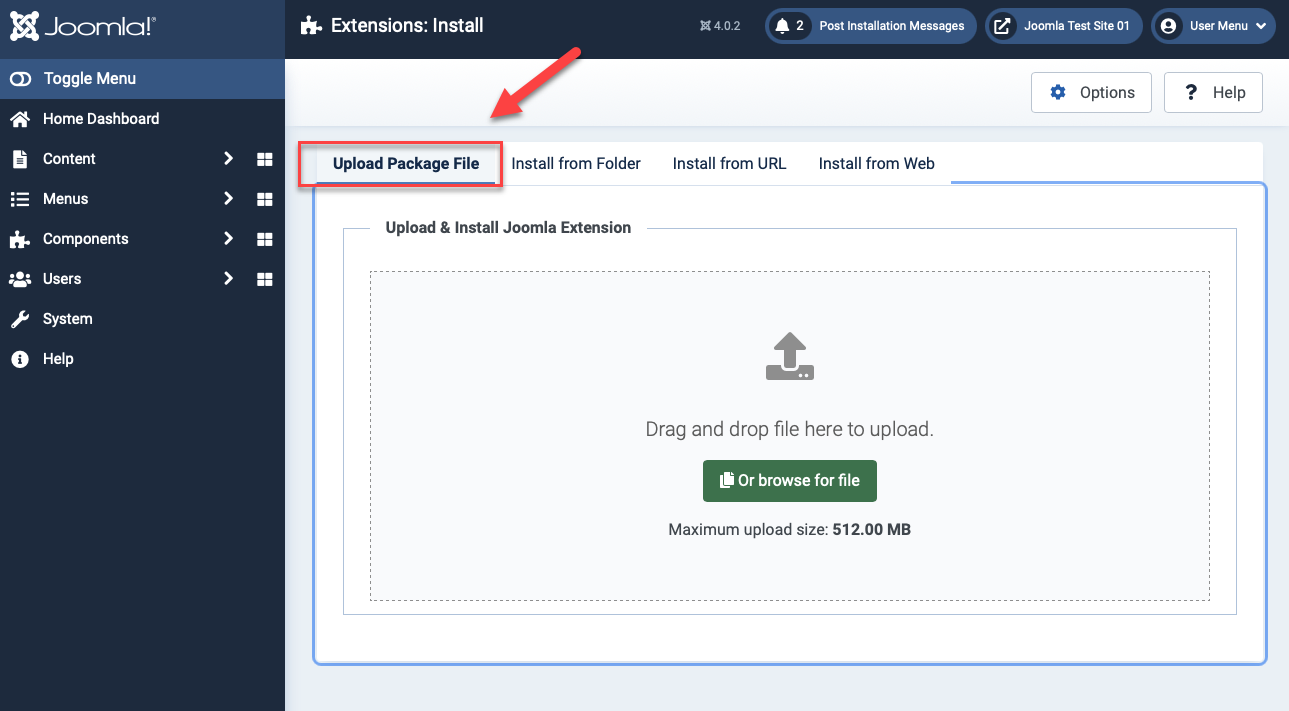
- Be sure you are in the Upload Package File tab.
- Follow the onscreen instructions to upload the file by drag and drop or browse for the file that you downloaded in step 2.

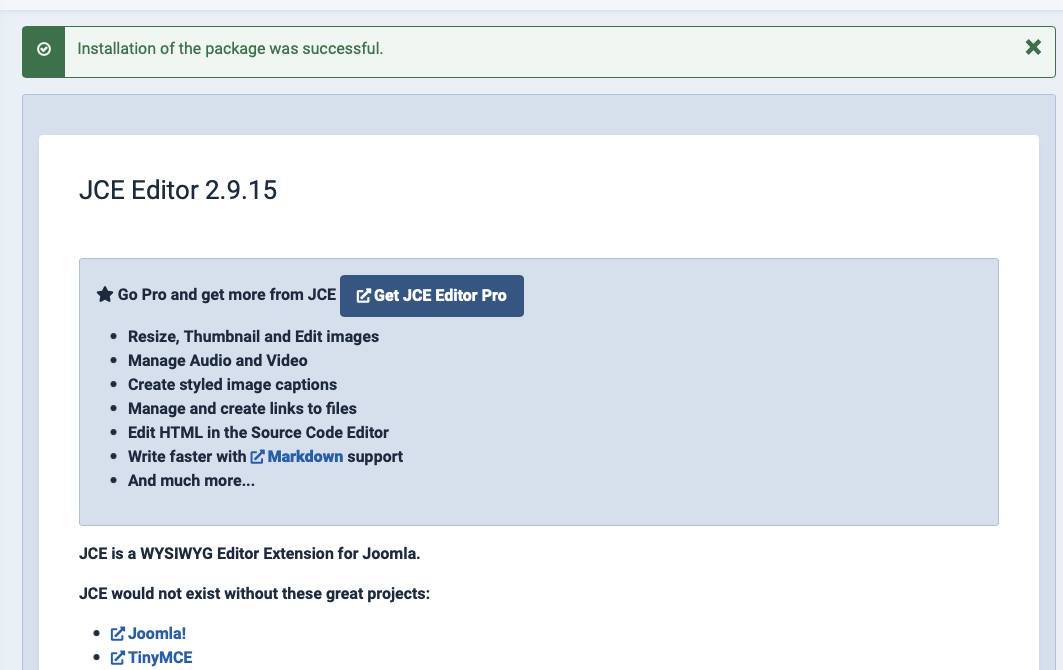
- You should see an installation of the library was successful message.

Switch the Currently Active Editor
After installing the Joomla 4 JCE extension, you need to switch the editor you are using.
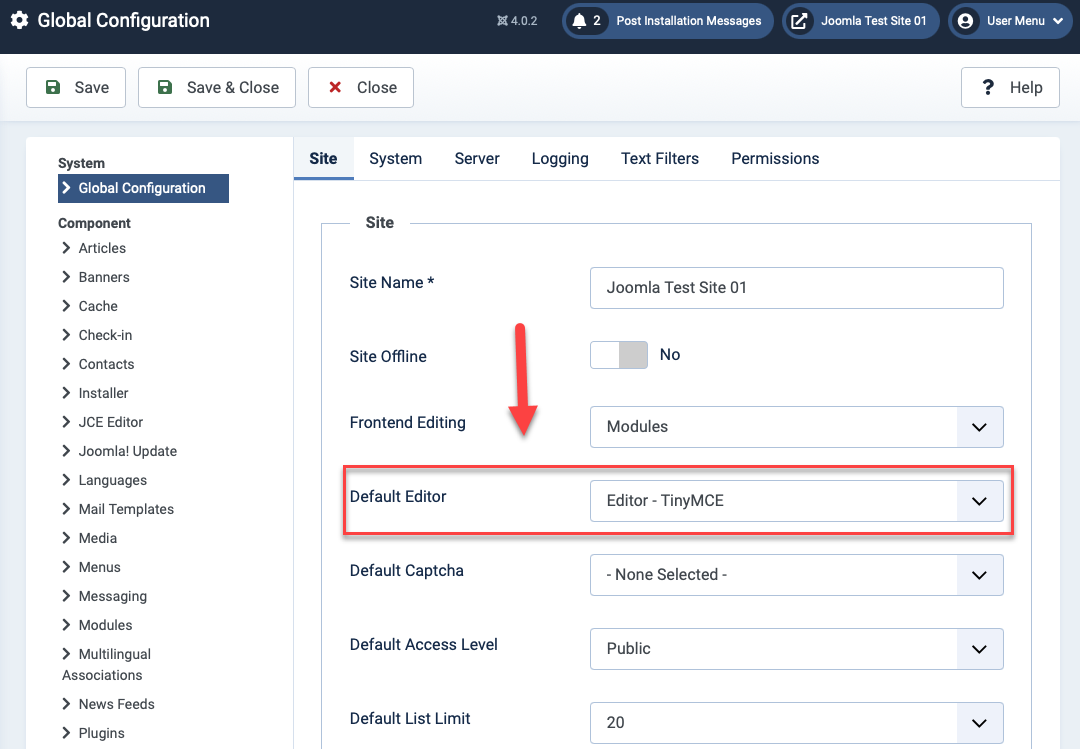
- From your Joomla 4 dashboard, click on System, then Global Configuration.
- Look for the Default Editor entry, and select Editor – JCE from the dropdown.

- Click the Save at the top.
- Now, if you go to create or edit an article, the JCE will be enabled!
Benefits of Using the Editor
Now that you have installed and enabled the JCE, all you need to do to use it is edit an existing article or create a new one. Your previous editor will be replaced with the JCE.
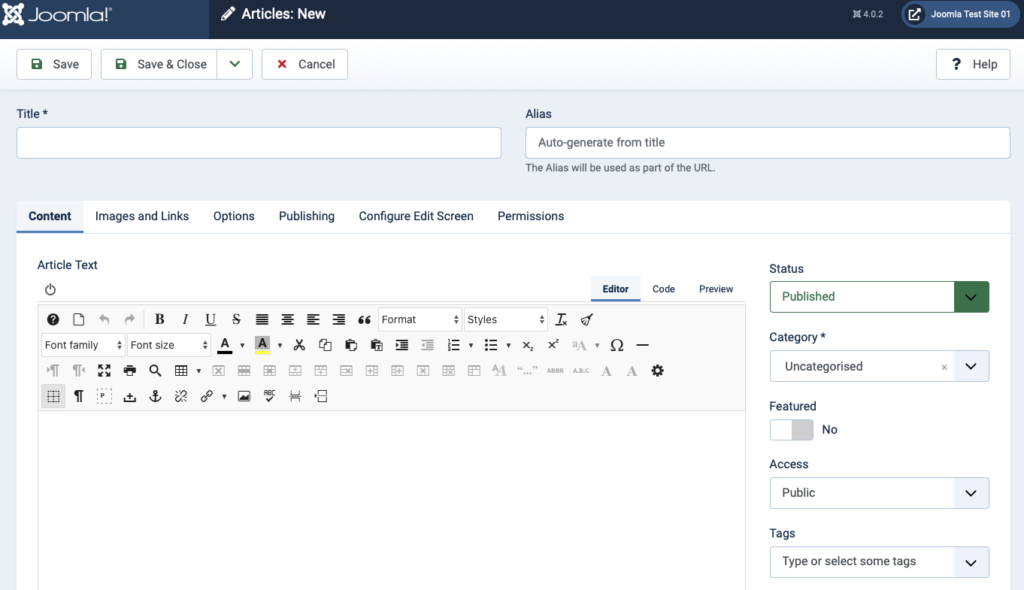
If you have used document editing software like Microsoft Word or LibreOffice, you will find the JCE to be similar. The JCE is especially great when it comes to lists, advanced text formatting like symbols and superscripts, and tables. Table creation and editing is especially easy using the JCE. Now, enjoy editing specialized content with ease.
