Table of Contents

Joomla Hosting is a versatile platform for starting an online store and the HikaShop extension is a popular and well-reviewed way to add this ability. Once installed you can easily set up digital or shippable products and begin selling them from your website
This guide will help you start a Joomla 4 eCommerce store using the free HikaShop extension. First, we will show you how to install the HikaShop extensions then we’ll show you how to add a product and cart module to your site.
- Installing the HikaShop Extension
- Adding a Product
- Adding a Cart Module
- Setup a Shipping Method
- Setup a Payment Method
Note: In my test, you must enable Joomla 4 User Registration before customers will be allowed to check out successfully.
Installing the HikaShop Extension
- Login to the Joomla Admin Panel.
- Click System in the navigation menu, then under Install click the Extensions link.
- Click the Install from Web tab.
- Type ‘hikashop’ in the search field without the quotation marks then click the Enter key or the search button.
- You will see the HikaShop extension listed, click it.

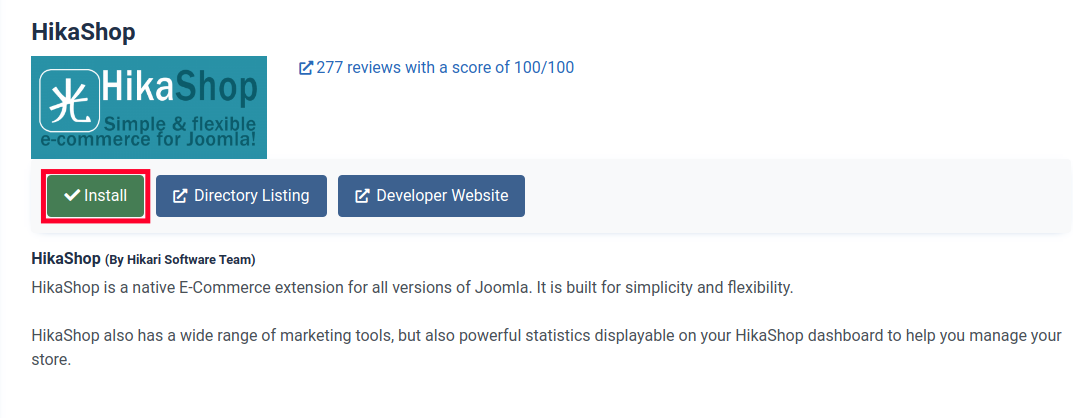
- You will then see information about the extension. Click the green Install button, it will then scroll down to the bottom of the page.

- Click the blue Install button.
- The SHOP ACCESS options control where on your site the links to your shop will appear. For example, HikaShop can add a “Categories” link to your navigation, and when a user clicks it, it will take them to a page showing all your categories. There are three ways to configure SHOP ACCESS: Products, Categories, and List of Categories. You can select one, two, or all three options.

Below is more information and a preview of how they will look:
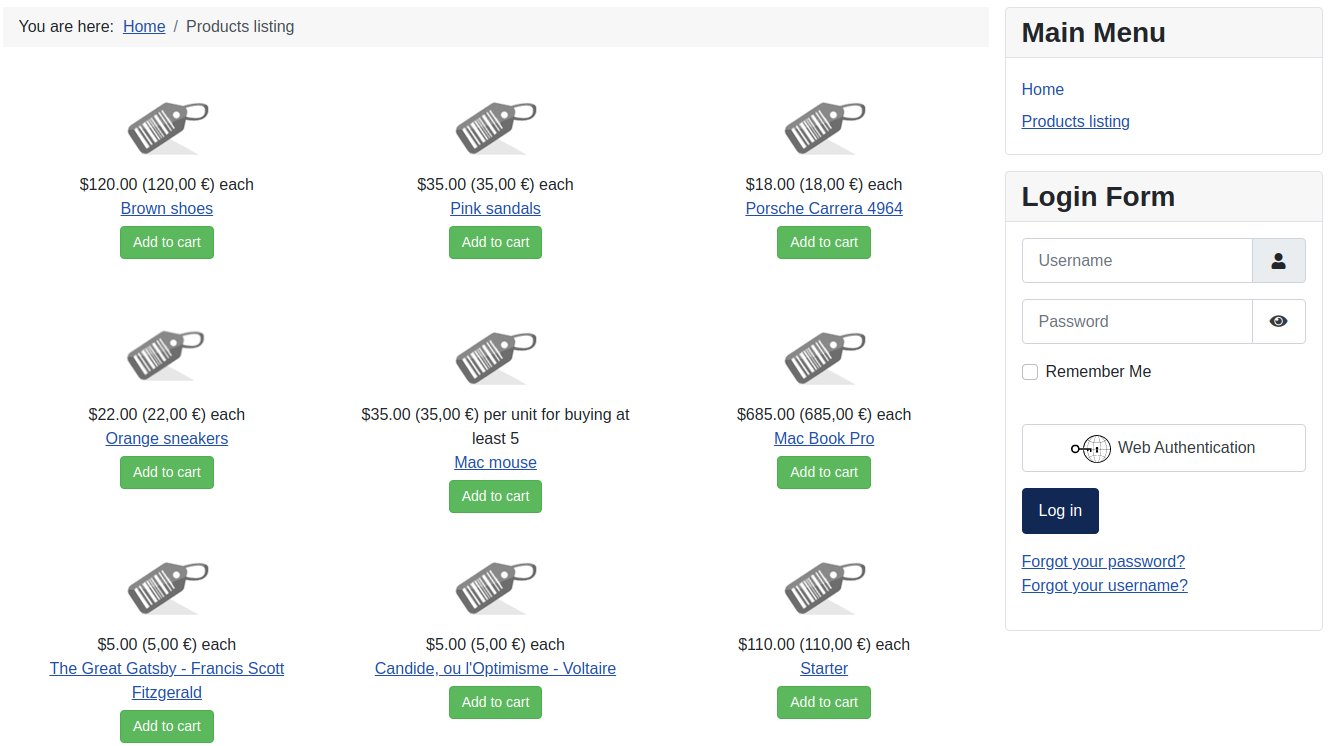
Menu item for products – This will add a menu link to a product listing page on the right of your Joomla site.
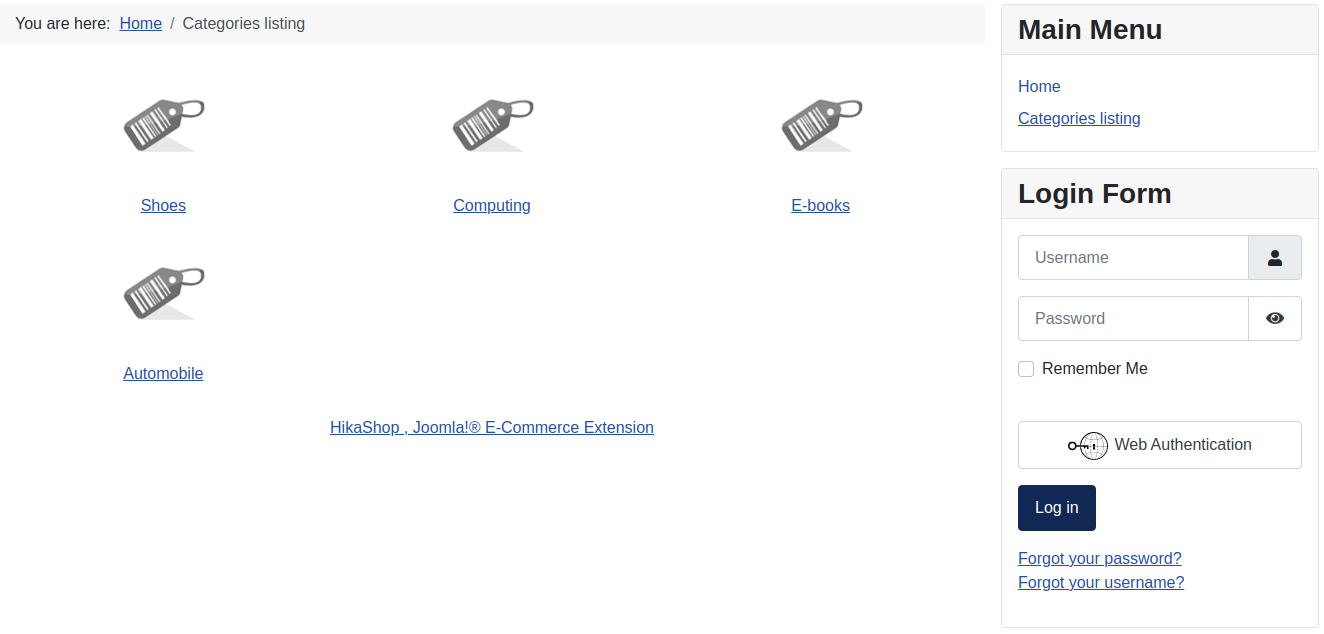
Menu item for categories -This will add a menu link to a listing of product categories. It will look like this.
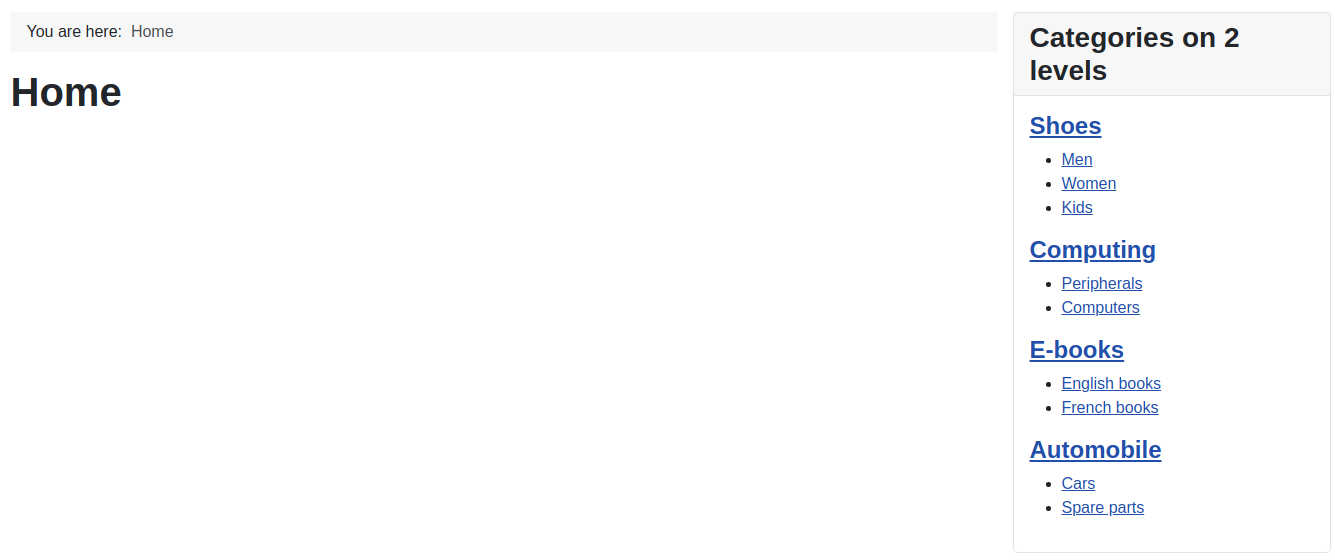
List of categories in a module – This will add a side module with a list of product categories. Below is how it will look.
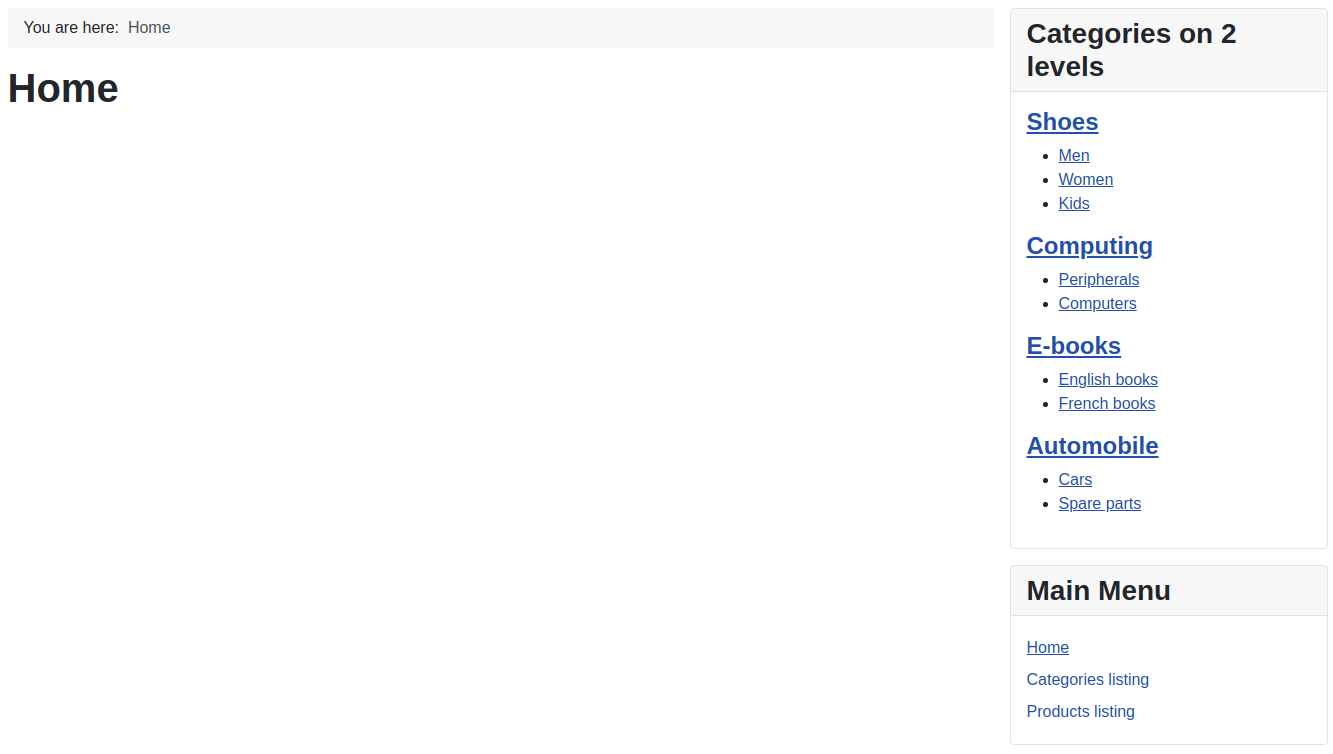
All 3 Listing Option – If you select all three of the above options, it will display like this on the front page of your Joomla 4 site.
- Scroll down to the Products Layout section and select a style for your products to display in. You can choose a Grid, List, or Table.

- Set your Location by choosing a Country, State, and entering an Address.
- Now choose the Main Parameter settings.

These are the available options.
• Currency and Taxes configuration – Select your currency from the drop down menu here. Popular options are euros (EUR), dollars (USD), yen (JPY), or pound (GBP)
• Paypal configuration – Here you can enter your Paypal email address if you want to set it up. This step is optional.
• Product type – This is where you can select if you will be selling Virtual or Shippable goods.
• Sample data – Set this to Yes if you want to include example products and store content. - Click the Save & go create your first product! button to complete the HikaShop extension installation.
Adding a Product
The steps below will show you how to add a new product. This is also where you can set the price and quantity available in your inventory among other things.
If you just installed the HikaShop extension you will be automatically taken to a new product creation page. You can skip to step 3.
- In your Admin Panel, click Components, HikaShop, then Products.
- Click the + New button on the top of the Products page.
- Fill in your product information as needed then click the Save button. Below is a listing of the options that are available in each section. You are finished when you see a message stating “Successfully Saved.”
| Product Section | Options and Screenshot |
|---|---|
| Main Options | Here you can enter a Name, Product code, Quantity, Categories, Brand, Tags, Published status (Yes or No). |
| Images and Files | This is where you can upload images or files related to the product. |
| Prices and Taxes | This section is where you can select a Tax category, Retail price, and add price Restrictions. |
| Description | Enter detailed information about the product in the text field here. There are formatting and styling tools on the top. Clicking the Toggle Editor button will switch you to the HTML editor. |
| SEO | This is where you enter your Page title, Brand URL, Meta Description, Keywords, Alias, Canonical URL and Condition. |
| Restrictions and Dimensions | Specify the following product information in this section: Quantity per order, Available from (enter dates here), Warehouse, Weight, and Volume. |
| Specifications | Here you can set product Characteristics and add Related products. You can add Options and Bundled products if you purchased the Essential or Business edition of HikaShop. |
| Display | Choose your Page layout and Quantity input method in this section. |
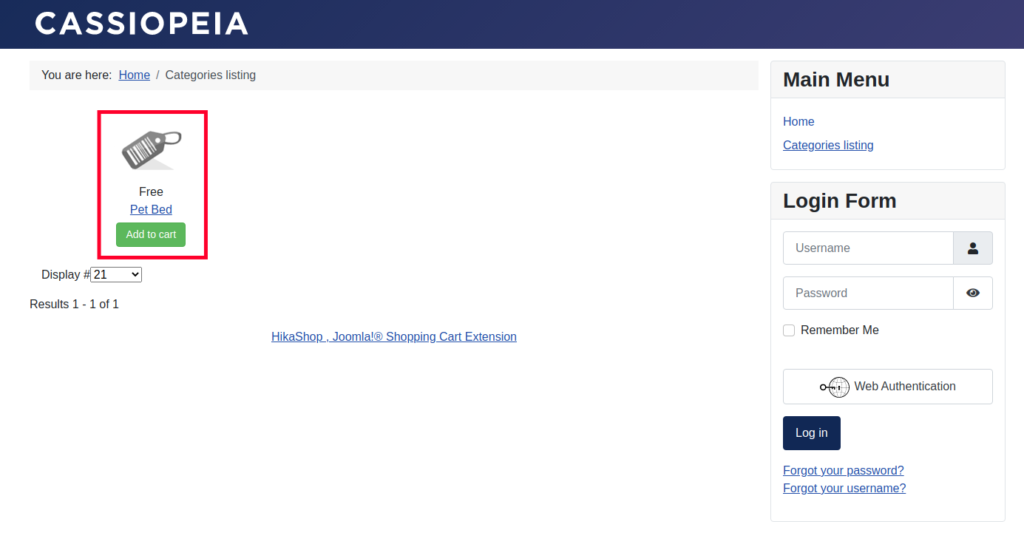
You will then see your new product listed based on the settings you selected. In my test, it looked like this.
Add a Cart Module
Now that you have a product customers can add to their shopping cart, you should add a cart module for them to view and check out. Here are the steps.
- Click Content then Site Modules in your Joomla Admin Panel.
- Type ‘cart’ in the search box then hit the Enter key.
- You will see the HikaShop Cart Module listed. Click the X under Status to publish it.

You will see a message stating “Module published” and your site will then display the HikaShop Cart module on pages. Below is how it will look when it is empty and when it has a product in it.
Cart with no product:

Cart with product:

Setup a Shipping Method
- In the Joomla Admin Panel click the System link.
- Under Manage click the Plugins option.
- Enter “manual shipping” in the search box then click the enter key.
- You will see the “HikaShop manual shipping plugin” listed, click the ‘X‘ under Status to enable it.

You will then see the shipping methods listed when you attempt to check out.
Note: You can modify the default shipping settings by going to Components➤HikaShop➤Configuration in your Admin Panel. Then click the System option and select Shipping Methods.
Setup a Payment Method
- In the Joomla Admin Panel click the System link.
- Under Manage click the Plugins option.
- Enter “payments” in the search box then click the enter key.
- You will see the “Hikashop Paypal Website Payments Pro Hosted Payment plugin” listed, click the ‘X‘ under Status to enable it.

- In your navigation menu click Components then HikaShop.
- Click the Configuration option.
- Select the System option and choose Payment Methods.
- You will then see a list of all the default payment options. Select the ones you want to use and choose your settings. In my tests, I used the Paypal payment method.
- Fill in your payment gateway settings as needed. These specific steps will depend on the payment method you selected.
- Click the Save & Close button after entering your settings. You will then see the new payment method displayed when you proceed to checkout.

Now you know how to start a Joomla 4 eCommerce store using the HikaShop extension. You can begin selling digital or shippable goods online. Check out our Joomla 4 section for more guides to help you build a successful site.
