Table of Contents

Another aspect of changing the appearance of Moodle is the ability to change Moodle logo and footer page elements. Not all themes have the same editing capabilities; however, theme with logo customization options generally function the same way. The image is uploaded to the server and then linked in the Moodle theme Logo setting. The following tutorial will explain how to upload the logo and change the Footer text in the Afterburner theme. In this article, we will outline how to change Moodle logo and footer page elements.
How to Change Moodle Logo and Footer
- First, log into the Moodle Dashboard.
- Next, navigate to the Site Administrator > Appearance > Themes > Theme selector in the Settings on the left.
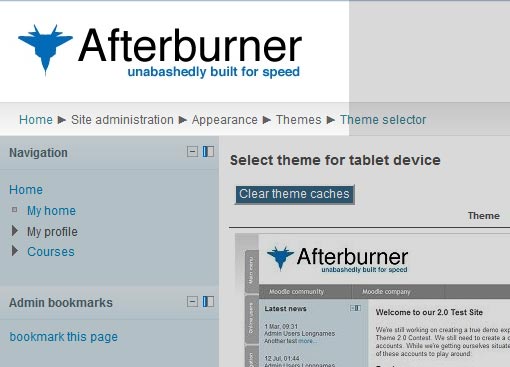
Important! The standard Moodle theme does not have an option to edit the footer or logo, however it is possible to remove it. To have a custom logo and footer, a different theme will need to be selected. In this tutorial, the Afterburner theme is used. If you don’t know how to change the theme, please see the following article about changing Moodle themes.The default Afterburner logo looks like the screenshot below:

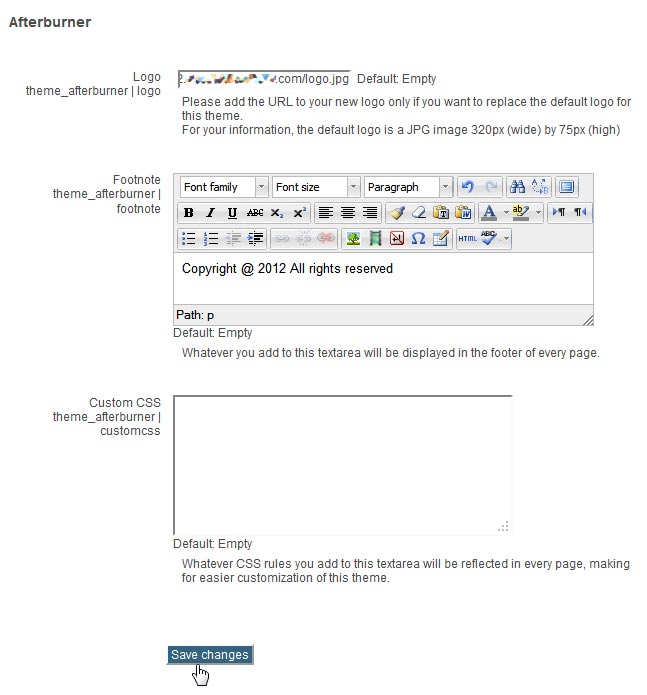
- The next page that displays is for changing the logo, footer and custom CSS properties. This tutorial will focus only on the Logo and the Footer for the Afterburner theme. Different themes have different properties in this section. The Logo and the Footer sections are the same for all of the themes.

Logo: The logo will vary between each theme. The logo section will give instructions for the parameters for the logo to display correctly. For the Afterburner theme, the logo must be 320px wide by 75px high. The logo will first need to be uploaded to the server before it can be linked. For information on how to upload files, please visit the following article for the best ways to upload files to your server.
The link will look similar to the following, depending on where it was uploaded:
https://yourdomain/folder/imagename.jpg
Footnote: This section allows for the footer text to be edited. Enter the text to display on the footer.
Custom CSS: Custom CSS can be set up in this box. This is not going to be addressed in this tutorial. Some themes do not have this option available.
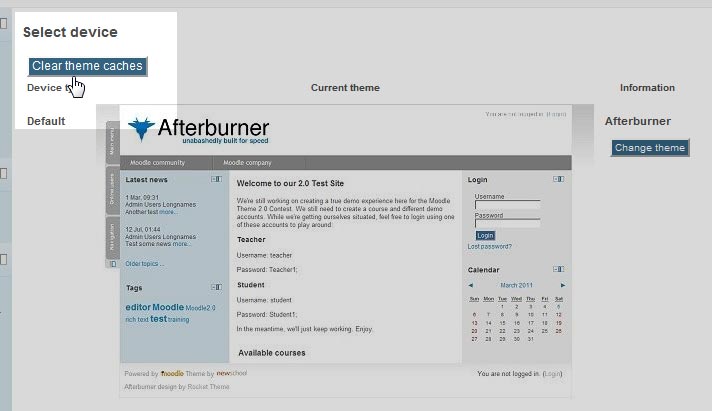
Once done, click Save Changes to proceed. - After the theme logo and footer have been updated, the theme cache will need to be cleared in order to display the new appearance. Navigate back to the Theme selector for the theme and click Clear theme caches on the top right corner.

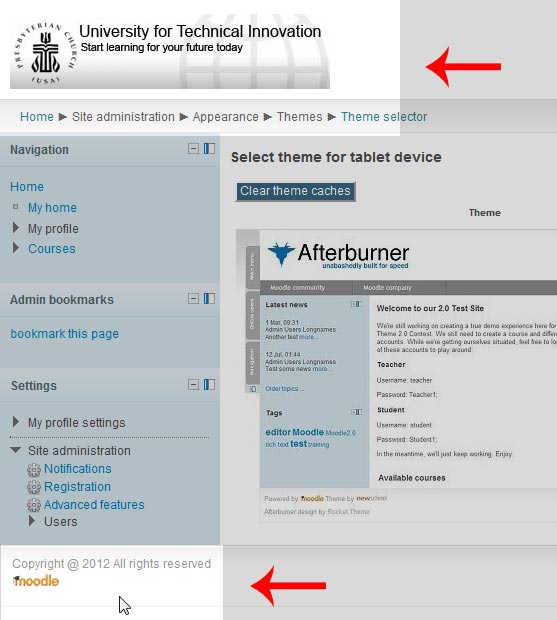
- Now the new logo and footer will show in the theme.

Congratulations, you have successfully learned how to change Moodle logo and footer page elements!


yeah, its very helpful