Table of Contents
Previously, we discussed what Geo Zones are and why they are important. You can create new Geo Zones from within the OpenCart Dashboard. The following will explain the steps on setting up a Geo Zone in Open Cart.
Steps to create a Geo Zone
- Log into your OpenCart Dashboard.
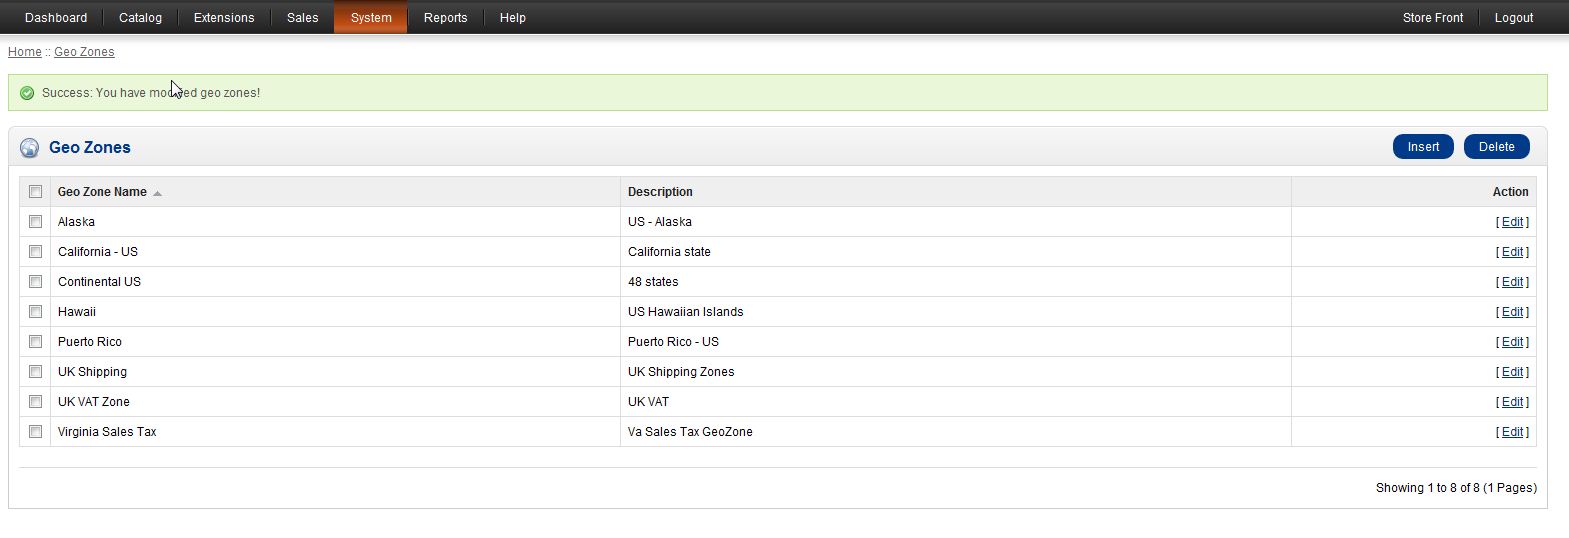
- Go to System > Localisation > Geo Zones.

Click “Insert” in the upper right corner to create a new Geo Zone and fill out the fields.
Geo Zone Name: Name your Geo Zone.
Description: Provide a brief description of what the Geo Zone is for.

Click “Add Geo Zone” button and Select the Country and Zone from the Drop down menus.

Click “Save” in the upper right corner. Now, you can see your new Geo Zone in your Geo Zones screen in OpenCart.
If you need further assistance please feel free to ask a question on our support center website.


