Banners are typically used for the purpose of advertising in osCommerce. It is a graphic that can also be used for the purpose of identifying a website’s brand, or to pass on announcement. However you use it, the banner is a useful element that can be controlled from the osCommerce interface. The following article explains how to add a new banner within the osCommerce Administration interface.
Adding a New Banner in osCommerce
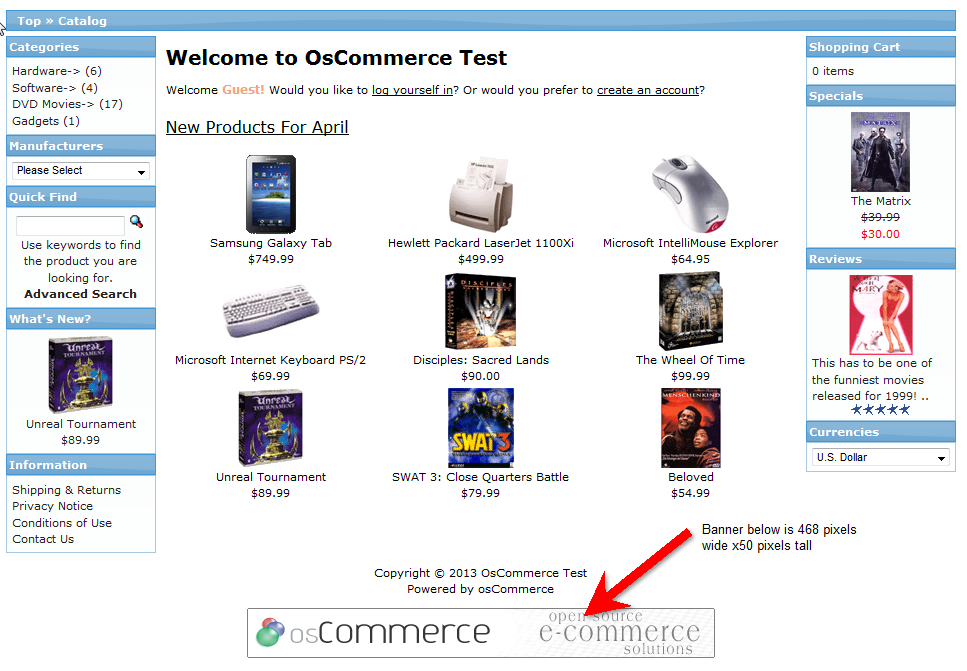
Before viewing the instructions for changing/adding a new banner, let’s identify the location of the banner:
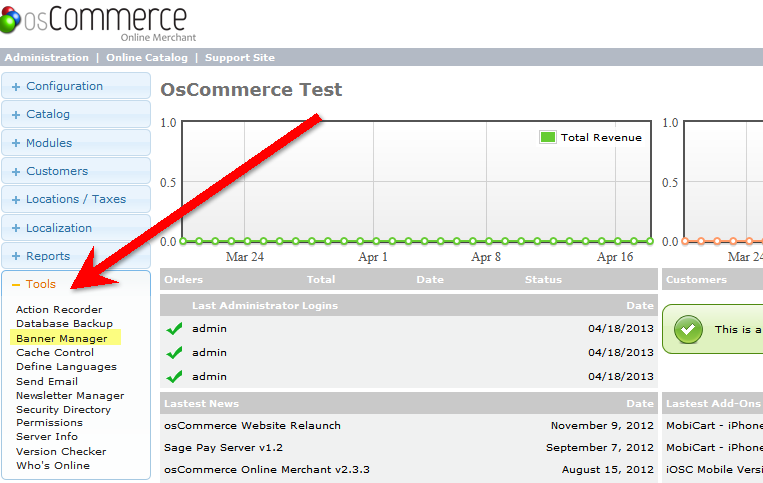
- Log into your osCommerce Admin dashboard.

Scroll down on the left hand side of the screen until you find the TOOLS button. Click on this button and the menu will expand.
- Click on BANNER MANAGER and you will see the osCommerce interface for managing banners.
- Click on the NEW BANNER button to proceed.

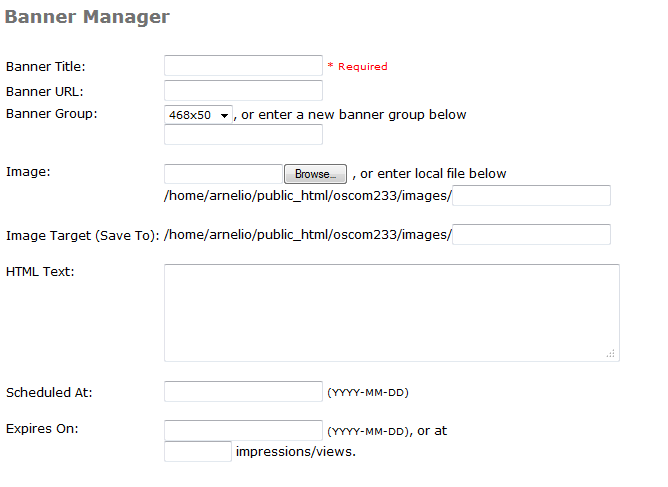
The NEW BANNER menu includes the following fields: Banner Title, Banner URL, Banner Group, Image, Image Target, HTML Text, Scheduled At, and Expires On. The table below explains each option.
Option Description Banner Title Add banner name here – this is a required field Banner URL URL used if the banner is clicked by a website visitor Banner Group Select an existing group, or create banner groups to organize multiple banners Image Click the Browse to use this interface to upload a banner image. You can also use a URL location for the image Image Target (Save To) Define where the banner file will be saved HTML Text You can use text instead of a graphic file for the banner. The banner can also be formatted using HTML. Note that if you have text defined here, it will override an existing image as the text has priority. Scheduled At Schedule when a banner appears by placing a date here. Expires On You can also define when a banner expires by scheduling it in this field. 
When you have finished adding your graphic or text for the banner, go to the bottom right hand corner and click on SAVE in order to save your entries.
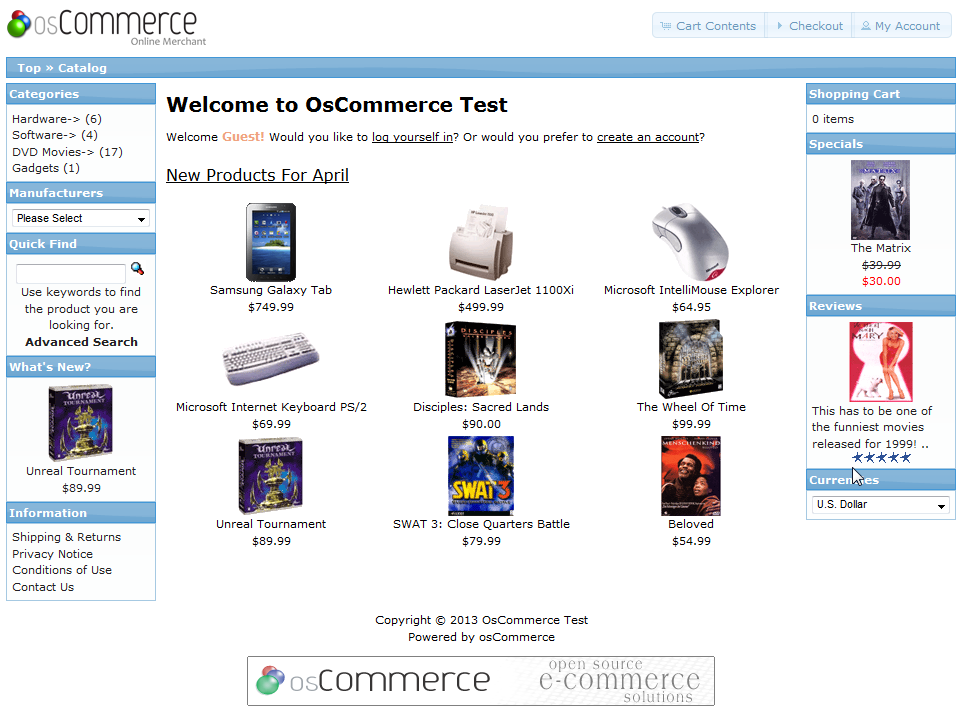
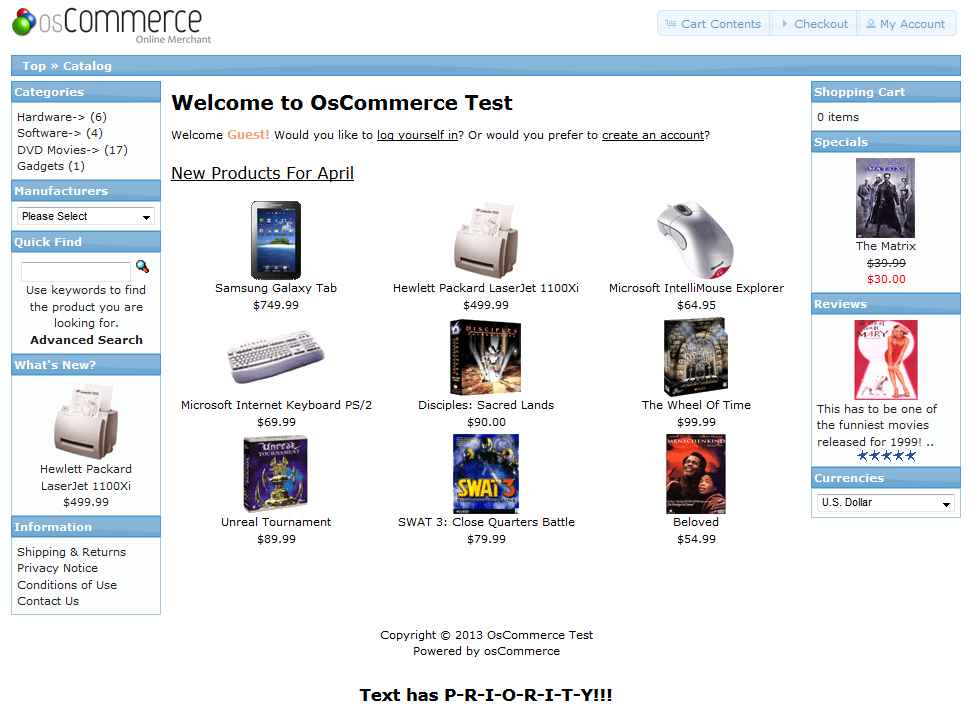
This completes the tutorial on adding a new banner into osCommerce using the osCommerce Administrator interface. Here are examples of what you would see if a new banner were to be inserted. Note that the banner will differ based on the theme that you are using. The default osCommerce theme banner is 486pixels wide by 50 pixels tall. Additionally, as per the description above, HTML text that is entered will have priority over the image.
Default osCommerce theme
osCommerce with a new banner added. Note that the banner was created at 486px by 50px.
HTML Text entered as a banner. HTML has priority over the images
